Moving items to another subject from the Item Search screen
You can move items from one subject to another in the Item Search screen.
This article explains how to move items to a different subject from the Item Search screen.
In this article
1. Search for your items
Search for your items in the Item Search screen. For more information, read Searching for items with Item Search.

2. Choose your items
Select the items you want to move to another subject.
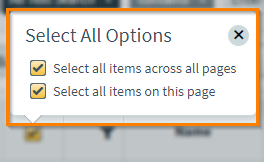
Select the checkbox in the header row to open the Select All Options menu. You can select all items on the current page (Select all items on this page) or select all items across all pages (Select all items across all pages).
3. Move your items
Select Move to move your items to another subject.

4. Select a subject
Select which subject you want to move your items to.
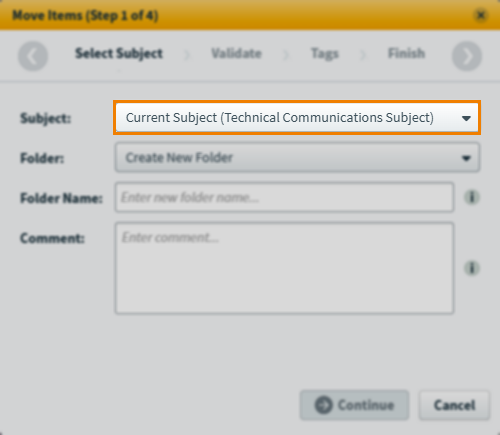
5. Select a folder
Select which folder you want to move your items to.
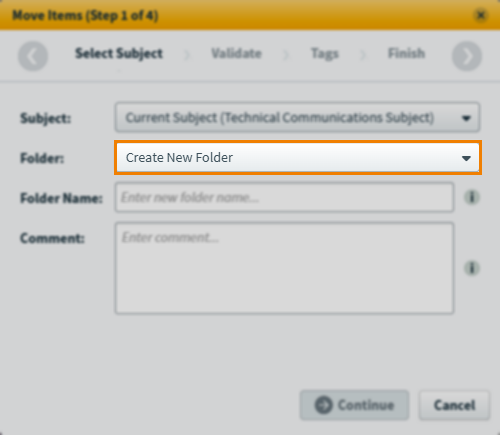
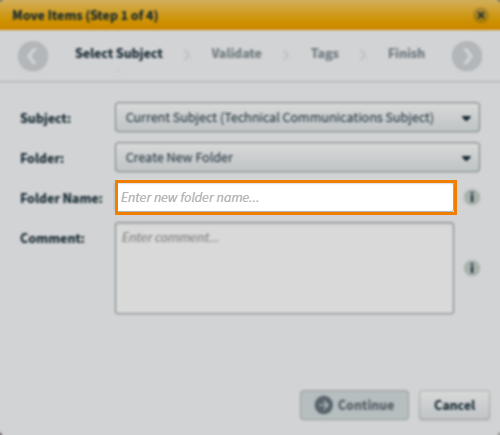
If you select Create New Folder (selected by default), you can enter a Folder Name. New folders not given a name are named ‘Items moved from [subject name]’.
If moving items within the current subject, you can select Recycle Bin to move items to the subject’s recycle bin instead.
6. Enter a comment
Explain why you are moving the item(s) in the Comment field. This information is available in item history.
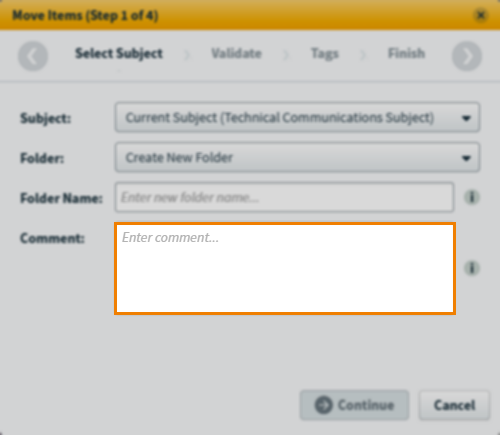
Select Continue to proceed to the next step of the wizard.
7. Validate your items
The validation summary displays how many items are available or unavailable to be moved to another subject.

If some items cannot be moved, select More Details to see which items cannot be moved and the reasons why.
Select Continue to proceed to the next step of the wizard.
8. Select tags
If any of the items you are moving to another subject have tags, you can select which tag categories and tag groups can be moved to the new subject. You can choose whether new tags are created If the selected tag categories and tag groups do not exist in the new subject.
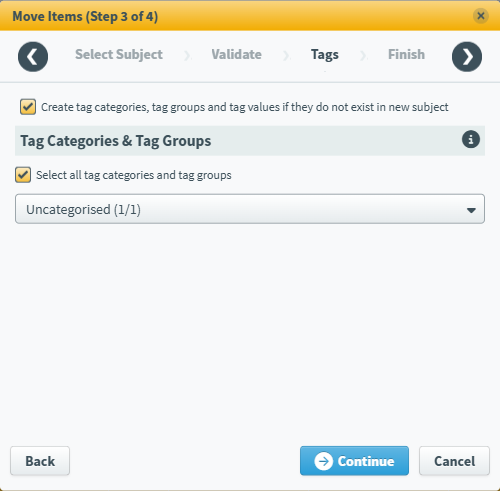
Select Continue to proceed to the next step of the wizard.
9. Complete the wizard
You can see a summary of the items you are about to move.

Select Move to move your items. Select Cancel to exit the wizard process without moving any items, or select Back to return to a previous step in the process.
Further reading
Now you know how to move items to another subject from the Item Search screen, read the following articles to learn more:
- Searching for items with Item Search using the Keyword Search
- Searching for items with Item Search using the Semantic Search
- About the Item Search results grid
- Creating an item list using Item Search
- Sharing items with another subject master list from Item Search
- Exporting items to Excel from the Item Search screen