Generating a custom report
Custom reports can also be generated using the CustomReportGeneration API.
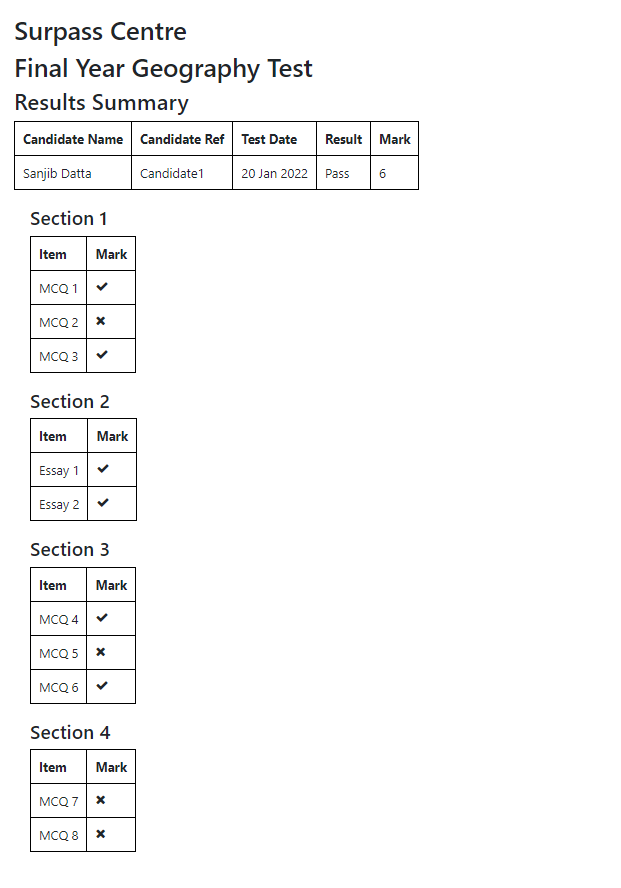
Custom reports contain test feedback for individual candidates, based on a custom HTML file that includes placeholders for a candidate’s scoring information. For more information on creating a custom report template, read Creating a custom report template.
This article explains how to generate custom reports in the Custom Reports screen.
In This Article
1. Go to the Custom Reports screen
To view the Custom Reports screen, go to Reporting > Custom Reports.

For information on the Custom Reports grid, read About Custom Reports.
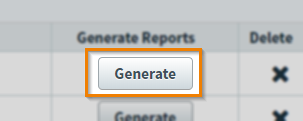
2. Select Generate
Select a corresponding Generate button to generate a custom report from a template.
3. Enter keycode(s)
Enter a valid keycode in the Generate Report dialog. Each keycode is used to generate a custom report containing test feedback for individual candidates, contained in one report.
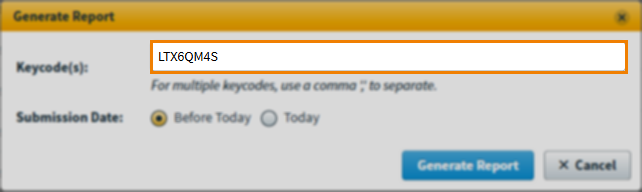
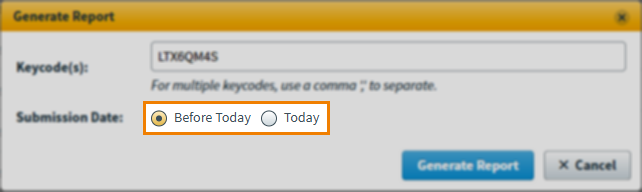
4. Choose a Submission Date
Choose whether the test(s) you want to generate data for were submitted Before Today or Today. If submitted Today, reports can only be generated from one keycode at a time.
5. Select Generate Report
Select Generate Report to generate the custom report. The custom report will open in a new tab in your browser.
Further reading
To learn more about Reporting, read the following articles: