Creating a Paper and Onscreen test in the Test Wizard
In Surpass, you can create tests that can be taken both on paper and onscreen. If the test is intended to be taken on paper, it can be printed and delivered to candidates.
This article explains how to create a Paper and Onscreen test with the Test Wizard, including how to create paper tests using dynamic rules. For more information about the Paper and Onscreen test type, read About test types in the Test Wizard.
In this article
1. Go to your subject
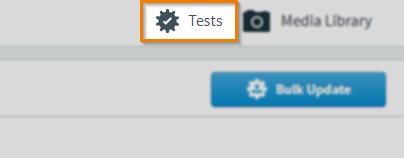
You can create a test with the Test Wizard in Item Authoring. In your subject, select Tests to open the Test Wizard menu.
2. Create your test
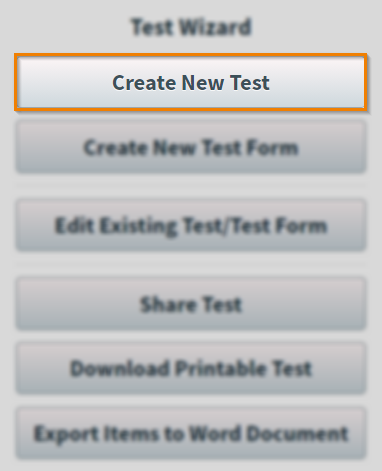
Select Create New Test to create a test with the Test Wizard.
3. Choose your test type
In the Test Wizard dialog, select Paper and Onscreen to create a paper and onscreen test.
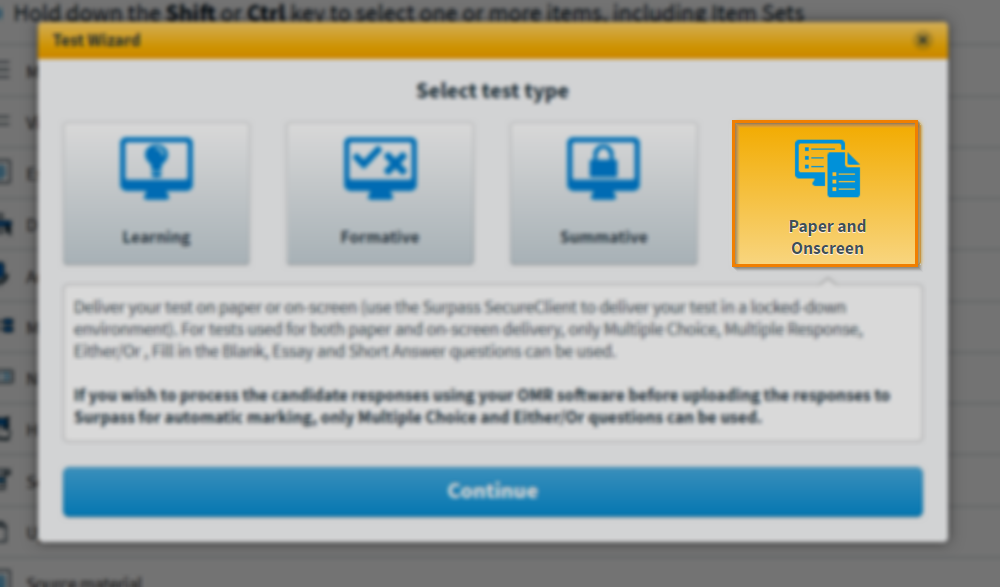
Select Continue.
4. Configure your test settings
You can configure your test and test form settings in the Settings screen. For more information about tests and test forms, read About tests in the Test Wizard and About test forms in the Test Wizard.
Test details
| Detail | Description |
|---|---|
| Test Name | The test’s name. |
| Test Reference | The test’s unique alphanumeric reference code. |
| Test Status | The test’s workflow status (Draft or Live). |
| Test Style | The test’s navigation style. |
| Test Profile | The test profile applied to the test. For more information, read About test profiles. |
| Test Availability | The period of time in which the test is available for scheduling. |
Test form details
| Detail | Description |
|---|---|
| Test Form Name | The test form’s name. |
| Test Form Reference | The test’s unique alphanumeric reference code. |
| Test Form Status | The test’s workflow status (Draft or Live). |
| Grade Boundary Type | The type of grade boundary. The default grade boundary types are: Score and Percentage. |
| Grade Boundaries |
The test form’s grade boundaries. You can set up to ten custom grade boundaries for your test form. Grade boundaries can be defined on either percentages or numerical scores. For more information, read Setting up grade boundaries. Select Add to add more custom grade boundaries. |
Select to continue.
5. Choose your items
To find an item, you can use the free text search bar to search for item names or question text content.

Select Question Text to view items by question text. Select Item Name to view items by their name.

To add an item to a test, choose your item and select Add or drag the item into the test. You can use Control and Shift to select multiple items at a time.
Using random selection
You can add dynamic content to tests created in the Test Wizard. Drag folders into your test and define how many items you want to select from that folder. When the test is delivered to candidates, a random selection of items are chosen from that folder.
To create a dynamic rule, drag a folder into the test.
Give the rule a name in Rule Name and enter how many items you want to be taken out of the folder for the test in the entry field.

Select Create Rule to create your dynamic rule.
Adding sections to a test
When you have chosen your items, you can add them to sections.
Select Use Sections to add two sections to your test.
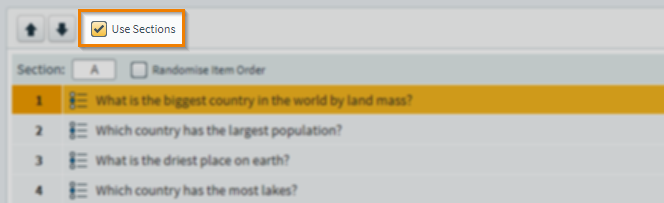
Select Add to add more sections.

To add an item into a section, drag the item over the section until an orange line appears. Release the item to add it to the section.
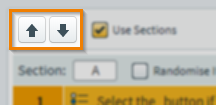
You can also use the arrows to reorder your items.
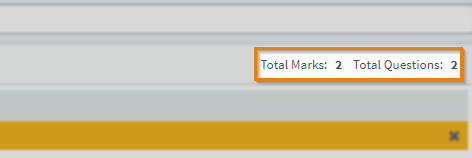
When you have added your items, you can see the total amount of marks and questions in the test.
Select to continue.
6. Choose cover pages and additional text
In the Basic Pages screen, you can choose to add cover pages and additional text to your test.

Candidate Cover
You can add a Candidate Cover to provide information to candidates at the start of a test. Select Upload to attach a cover page.
Teacher Cover
You can add a Teacher Cover to provide information to teachers at the start of a test. Select Upload to attach a cover page.
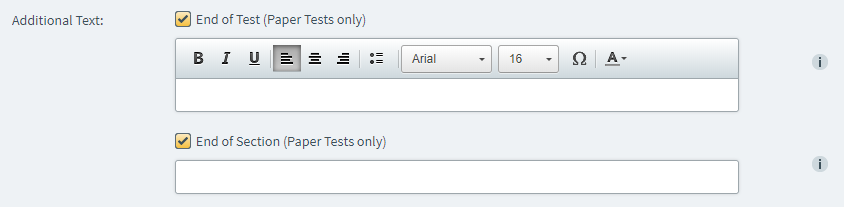
Additional Text
To include text at the end of a paper test, select the checkbox and enter your text into the formatting text box. This text can be a set of instructions. If your test includes sections, you can include text at the end of each section.
Select to continue.
7. Review your test
You can review your test in the Review screen.
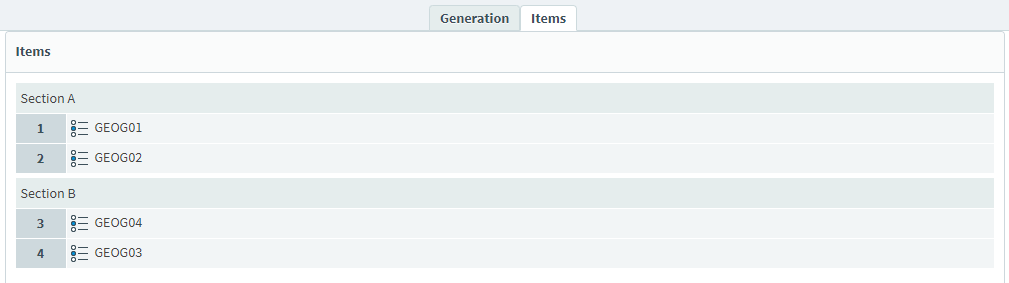
Viewing your items
In the Items tab, you can review the items in your test.
Viewing the test summary
You can see a summary of your test in the Test Summary panel.
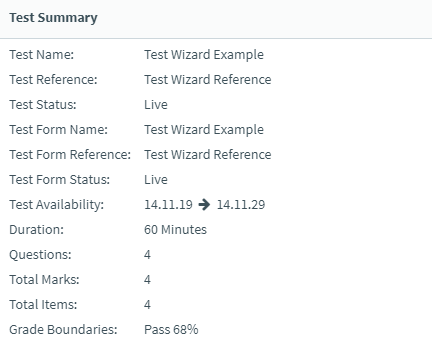
The following table displays the details in the Test Summary panel:
| Detail | Description |
|---|---|
| Test Name | The test’s name. |
| Test Reference | The test’s unique alphanumeric reference code. |
| Test Status | The test’s status. |
| Test Form Name | The test form’s name. |
| Test Form Reference | The test form’s unique alphanumeric reference code. |
| Test Form Status | The test form’s status. |
| Test Availability | The period of time in which the test is available for scheduling. |
| Duration | The test’s duration in minutes. |
| Questions | The total number of questions in the test. |
| Total Marks | The total number of marks available in the test. |
| Total Items | The total number of items in the test, including Basic Pages and Survey Items. |
| Grade Boundaries | The test’s grade boundaries. |
8. Create your paper and onscreen test
Select Create Test to create your test.

Select Confirm to confirm you want to create your test. You are notified if your test is created successfully. You can continue to edit the test in the Test Wizard, but it cannot be amended if it is edited in Test Creation.
Select Close Test to return to the Subjects screen.

9. Download your test
When you have created your test, the Download Candidate Paper and Download Teacher Paper options are available in the Generation tab. For more information, read ‘Choose your test download type’ in the Downloading printable tests with the Test Wizard article.

10. Generate dynamic paper tests
If your test contains dynamic content, you can generate multiple versions of your test after it has been created.
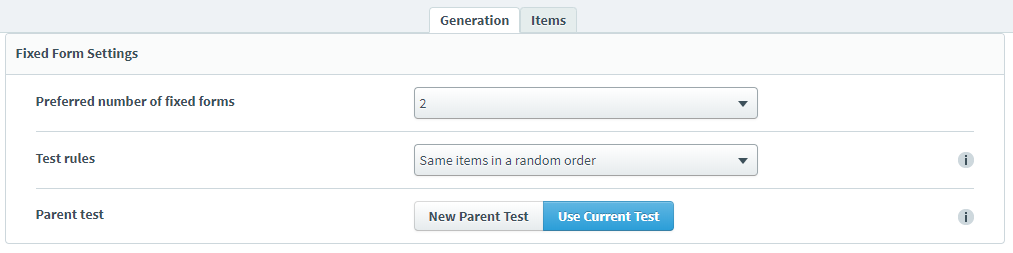
You can configure your paper tests in the Generations tab.
| Setting | Description |
|---|---|
| Preferred number of fixed forms |
Determines the number of fixed test forms.
NOTE: You can generate a maximum of five test forms.
|
| Test rules |
Determines the rules for your paper test. Choose one of the following options:
|
| Parent test | Determines whether a new parent test is created for every new test form (New Parent Test) or if all new test forms are added to the current test (Current Test). |
Select Generate Fixed Test Forms to generate your test forms.
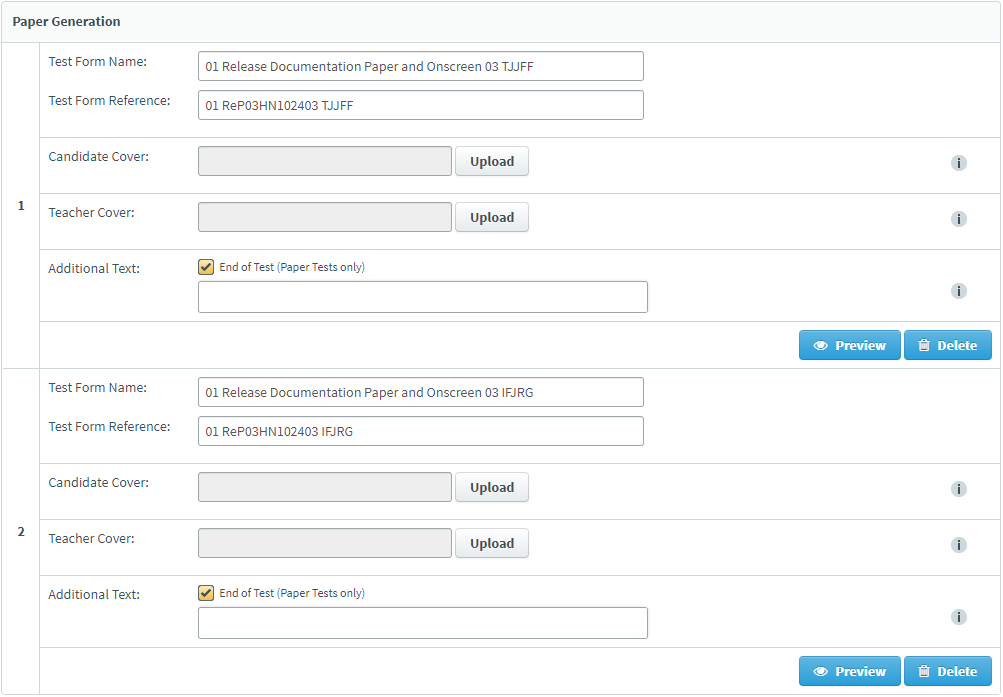
In the Paper Generation dialog, you can view a summary of your test forms. You can also upload different candidate and teacher covers and additional text for each test form. Select Preview to view the items in that test form. Select Delete to delete the test form.
Select Save Generated Fixed Test Forms to save your changes. Select Close Test to return to the Subjects screen.
When candidates have sat paper tests, their responses can be uploaded into Surpass and marked onscreen using the Upload OMR Results functionality. For more information, read Uploading OMR Results in the Results screen.