About the Re-mark screen
In Surpass, the Re-mark screen is where you can review and re-mark scripts. This includes re-assigning marks, adding comments, and viewing the marking history of items in a test.
This article explains what the Re-mark screen is, how to navigate it, and how to use its features.
In this article
Navigating to the Re-mark screen
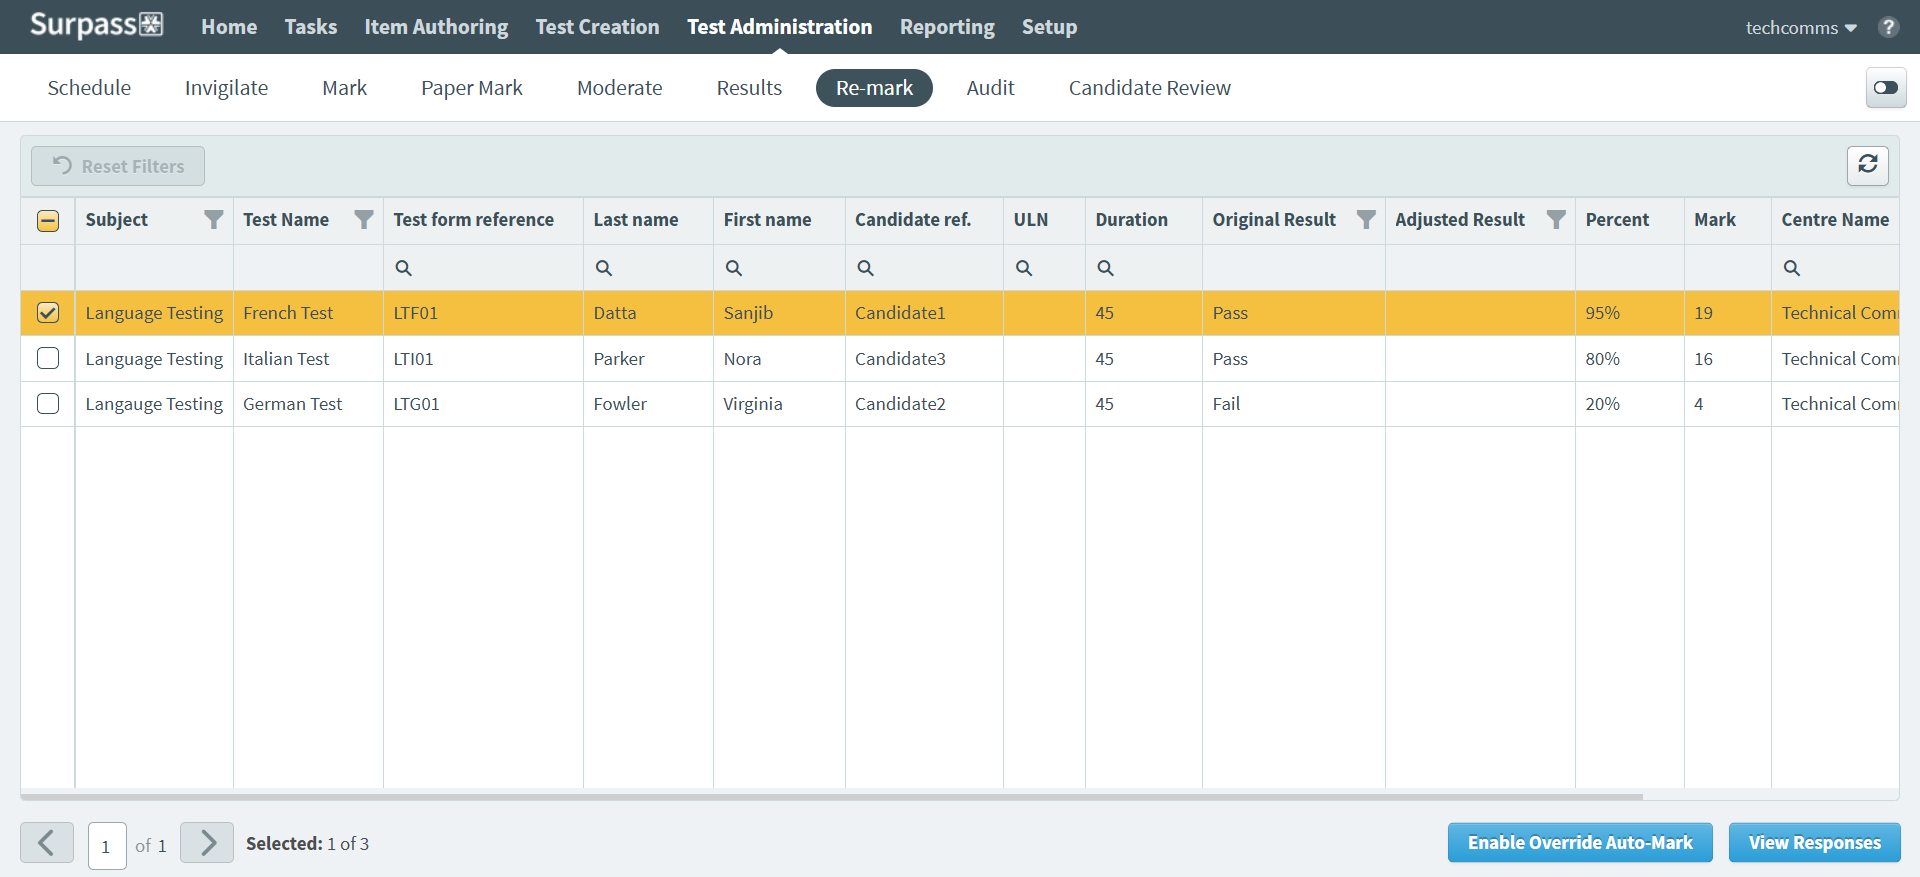
To view the Re-mark screen, go to Test Administration > Re-mark.

About the Re-mark grid
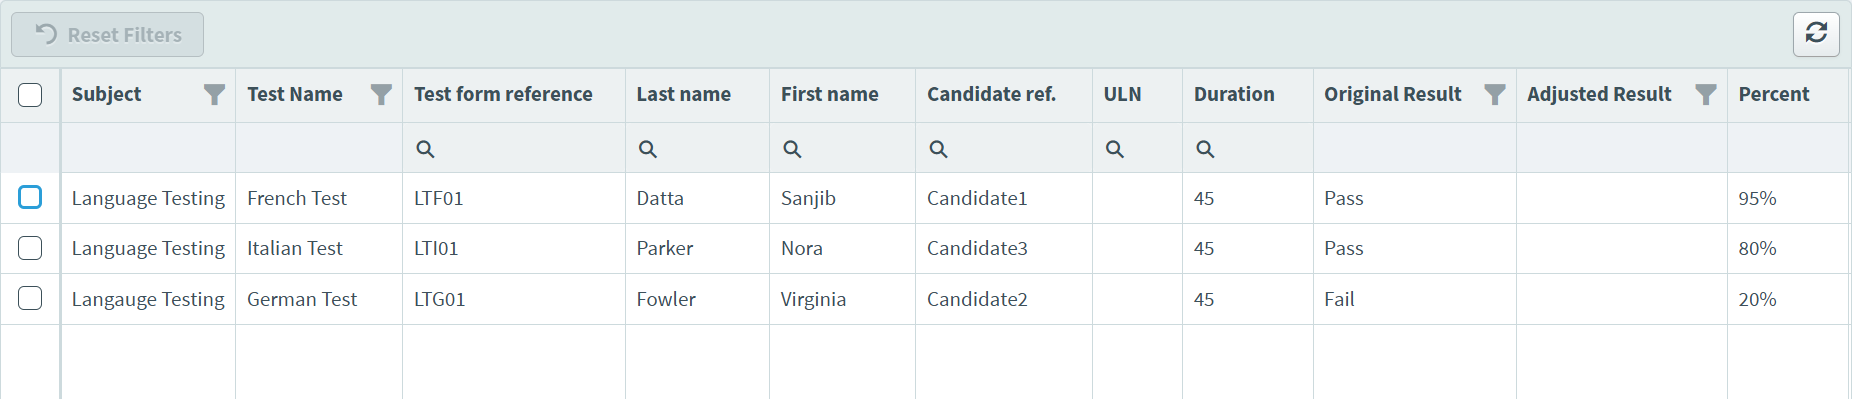
The Re-mark grid lists all scripts that you have access to. This access is determined by your subject-level permissions. For more information, read About roles and permissions. Refer to the following table for information on each column.
| Column | Description |
|---|---|
| Subject | Displays the name of the test’s parent subject. |
| Test Name | Displays the name of the test. |
| Test form reference | Displays the test form’s unique reference number. |
| Last name | Displays the candidate’s last name. |
| First name | Displays the candidate’s first name. |
| Candidate Ref. | Displays the candidate’s unique reference number. |
| ULN |
Displays the candidate’s unique learner number.
NOTE: Candidate ULN numbers only display if Enable ULN has been enabled in Site Settings.
|
| Duration | Displays the test’s time limit in minutes (computer based tests) or days (computer based projects). |
| Original Result | Displays the candidate’s original result. |
| Adjusted Result | Displays the candidate’s adjusted result after any grade boundary changes. |
| Percent | Displays the percentage score achieved by the candidate. |
| Mark | Displays the numerical mark achieved by the candidate. |
| Centre Name | Displays the name of the test’s parent centre. |
| Completed | Displays the date on which the candidate submitted their script. |
| Override Auto-Mark | Displays whether Override Auto-Mark is Enabled (allows markers to award marks to unattempted and computer-marked items) or Disabled. |
Finding scripts
By default, the Re-mark grid displays all scripts you have access to, ordered alphabetically by the Completed column. You can filter and sort to reorganise the Re-mark grid.
Filtering scripts
Some columns in the Re-mark screen can be filtered. You can identify these columns by the Search icon and Filter icon . The different icons correspond to the different types of available filters.
You can combine filters across multiple columns
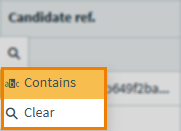
For Test form reference, Last name, First name, Candidate ref., ULN, Duration, and Centre Name, use the text field to filter the column data based on a specified string.
The filter is based on Contains logic. You can remove your entered text or select Clear to remove the filter.
For Duration, you can filter on a specific percentage or a percentage range. Open Filter and choose Between to filter on a percentage range or Equals to filter on a specific percentage.

For Subject, Test Name, Original Result, and Adjusted Result open Filter and choose which of the preset options you want to include in your filter. Use the search field to find a particular filter. Select OK to apply the filter.
For Completed, enter a date in DD/MM/YYYY format to filter the column. You can also use the Calendar to select a date. Use the Next and Previous arrows to navigate between months.

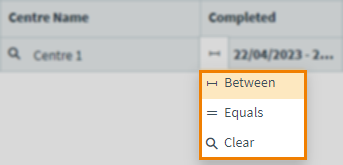
For Completed, you can also filter on a specific date or a range of dates. Open Filter and choose Between to filter on a range of dates or Equals to filter on a specific date.
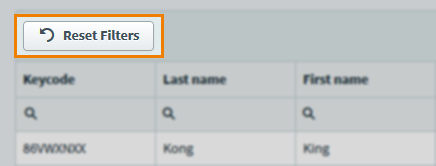
Select Reset Filters to clear any applied filters.
Sorting scripts
Select a column header to sort the cell data alphabetically or numerically in ascending () or descending () order. Select the column header to toggle between ascending and descending order.
Alternatively, you can right-click on a column header to Sort Ascending or Sort Descending.
Fixing columns
To fix columns in place in in the grid, right-click on a column header and select Fix To the left or Fix To the right.
Select Unfix to return columns to their original place in the grid.
Resizing columns
Click and drag between column headers to resize columns.
Changing pages
Scripts are organised into pages. Choose between displaying 50, 100, 150, or 200 scripts per page using the drop-down menu.

Use Next and Previous to navigate between pages, or input a page number to navigate to that page.

Actions on the Re-mark screen
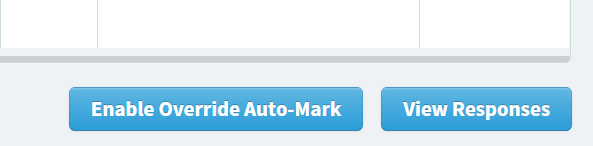
There are some actions you can take on the Re-mark screen. Refer to the following table for more information on each option:
| Setting | Description |
|---|---|
| Enable Override Auto-mark | Allows markers to award marks to unattempted and computer-marked items. |
| View Responses | Opens the Mark Script dialog, where you can review and re-mark scripts. For more information, read Re-marking a script in the Re-mark screen. |
Further reading
To learn more about the Re-mark screen, read the following articles: