Re-marking a script in the Re-mark screen
In the Re-mark screen, you can review and re-mark scripts. This includes re-assigning marks, adding comments, and viewing the marking history of items in a test.

This article explains how to re-mark a script in the Re-mark screen, including how to view candidates’ responses.
In this article
1. Go to the Re-mark screen
To re-mark a script, navigate to the Re-mark screen in Test Administration.

2. Choose a script
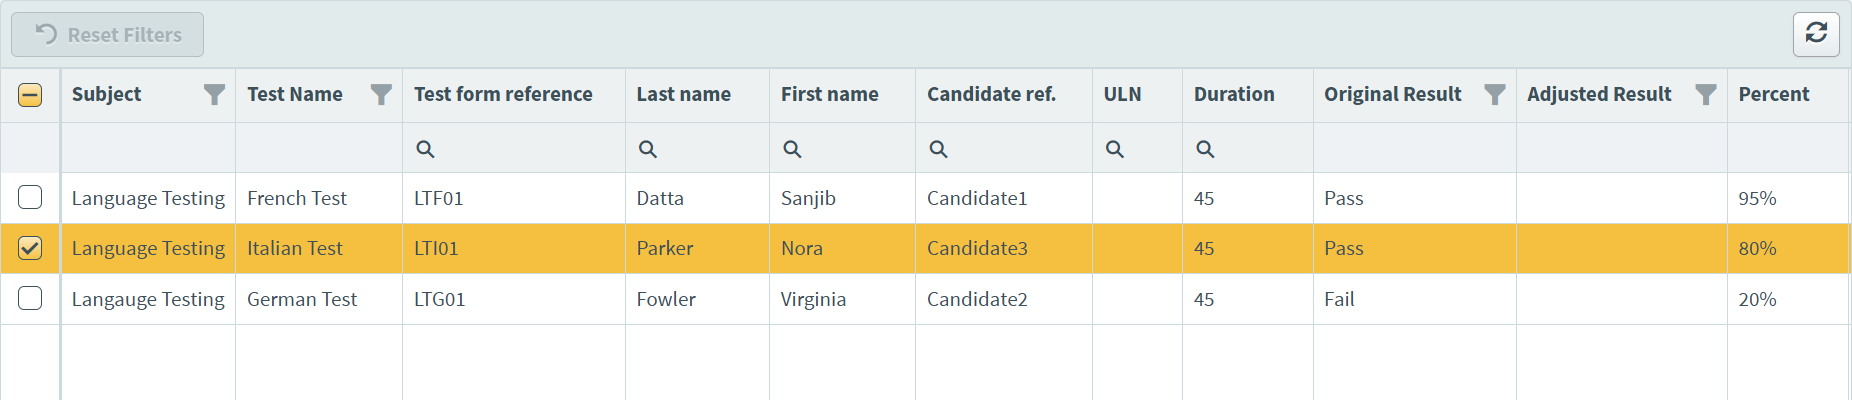
Select the relevant script in the Re-mark grid.
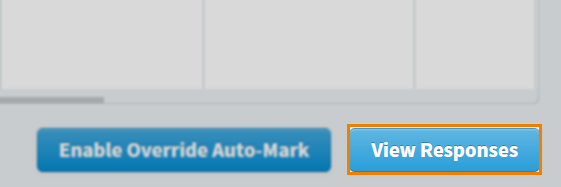
Select View Responses to open the Mark Script dialog.
3. Re-mark the script
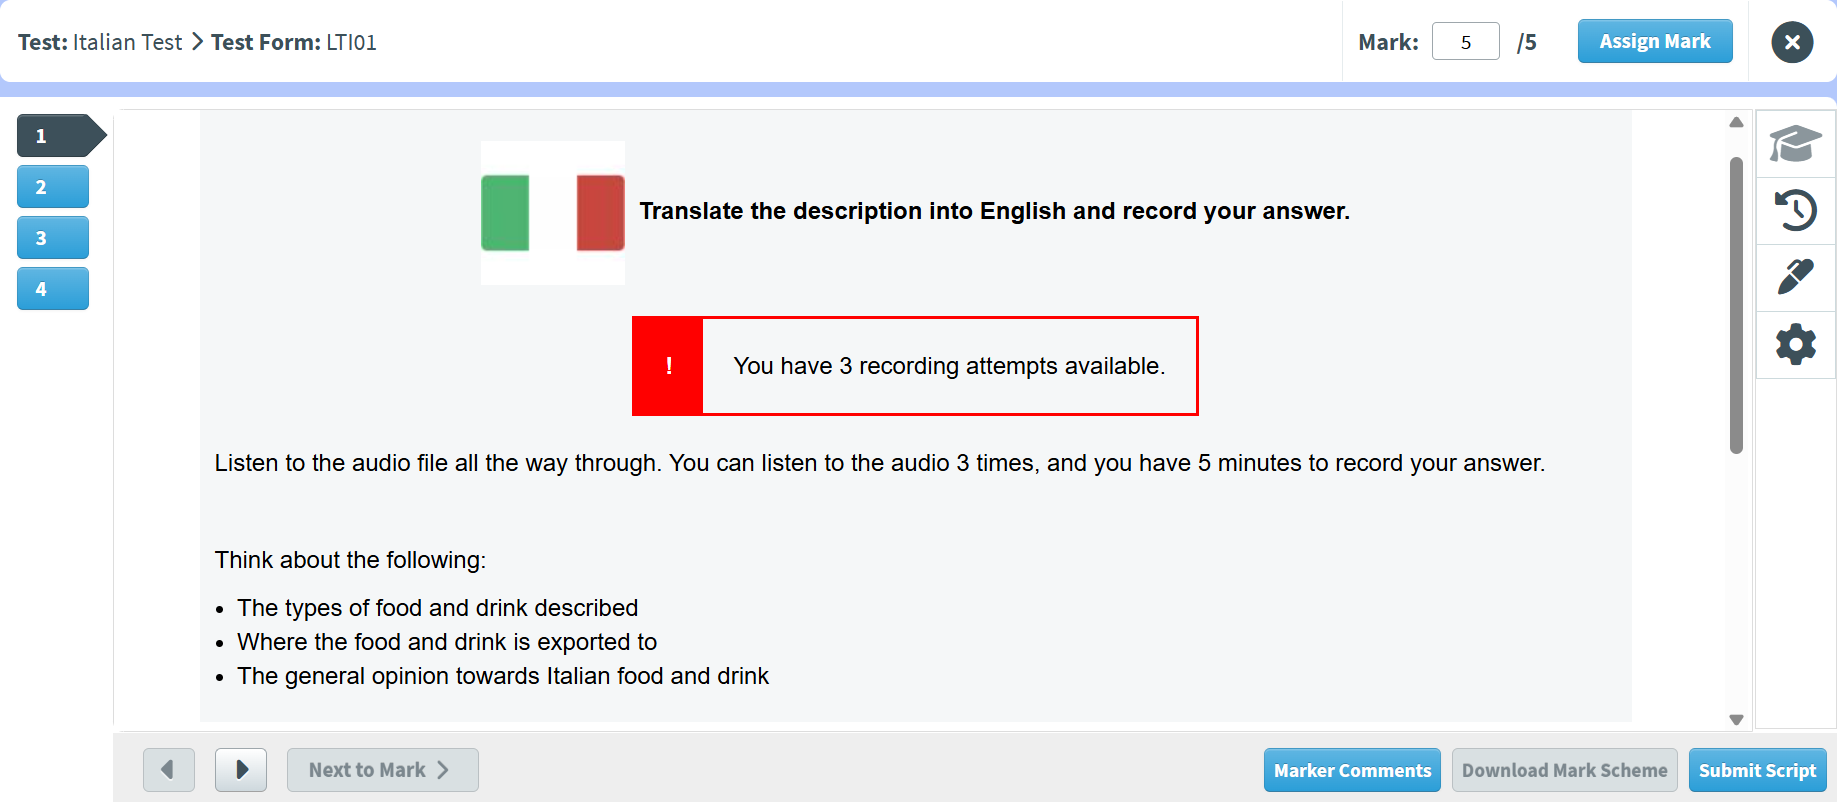
In the Mark Script dialog, you can view candidate responses, re-assign marks, view the response’s marking history, annotate the response, leave comments, and download the mark scheme.
For full instructions on how to mark a script, read ‘4. Mark the item’ in Marking a script in the Mark screen.
4. Submit the script
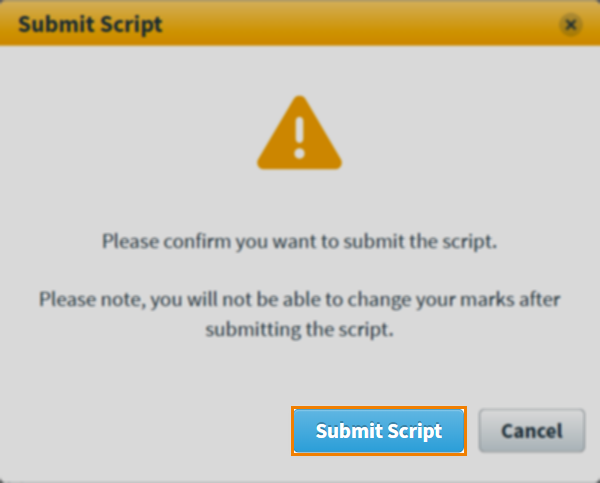
Select Submit Script in the Mark Script dialog when you have re-marked the script.
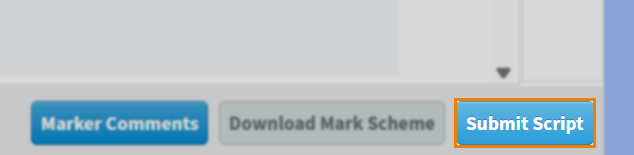
Select Submit Script to submit the re-marked script.
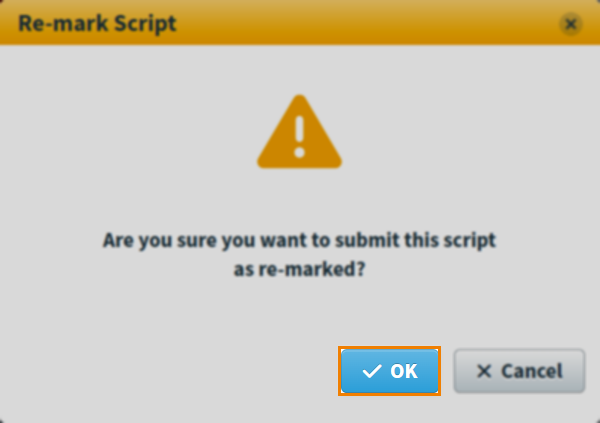
Select OK to confirm you want to submit the re-marked script.
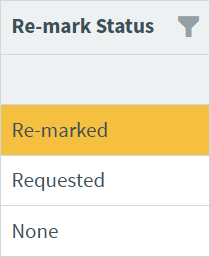
In the Audit screen, the script changes from Requested (flagged for re-mark) to Re-marked in the Re-mark Status column.
Further reading
Now you know how to re-mark a script in the Re-mark screen, read the following articles to learn more: