Adding additional files to File Attach items in the Mark screen
Additional files can be uploaded to candidate responses to File Attach items in the Mark screen.

This article explains how to add additional files to File Attach items in the Mark screen.
In this article
1. Go to the Mark screen

To add additional files to File Attach item responses, go to the Mark screen in Test Administration.
2. Choose a script
Select the relevant script in the Mark grid.
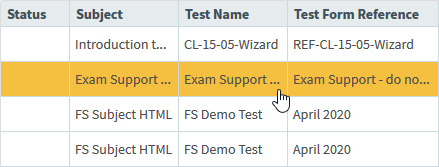
Select Mark Script to open the marking dialog.

3. Find the File Attach item response
In the Mark Script dialog, you can view candidate responses and add additional files to File Attach items. For more information about the Mark Script dialog, read Marking a script in the Mark screen.
If the test has multiple sections, use the section tabs to change the currently selected section. Use the item breadcrumbs to change the currently displayed item.
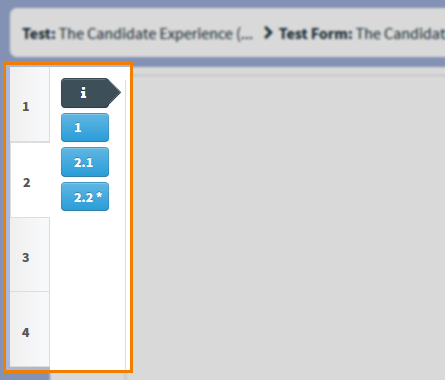
Select Previous to view the previous item in the script. Select Next to view the next item in the script.
Use the navigation tools to find the File Attach item response where you want to upload additional files.
4. Add additional files to a response
Select Choose File from the File Upload – Additional Files section of the response.
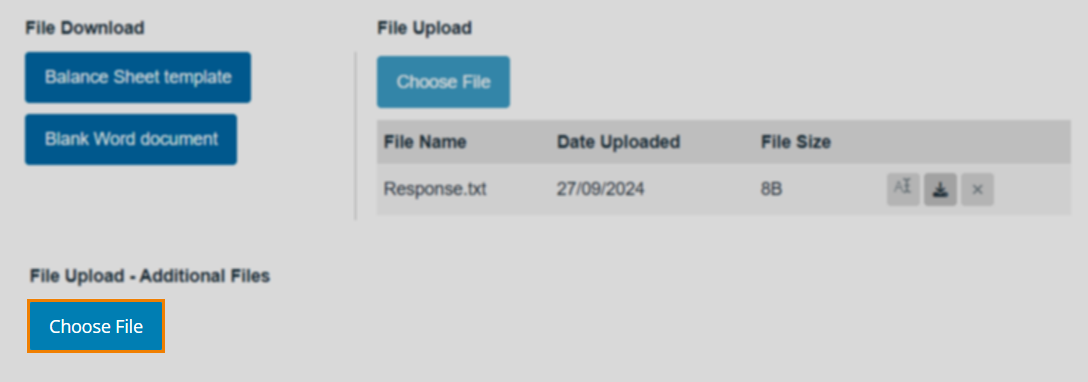
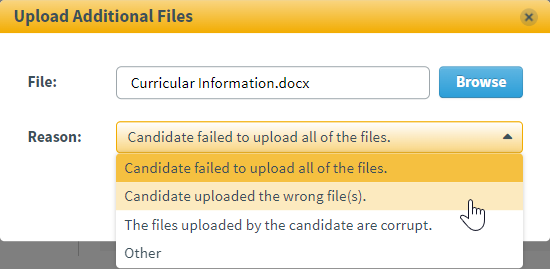
To add a file select Browse. You can rename the file in the File field.
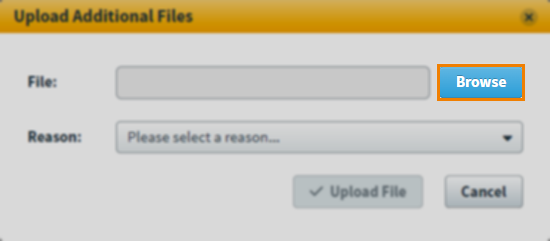
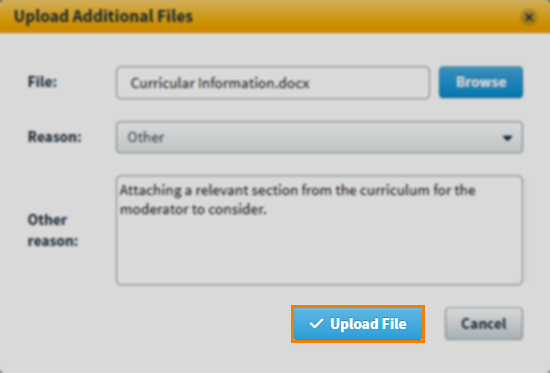
After choosing a file you want to upload from your device, select a reason from the Reason menu. If choosing Other, you must also provide an explanation of your reason in the Other reason field, between 15-250 characters.
Select Upload File to add the additional file to the item.
Your file is now displayed in the File Upload – Additional Files section of the response. Repeat these steps to add more files to the response.

5. Finish marking your item
Once you have uploaded your file, either close or continue marking the response. For more information on marking responses, read Marking a script in the Mark screen.

Further reading
To learn more about marking in Test Administration, read the following articles:
