Adding images to an item
You can add images to items in Item Authoring. Images can be embedded on the page or opened as a popup when delivered to candidates in a test.
This article explains how to add images to items, including how to import images into the media library.
In this article
1. Go to your item’s Edit screen
Select an item in your subject to open it and go to the Edit screen.

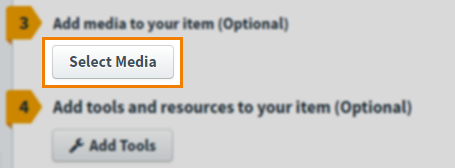
2. Open the Select Media dialog
Select Select Media on the Edit screen to open the Select Media dialog. The Select Media dialog is populated with media from your subject’s media library. For more information about the media library, read About the Surpass media library.
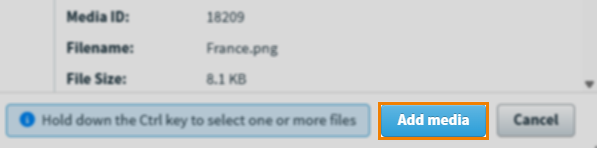
3. Choose your image
Choose an image from the media library and select Add media.
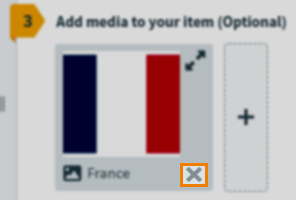
In the Edit screen, select Expand to enlarge your image.
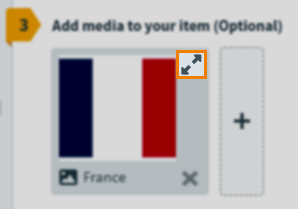
Select Collapse to revert the image back to a thumbnail.

Select Add media item to add another image (or other media) to your item.

To remove an image, select Remove media from this item .
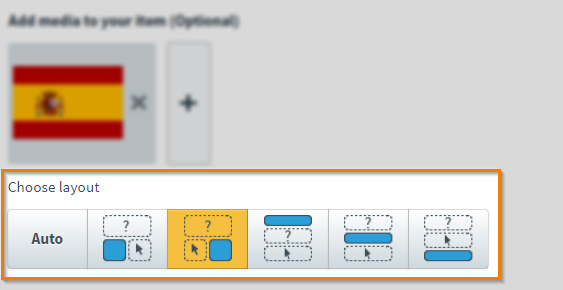
4. Choose your layout
You can determine the media’s layout by selecting a Choose Layout option.
| Icon | Setting | Description |
|---|---|---|
 |
Auto | Media is automatically laid out based on its dimensions. |
 |
Left of the Answer | Media is displayed to the left of the answer block. |
 |
Right of the Answer | Media is displayed to the right of the answer block. |
 |
Above the Question Text | Media is displayed above the question stem. |
 |
Above the Answer | Media is displayed between the question stem and the answer block. |
 |
Below the Answer | Media is displayed below the answer block. |
Adding images as pop-ups
Select Allow image to be opened as popup to let candidates open images in an image viewer in a pop-up screen.

For information on how candidates can interact with the image viewer, read Viewing images in the test driver.
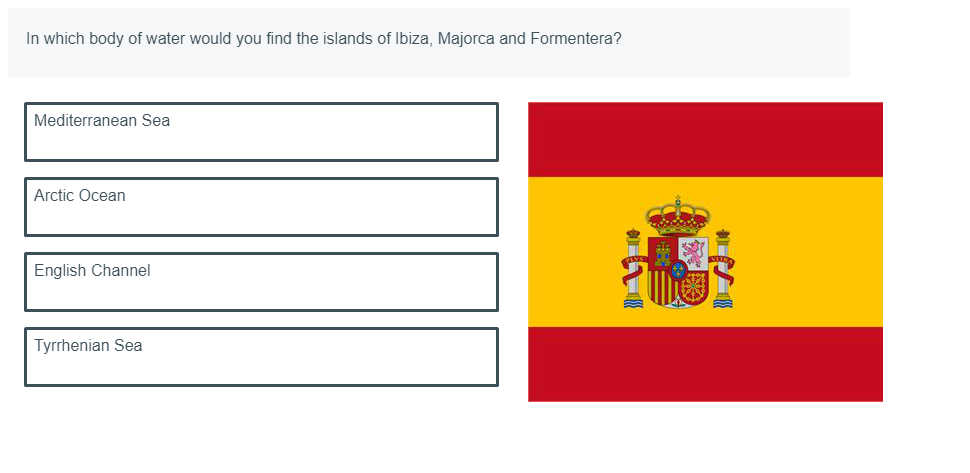
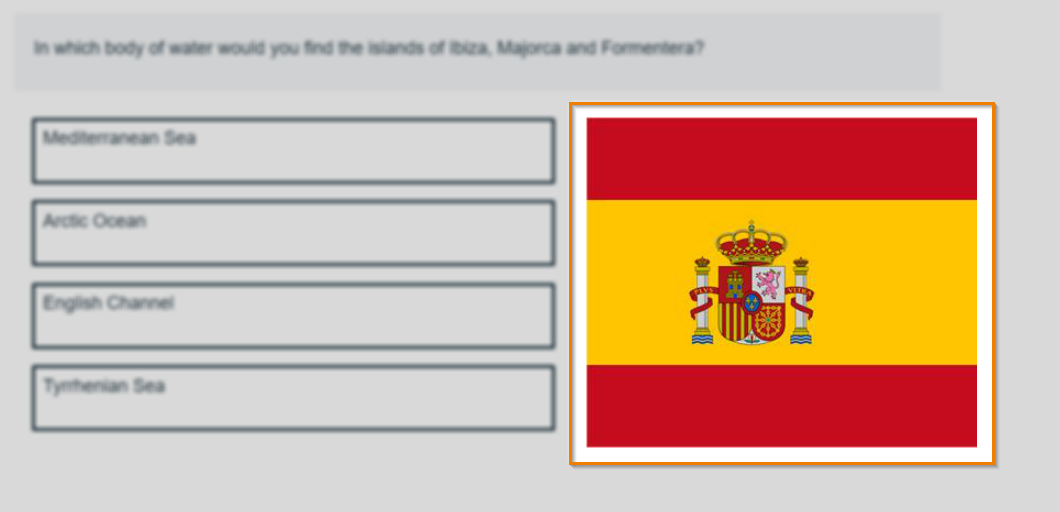
5. Preview your item
To see your item from a candidate’s perspective, select Preview .

You can preview your item with the image added.
6. Saving and closing your item
Select Save to save your item to your subject.

To see additional saving options, use the Save arrow to open the Save Options menu. Select Save & Close to save the item and return to the Subjects screen. Select Save & New to save the item and create another item.
Select Close to leave the Edit screen. If you have unsaved changes, you are prompted to either save or discard them.
Further reading
Now you know how to add images to items, read the following articles to learn more: