Using tag collections in items
In Surpass, you can attach metadata (known as “tags”) to items and then use these tags to organise items when authoring content, creating tests, and viewing results. Tags are made up of “tag groups” and “tag values”.
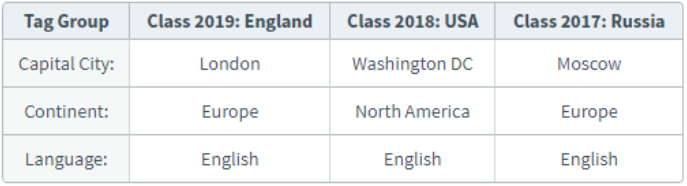
A “tag collection” lets you categorise tag groups and tag values, which is useful for comparing data across multiple tag groups. Tag collections are contained in “tag collection groups”. Tag collections are subject-specific.
This article explains how to give tag collections to an item.
In this article
1. Go to your item’s Edit screen
Select an item in your subject to open it and go to the Edit screen.

2. Open the Tag Collections dialog
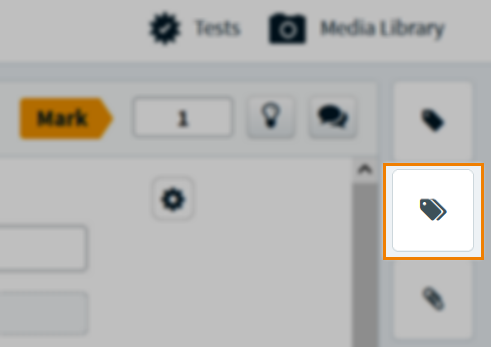
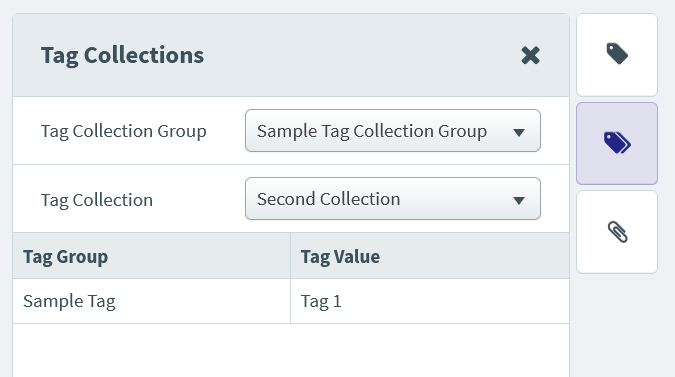
Select the Tag Collections button to open the Tag Collections panel.
3. Open the Manage Tag Collections dialog
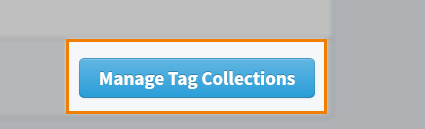
In the Tag Collections panel, select the Manage Tag Collections button to open the Manage Tag Collections dialog.
4. Create tag collections
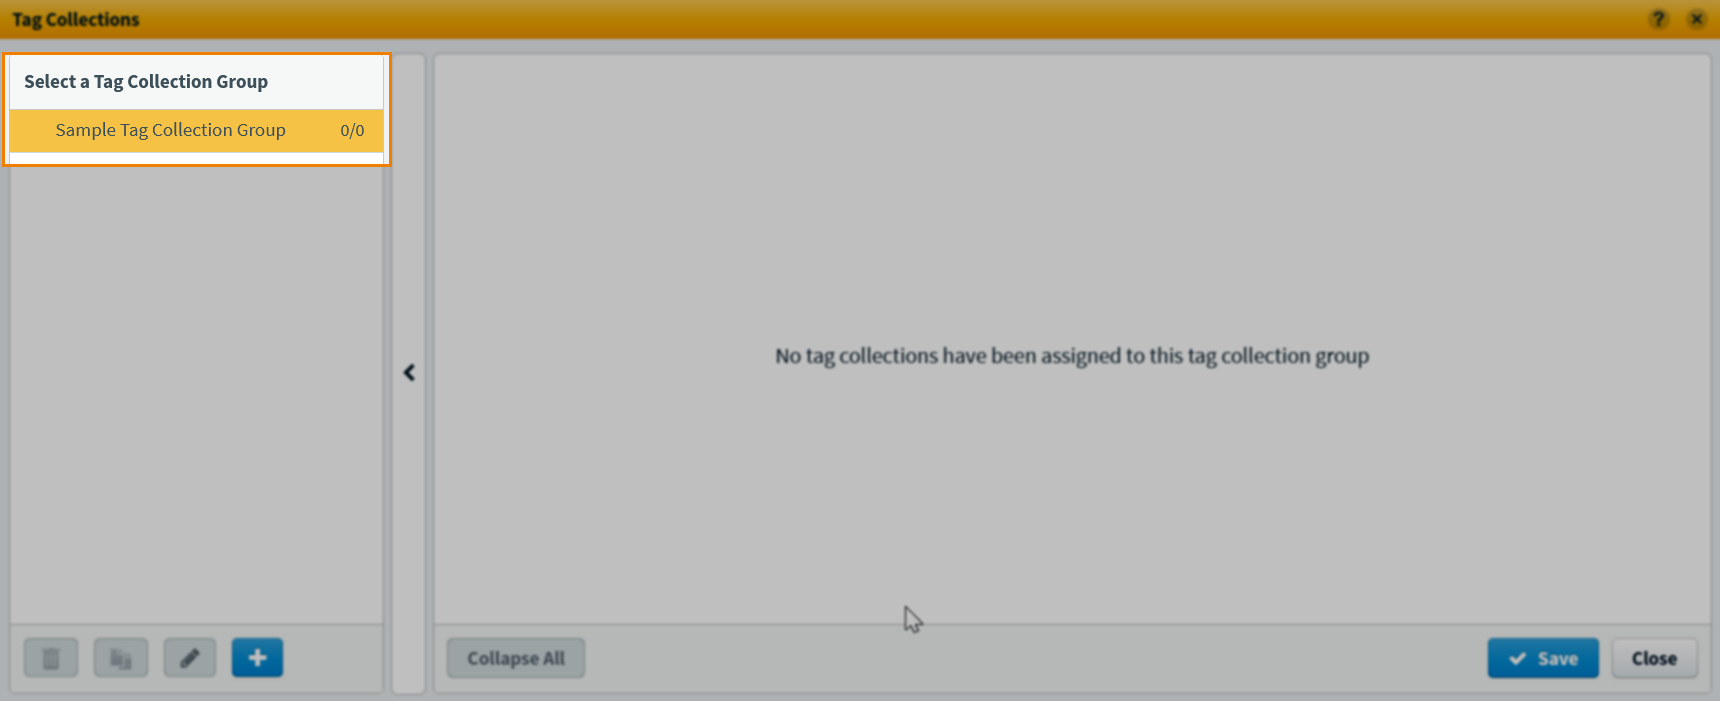
Select a Tag Collection Group from the list of available groups.
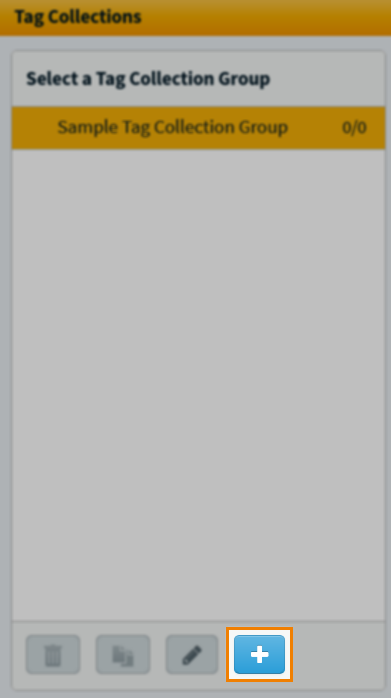
When you have chosen a tag collection group, select Create Tag Collection to create a tag collection or choose from predefined tag collection(s) to assign to your item.
Creating a tag collection from a tag collection template
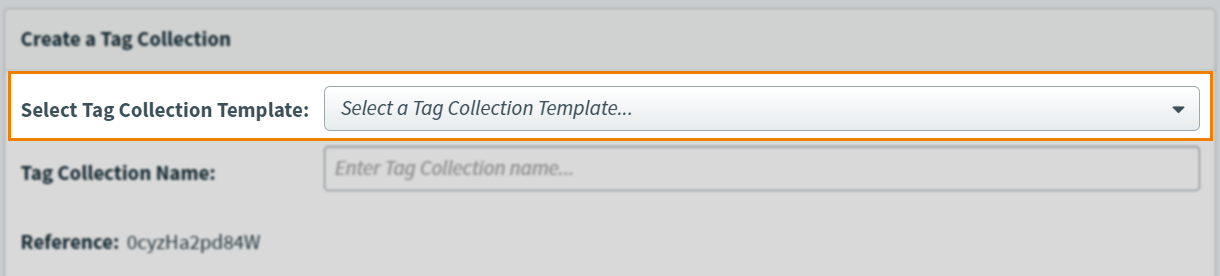
In the Select Tag Collection Template dropdown, choose a tag collection template from your chosen tag collection group. These are created in Setup. For more information, read Setting up tag collection groups.
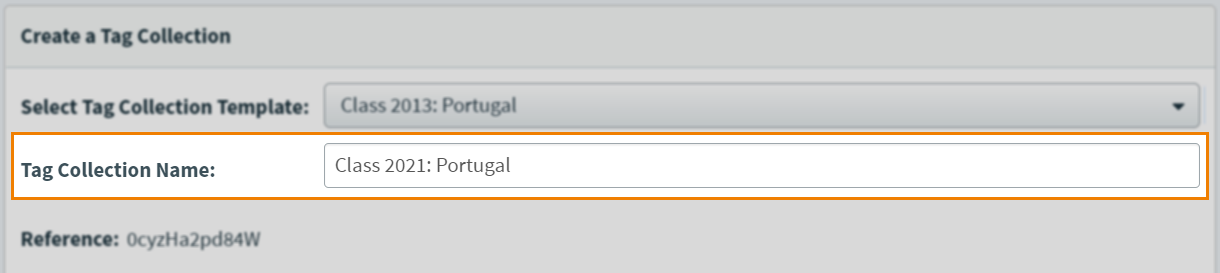
You can edit the name of the tag collection in Tag Collection Name.
In the Tag Groups and Tag Value table, you can edit the tag values assigned to each tag group assigned to the tag collection. Read ‘Creating a new tag collection’ later in this article for more information.
Creating a new tag collection
Enter a name for your tag collection in Tag Collection Name.

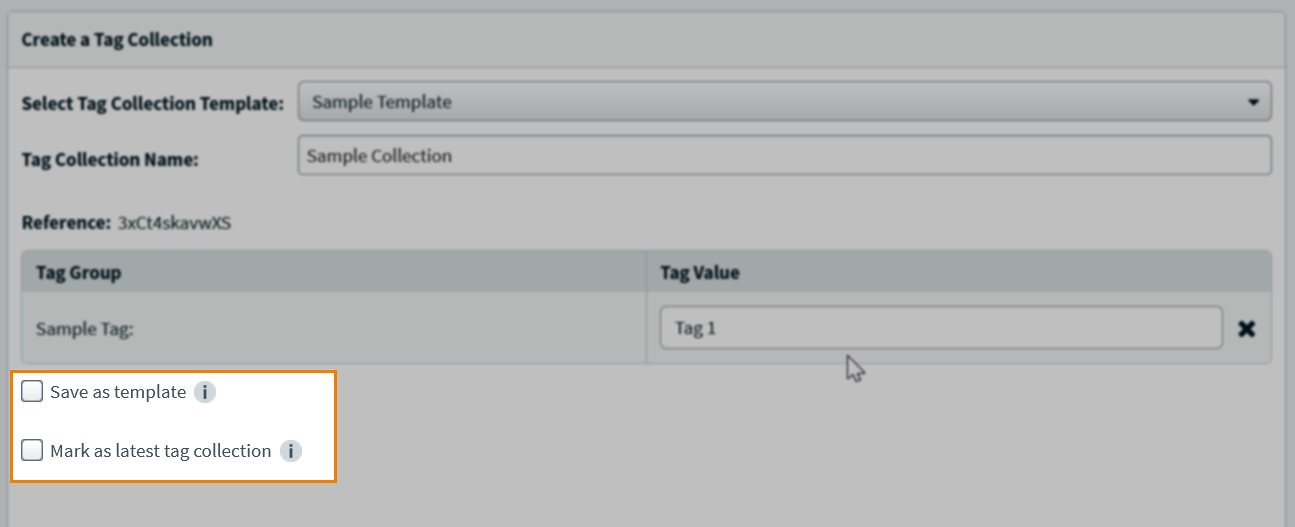
In the Tag Group and Tag Value table, you can view a list of the tag groups assigned to the tag collection.
Select Save as template to create a new tag collection template from your tag collection for the tag collection group. New tag collection templates created in Item Authoring are available to edit in Setup.
Select Mark as latest tag collection to determine the tag collection’s tag values as the most up to date. Only the latest tag values can be returned when searching for items in Item Search. For more information, read Searching for items with Item Search.
Select Create Tag Collection to assign tag collection(s) to your item.
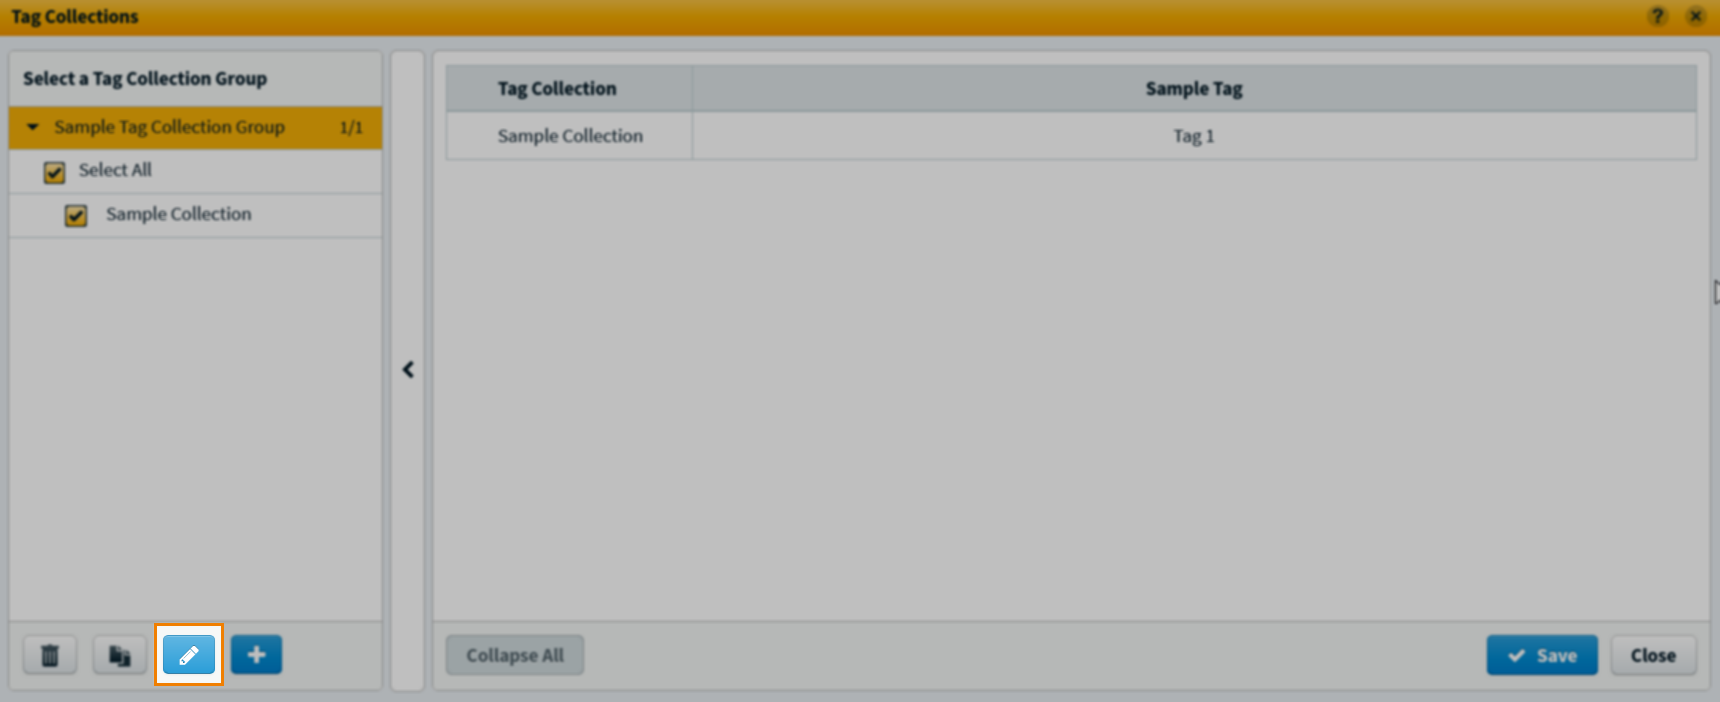
Editing tag collections
You can edit the tag collections assigned to your item in the Tag Collections panel. Open the Manage Tag Collections dialog, then select the Edit button to edit the tag collection. See step 4 (above) for full instructions on how to edit your tag collections.
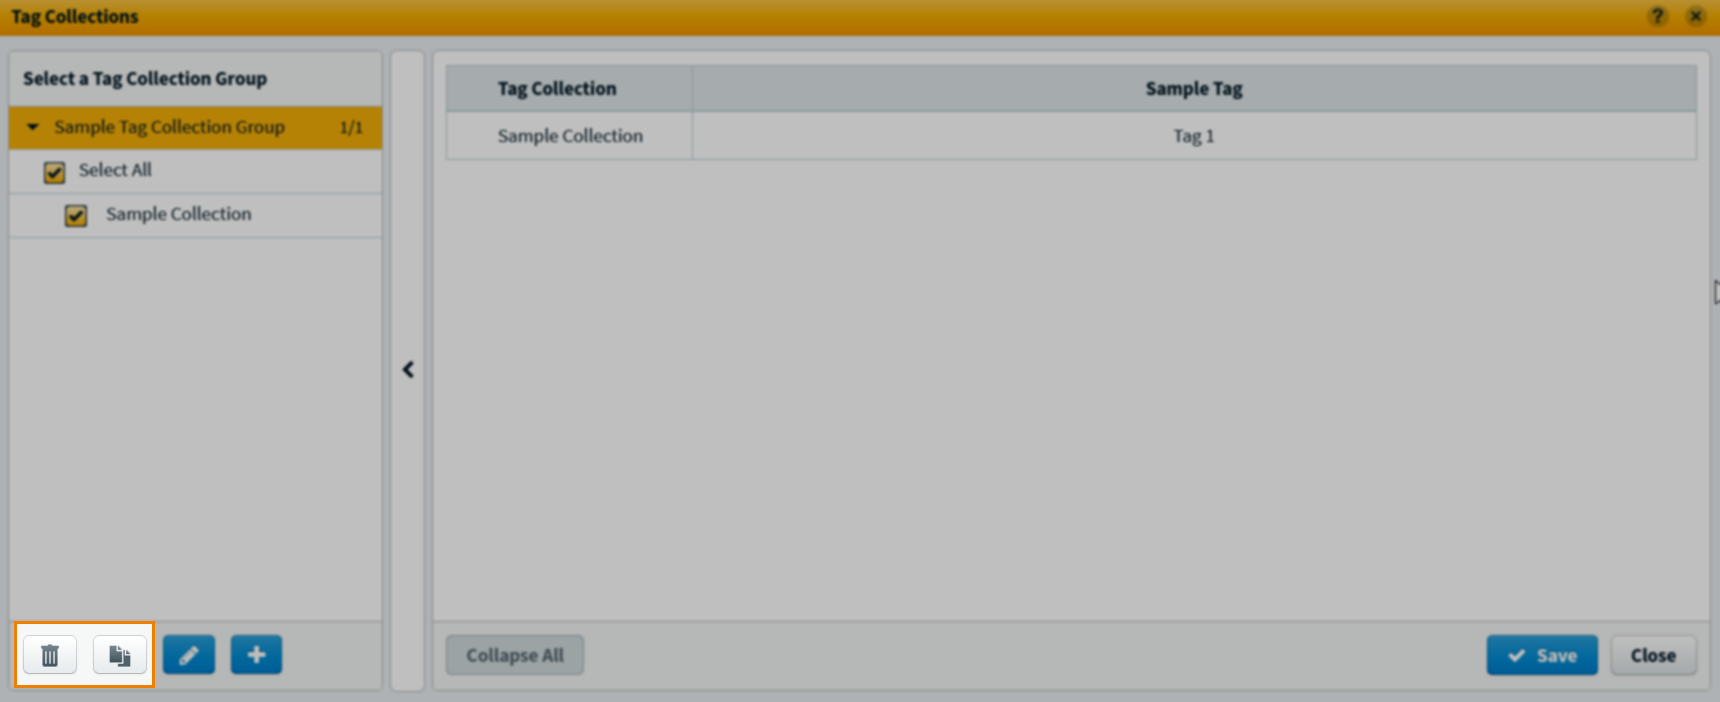
Select Delete to remove a tag collection from your chosen tag collection group. Select Duplicate to copy an existing tag collection. The copy takes the original tag collection’s name and prefaces it with Copy of.
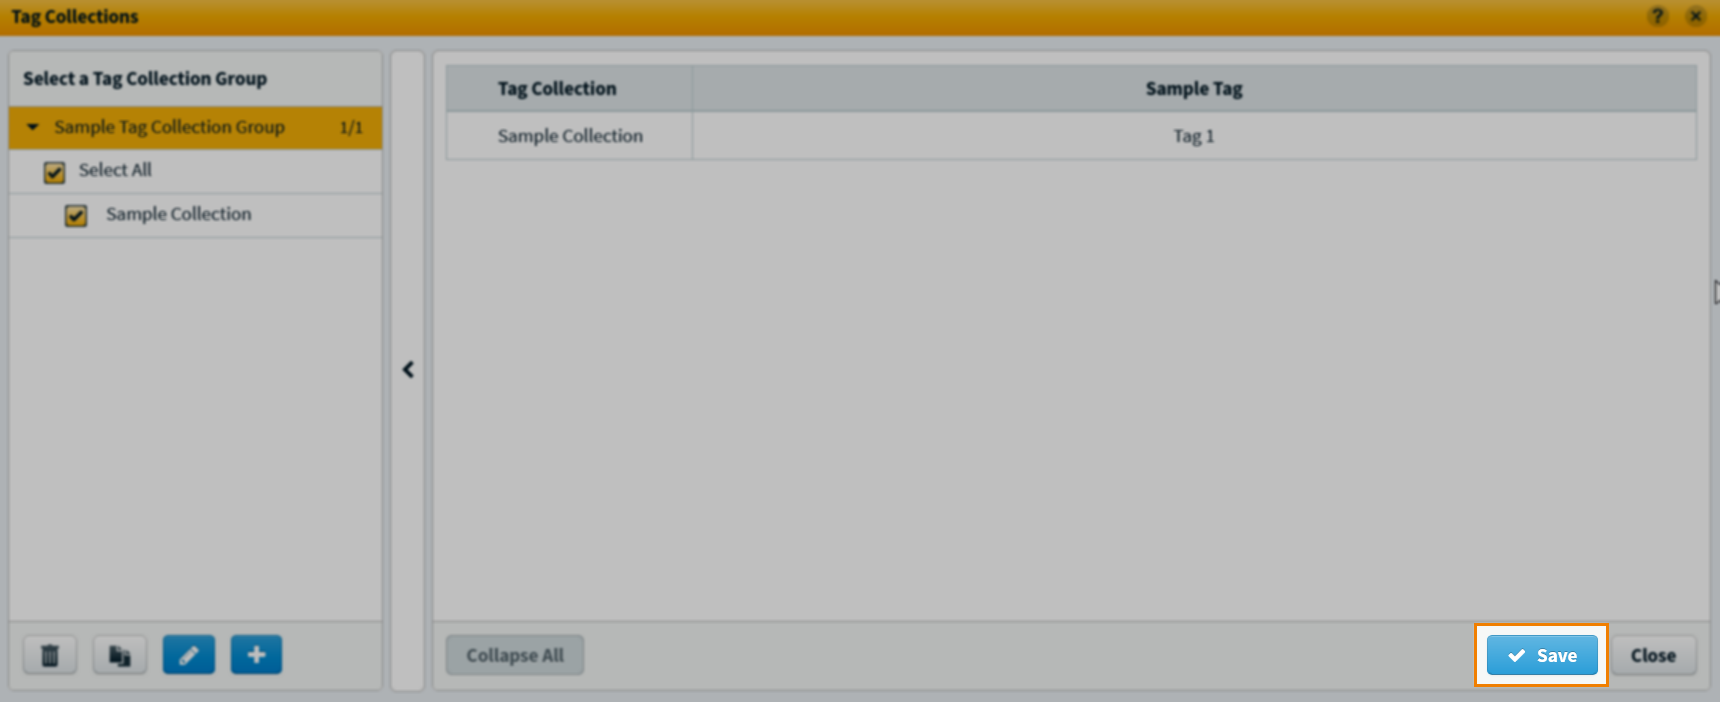
Select Save to save your changes to the Tag Collection.
5. Compare tag collections
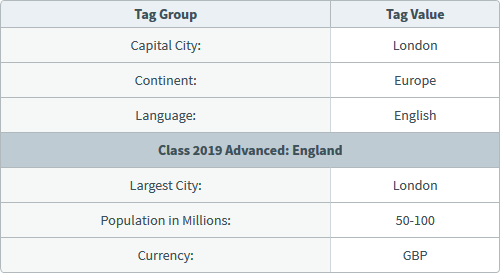
If tag collections have been assigned to your item, you can view their associated tag groups and tag values in the Manage Tag Collections dialog. This is useful if you want to compare data across multiple tag collections.
If subcollections have been given to your item using the TagCollectionGroup API, select Expand on their tag collection to view them.
Select subcollections to view their associated tag groups and tag values as part of their tag collection. You can view multiple subcollections within a single tag collection.
6. Check tag collection
You can see the name of the tag collection group and its associated tag collections assigned to your item in the Tag Collections panel.
7. Save the item
Select Save to save your item to your subject.

Further reading
To learn more about tags, read the following articles: