Editing a user
In Surpass, a “user” is someone who interacts with the system. Users create items, set up and schedule tests, mark scripts, and view reporting analytics. Users are always associated with at least one parent centre.
This article explains how to create a user in the Users screen of Setup, including details on how to retire a user and reset a user’s password and security question.
In this article
1. Go to the Users screen
To view the Users screen, go to Setup > Users.

2. Choose a user
Select the user you want to edit in the Users list.

3. Select Edit
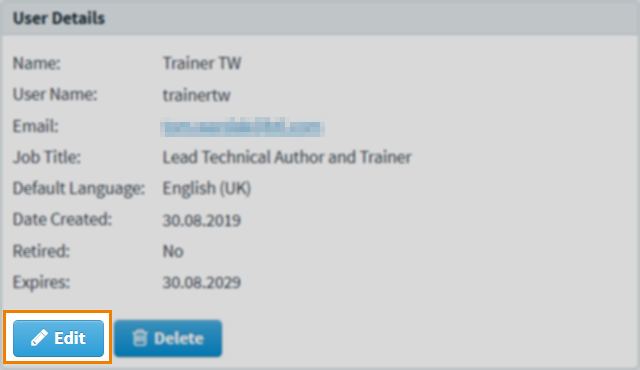
Select Edit in the User Details panel.

4. Edit user details

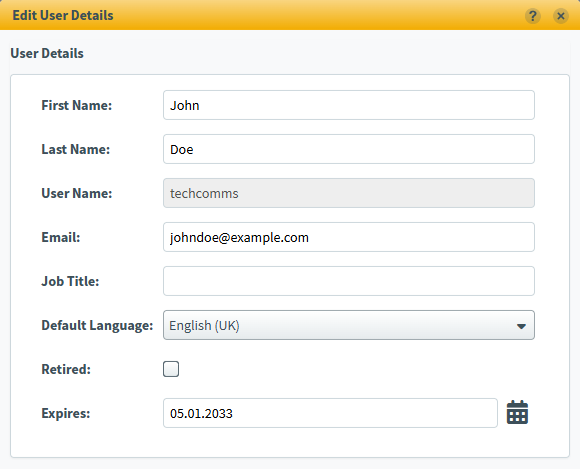
Edit the user’s details in the Edit User Details dialog. Refer to the following table for information on the editable fields.
| Field | Description |
|---|---|
| First Name* | Enter the user’s first name. |
| Last Name* | Enter the user’s last name. |
| User Name* |
NOTE: You cannot edit the user's user name.
|
| Email* | Enter the user’s email address. They are emailed a link to create a password before logging in for the first time. |
| Job Title | Enter the user’s job title at your organisation. |
| Default Language | Choose the user’s default navigation language for the Surpass interface. |
| Retired |
Retires the user. A retired user cannot log into Surpass.
NOTE: To reactivate a retired user's account, clear Retired.
|
| Expires |
Choose a date when the user expires. After the expiry date, the user will be unable to access Surpass. The default expiry date is ten years from the creation date.
NOTE: You can extend an expired user's expiry date to reactivate their account.
|
Enabling Tasks Daily Digest Emails

The Notifications section of Edit User Details lets you enable the Daily Digest Email. If enabled, users are sent an email summarising the key events of the day for tasks they are assigned to (e.g. user was assigned to a task, or a task went beyond its deadline).
Users can opt-in to these emails themselves in their My Profile options. For more information, read ‘Editing your user details’ in About My Profile options.
Resetting a user’s password and security question

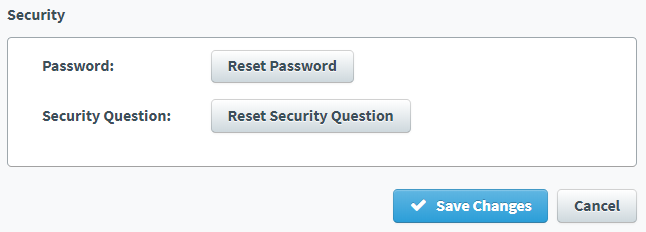
The Security section of Edit User Details allows you to reset the password and/or security question of the selected user.
Select Reset Password to send an email to the user containing a link to a password reset form.
Select Reset Security Question to send an email to the user containing a link to log into Surpass to then reset their security question.
5. Confirm changes
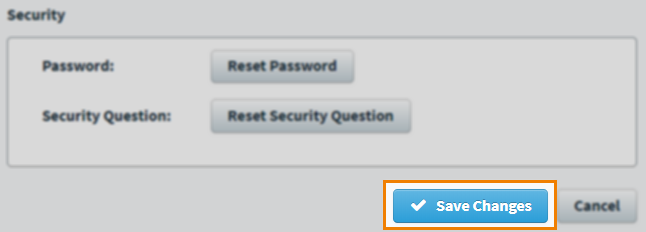
Select Save Changes to confirm the new user details.

Further reading
To learn more about working in the Users screen, read the following articles:
