Using the Source Material panel in Item Authoring
You can add source material to items in Item Authoring. Source material are files that candidates need to refer to when answering a question. Source material is added to the question stem and is not visible until candidates select a button. You can view source material side-by-side with item content when creating items in Item Authoring.
This article explains how to use the Source Material panel in Item Authoring, including how to navigate PDF files in the Source Material panel.
In this article
1. Go to your item’s Edit screen
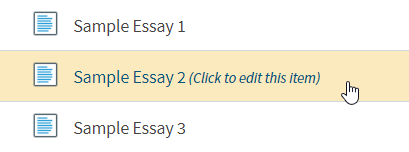
Select an item in your subject to open it and go to the Edit screen.

2. Open the question stem’s Additional Options
Select Additional Options next to the question stem to open the Additional Options menu.

3. Open the Source Material panel
If your item contains source material, select Open in side view to open the Source Material panel.

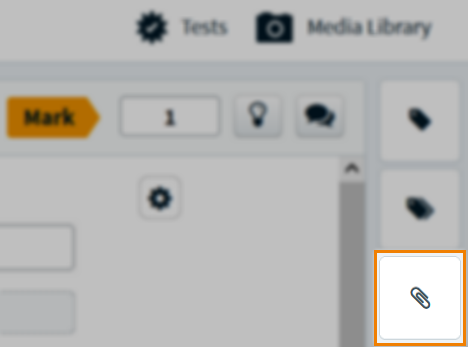
You can also open the panel by selecting Source Material . For more information on how to add source material to an item, read Adding source material to an item.

4. View the source material
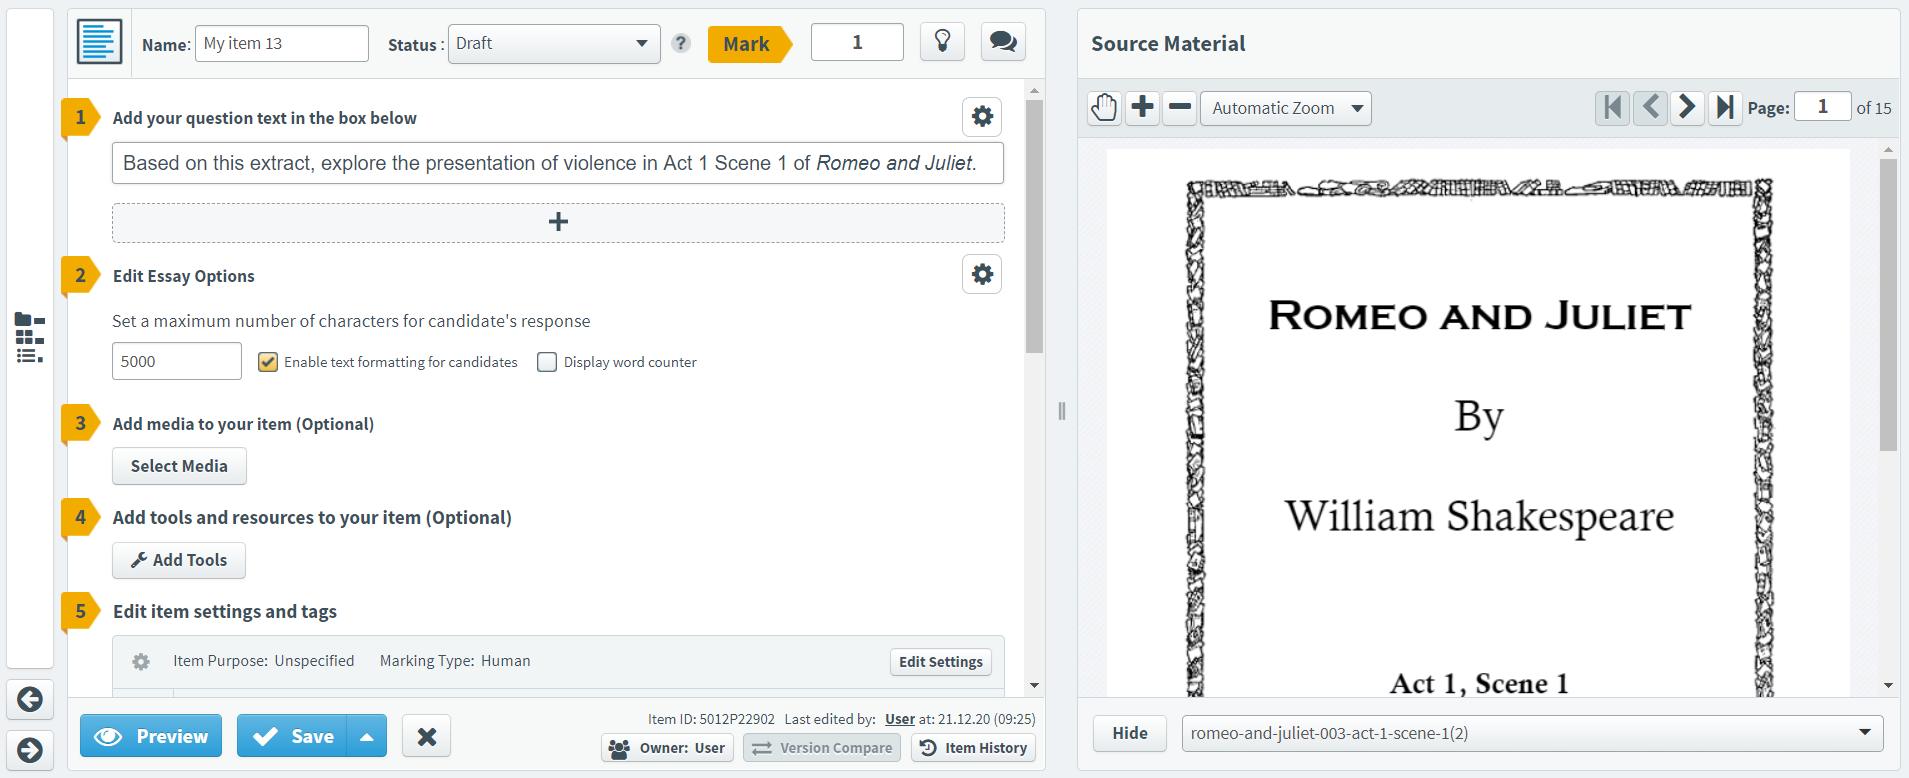
The Source Material panel displays source material side-by-side with item content in the Edit screen. The item tree collapses when the Source Material panel is open.

Use Previous item and Next item to navigate the item tree. The Source Material panel closes if the next or previous item does not contain source material.

Select the Folder () icons to open the item tree. The Source Material panel closes when the item tree is reopened.

Select Hide to close the Source Material panel.

Finding source material
Select the Source Material menu to navigate source material attached to your item. To find source material, search for it in the Source Material name search bar.

Using the PDF viewer
You can use the PDF viewer in the Source Material panel to view PDF files added as source material. Navigate between pages of a PDF file using the navigation controls.
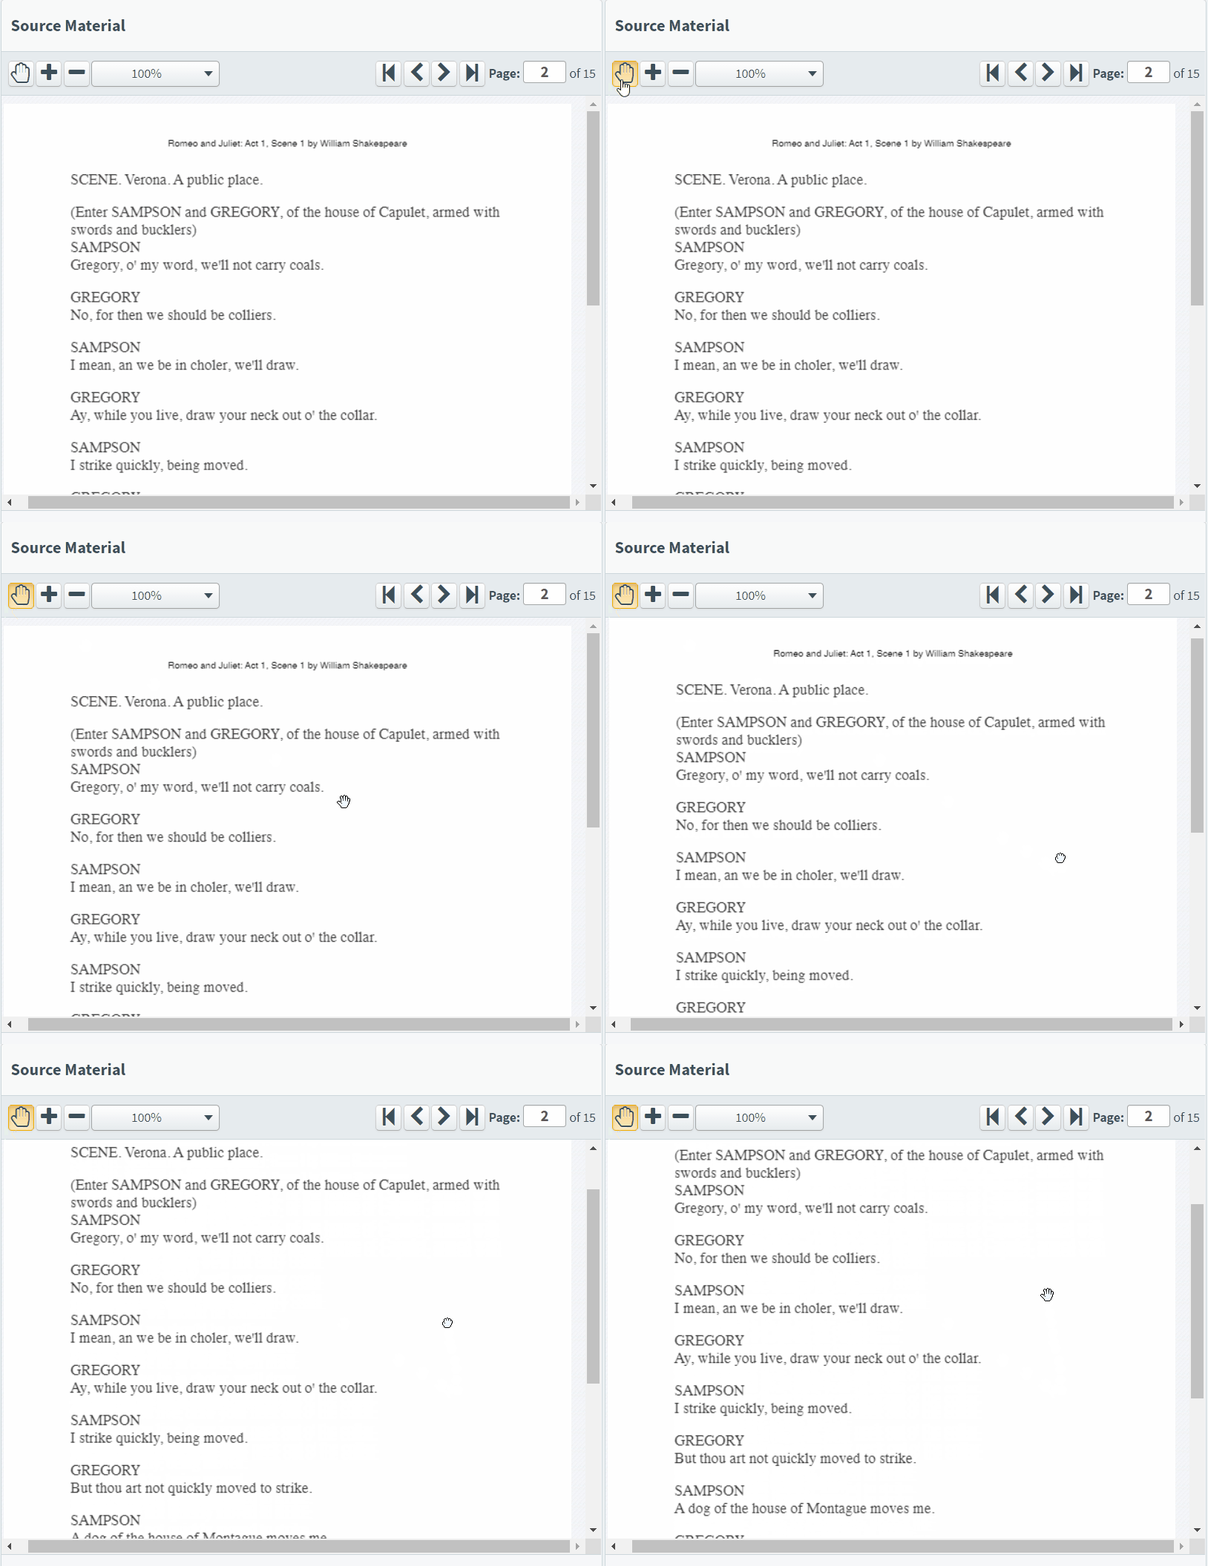
Use your mouse wheel or the hand tool () to scroll through the PDF file.

Use Next and Previous to navigate between pages. Use Go to Last Page or Go to First Page to jump to the final page or the first page of the PDF file.

Enter a page number in the Page field and press Enter to navigate to a specific page in the PDF file.

Zoom in and out of PDF files to magnify content. Select Zoom In to zoom in. Select Zoom Out to zoom out. Additional zoom options are available in the Zoom menu.

Refer to the following table for more information on each option.
| Setting | Description |
|---|---|
| Automatic Zoom | Sets zoom level automatically based on screen size. |
| Actual Size | Sets zoom level to 100%. |
| Page Fit |
Sets zoom level to fit one full page on screen. |
| Page Width | Sets zoom level so that the PDF file takes up the full width of the PDF viewer. |
| 50% | Sets zoom level to 50%. |
| 75% | Sets zoom level to 75%. |
| 100% | Sets zoom level to 100%. |
| 125% | Sets zoom level to 125%. |
| 150% | Sets zoom level to 150%. |
| 200% | Sets zoom level to 200%. |
| 300% | Sets zoom level to 300%. |
| 400% | Sets zoom level to 400%. |
Further reading
Now you know how to use the Source Material panel in Item Authoring, read the following articles to learn more:
