Using the high-fidelity image viewer in the test driver
Candidates can use the high-fidelity image viewer in SecureClient to view grouped images added as source material. Candidates can examine images in detail, maximise the image to the full size of their screen, and use a range of controls to view the image.
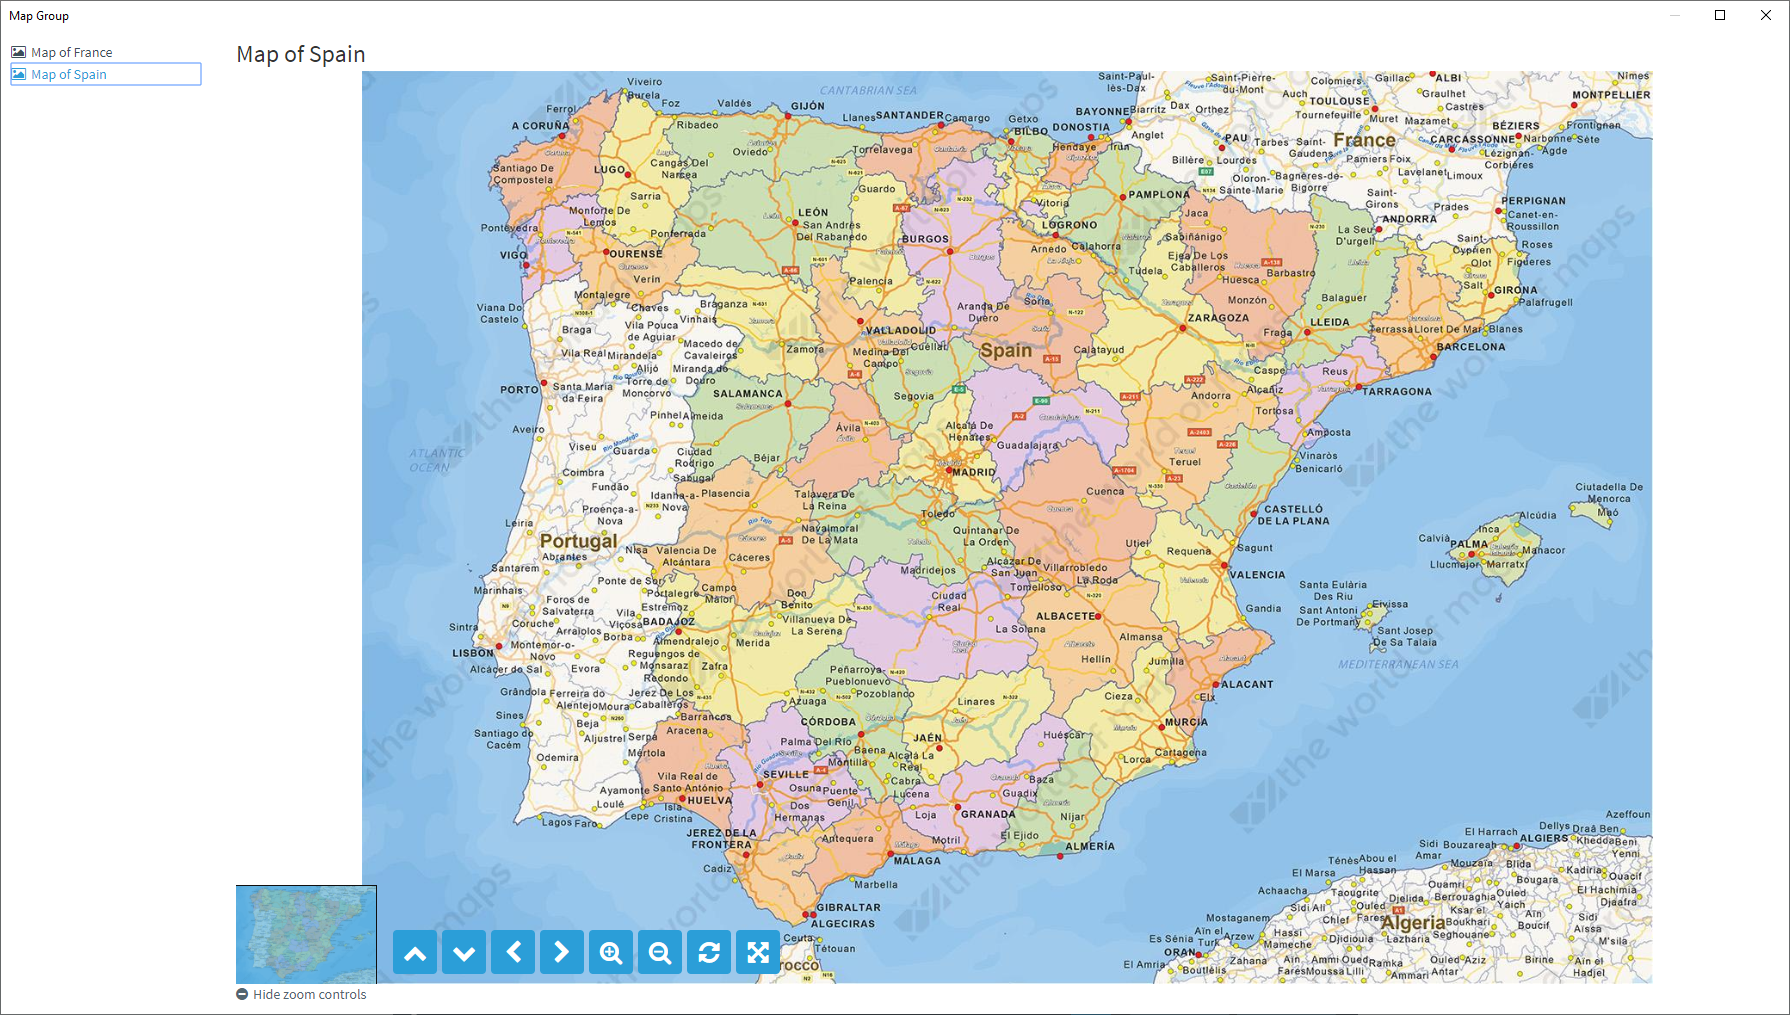
This article explains how to use the high-fidelity image viewer.
In this article
Opening the high-fidelity image viewer
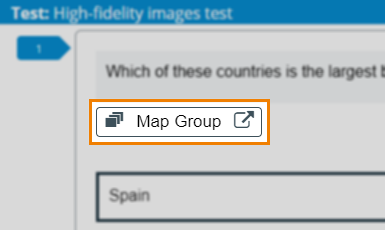
Open the high-fidelity image viewer by selecting Map Group . The name of this button is set by the item author.
Using the high-fidelity image viewer
Candidates have access to a variety of controls in the high-fidelity image viewer, including pan, zoom, and rotate.

Hide these controls by selecting Hide zoom controls .

Moving the image
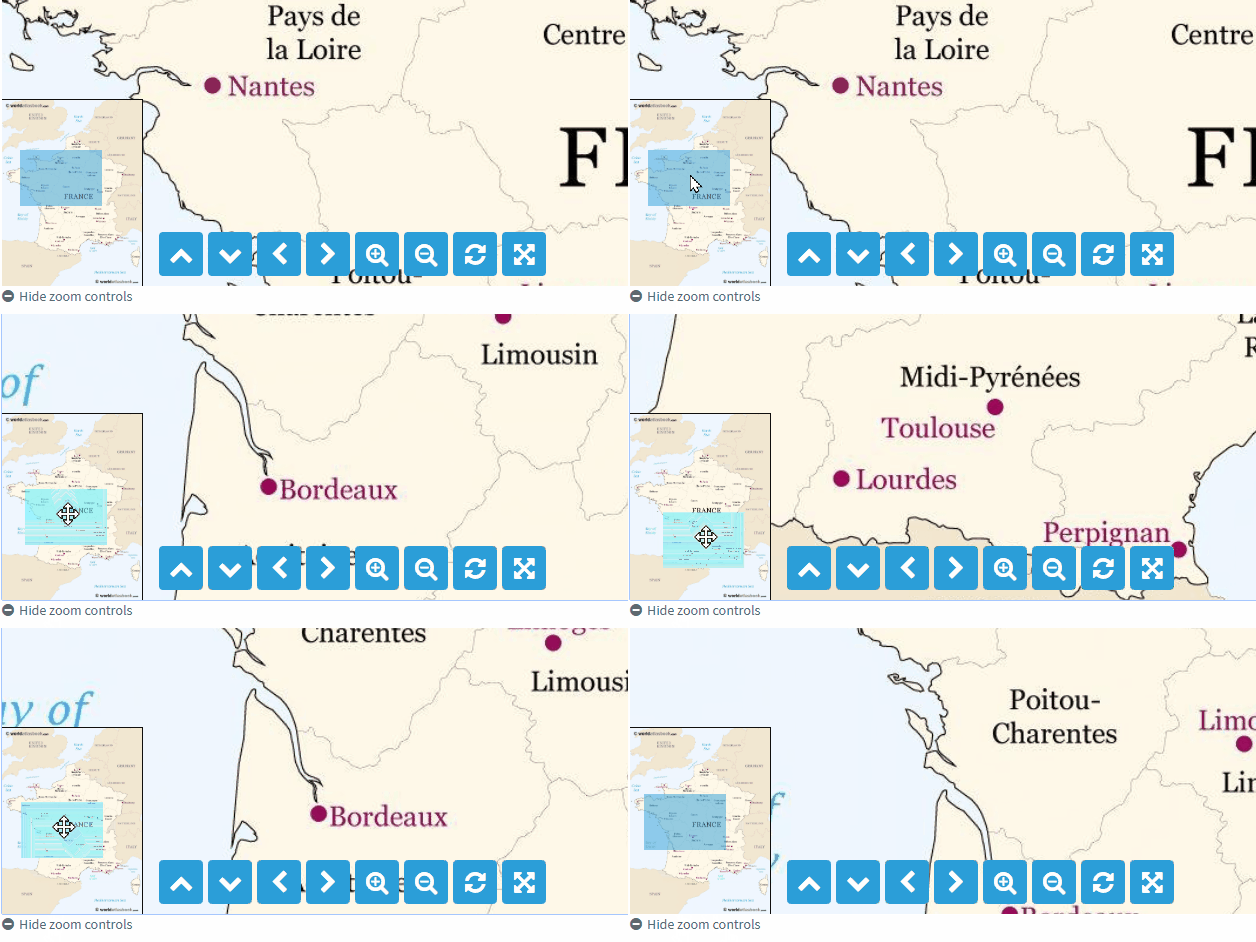
You can move the image using the cursor, pan controls, and preview pane.
Zooming in and out
You can magnify images in the high-fidelity image viewer.
Select Zoom In to make the image larger. Select Zoom Out to make the image smaller.
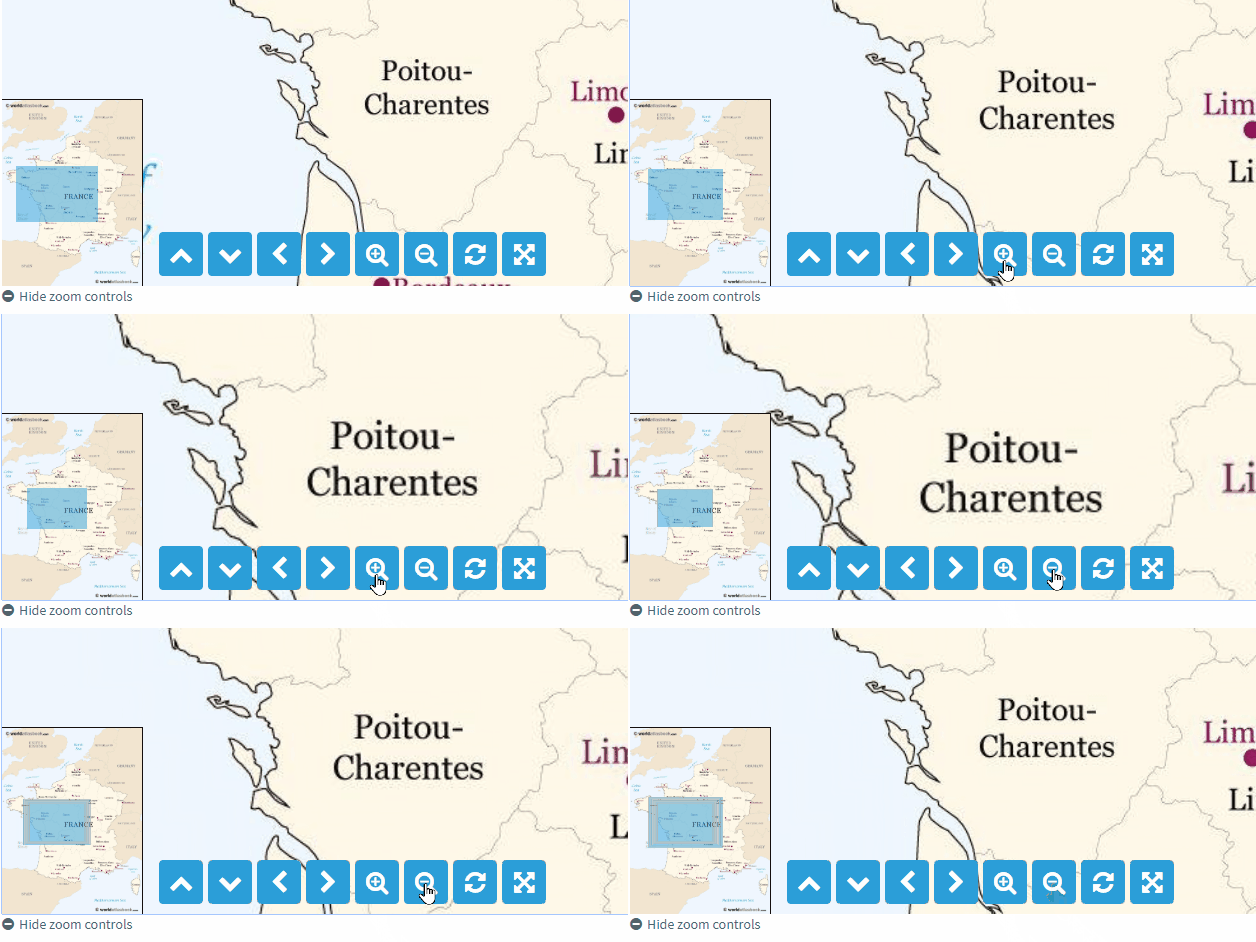
You can also scroll the mouse wheel up to zoom in or scroll the mouse wheel down to zoom out.
Select Max Zoom to quickly magnify the image as much as possible.

Reset the zoom level with Reset Zoom .

Switching images
If more than one image is attached to the item, you can switch between them in the high-fidelity image viewer.
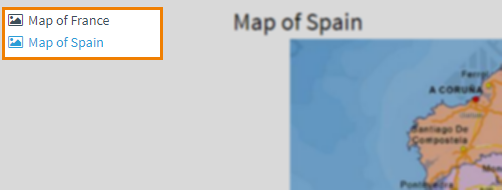
Grouped images are displayed in the left panel of the high-fidelity image viewer.
Select an image from the panel to view it.
Closing the high-fidelity image viewer
Select the Close button to close the high-fidelity image viewer.
Further reading
Now that you understand the high-fidelity image viewer, read the following articles to learn about other functions of the Surpass test driver:


