Using the Caliper tool in the test driver
You can measure anything on-screen using the Caliper tool. The caliper is a floating tool that you can adjust to make precise measurements.
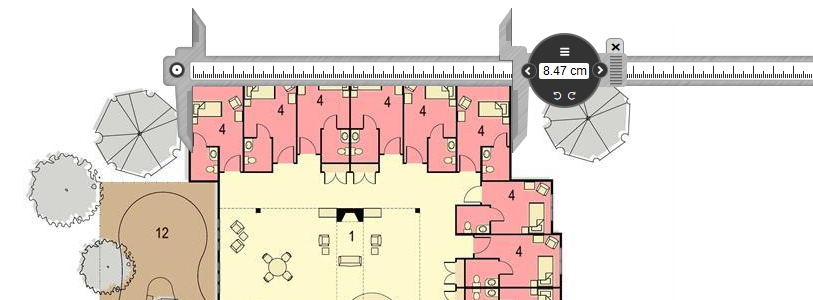
This article explains how to use, adjust and configure the caliper tool.
In this article
Opening the Caliper tool
Open the caliper tool by selecting Caliper .
By default, this button is named Caliper (Pixels) but may have been changed by the item author when the question was created.

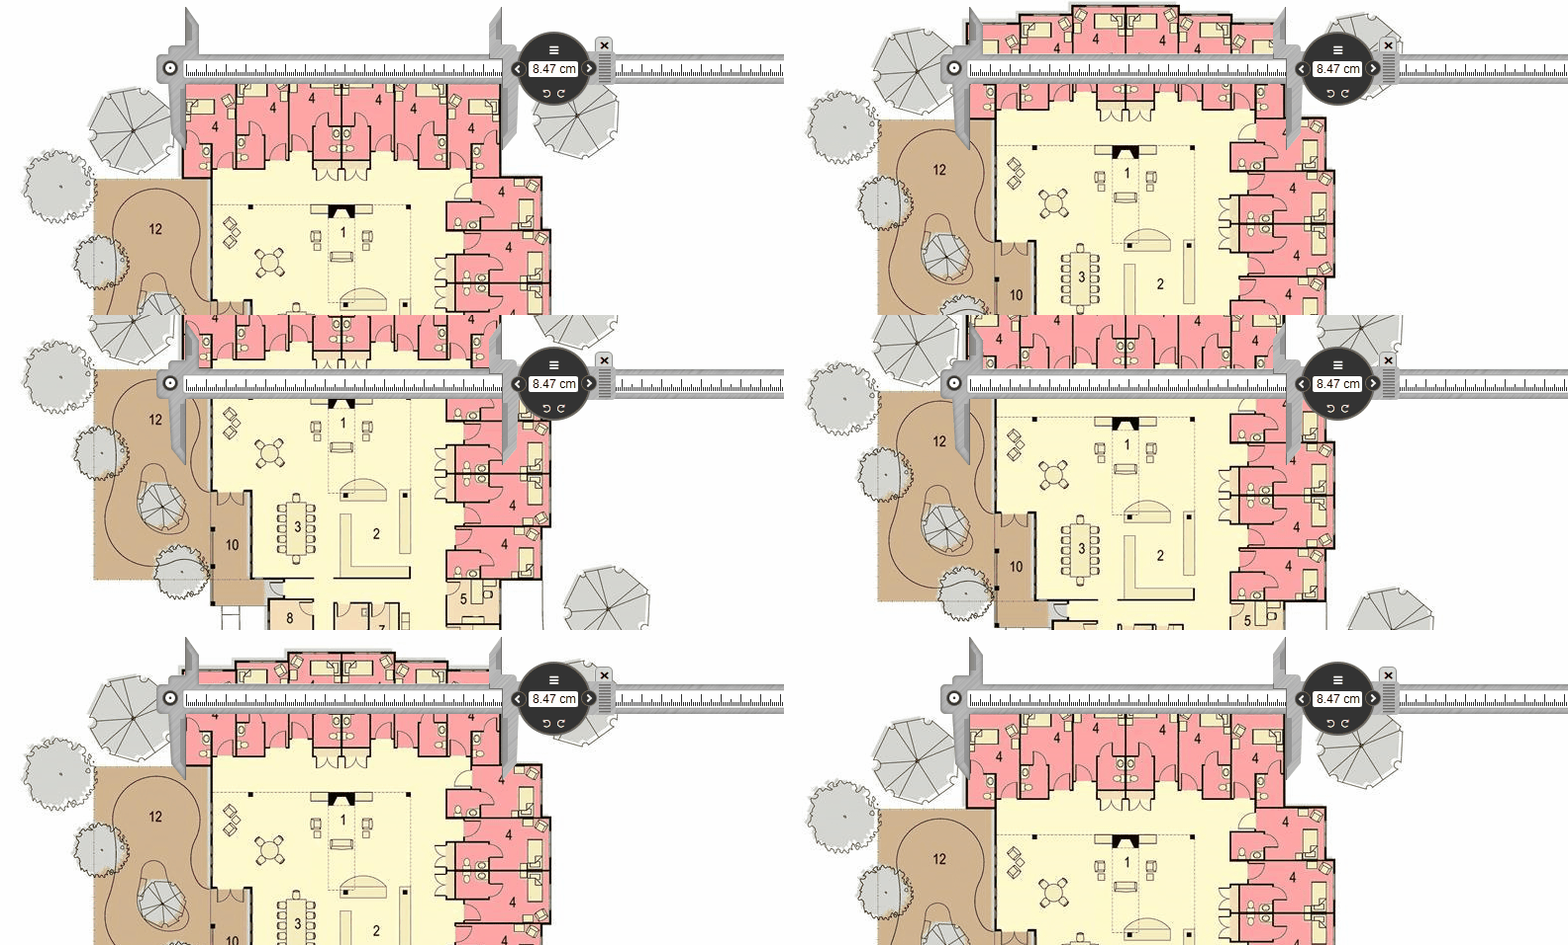
The caliper opens and floats above the content on screen. If you scroll down, the caliper’s position remains.
Moving the Caliper tool
You can move, rotate, and fine tune the caliper to measure on screen objects.
Click and drag on the scale to move the caliper tool.
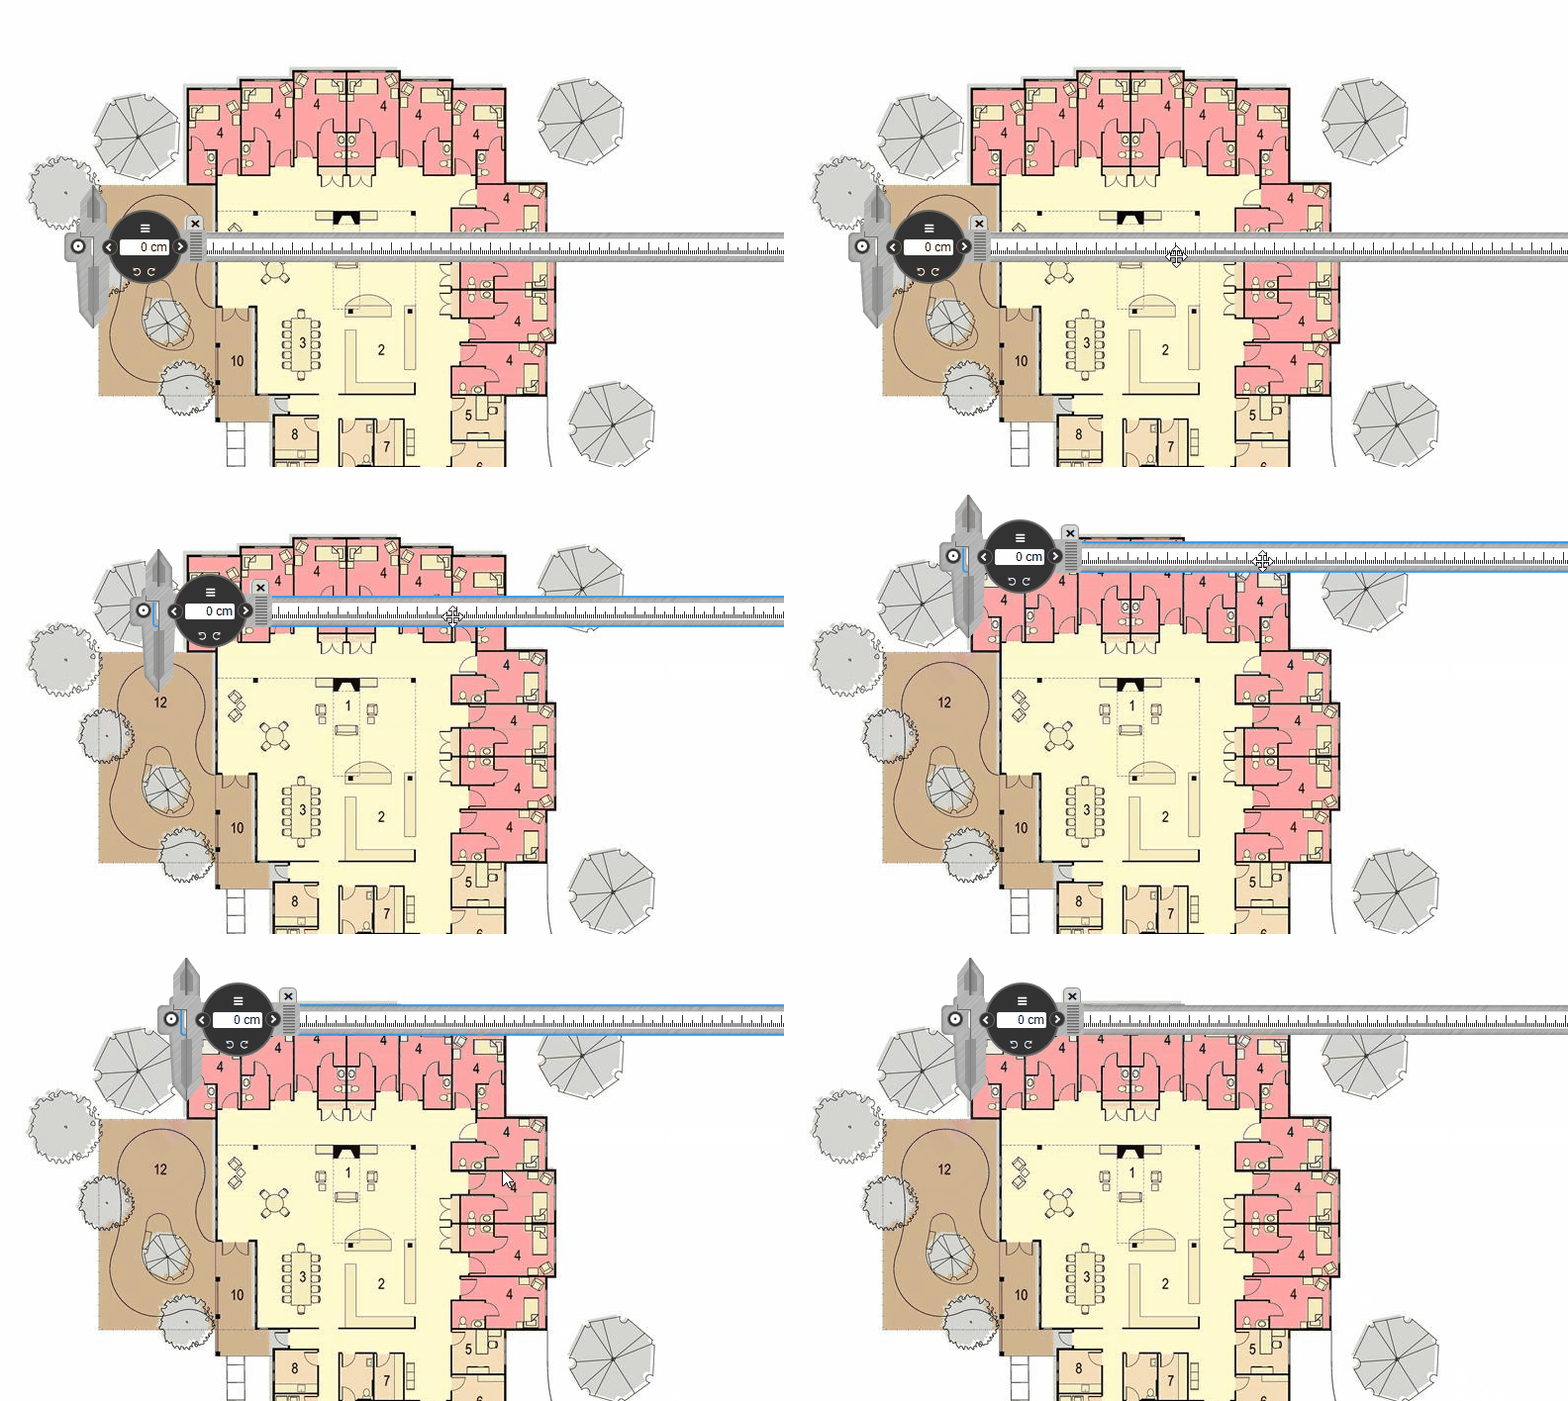
Click and drag on the edge of the caliper tool to rotate it.
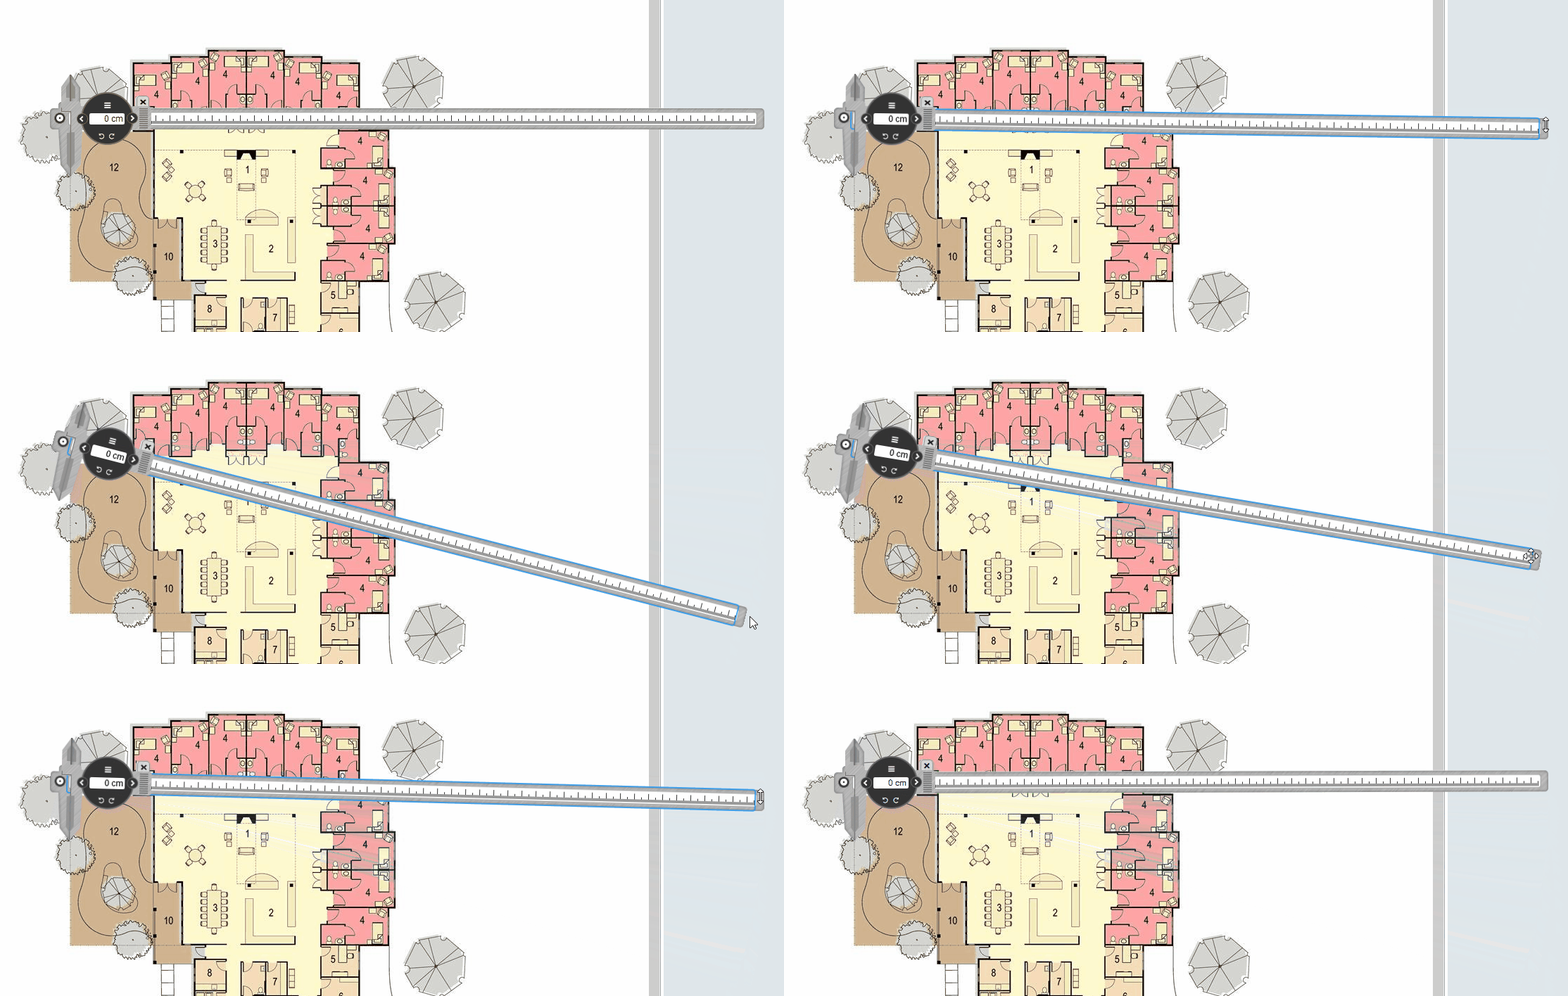
Alternatively, fine tune the angle of the caliper tool with Rotate clock-wise and Rotate anti-clock-wise .
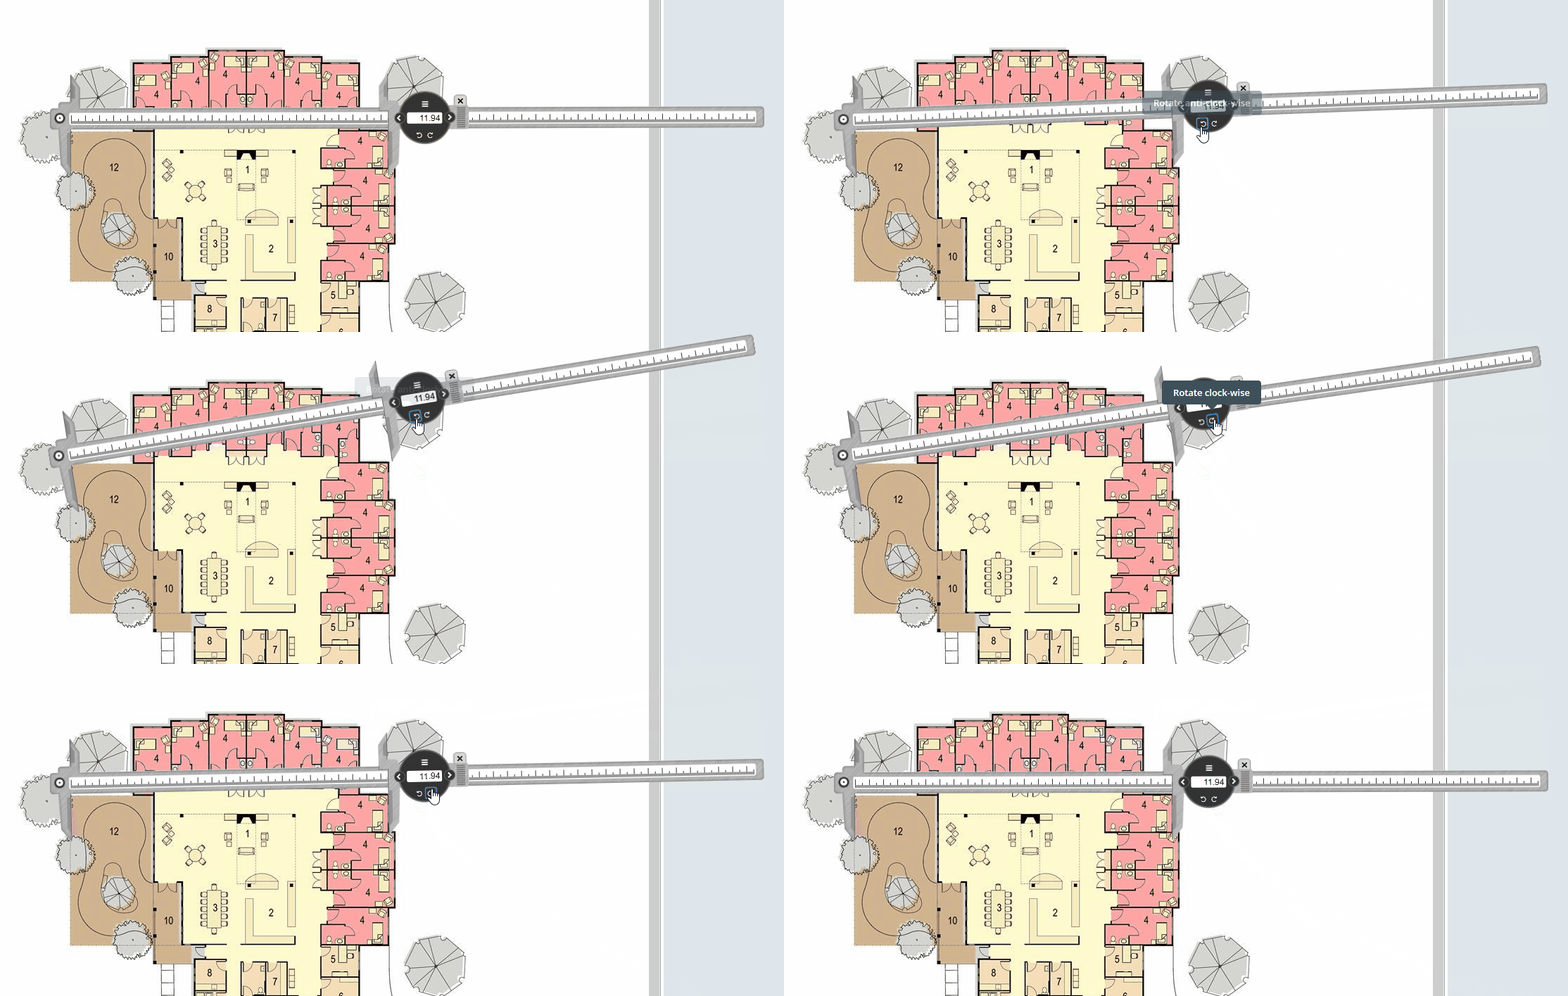
Changing the unit of measurement of the Caliper tool
You can use different units of measurement when interacting with the caliper tool.
Select Open units menu to change the unit of measurement.
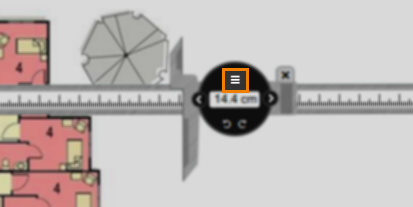
You can select from the following measurement units:
- Centimetres
- Inches
- Points
- Picas
- Pixels
- Twips
The default unit of measurement of the caliper tool is set by the item creator in Item Authoring.
Measuring with the Caliper tool
Click and drag the measurement jaws to open the tips of the caliper.
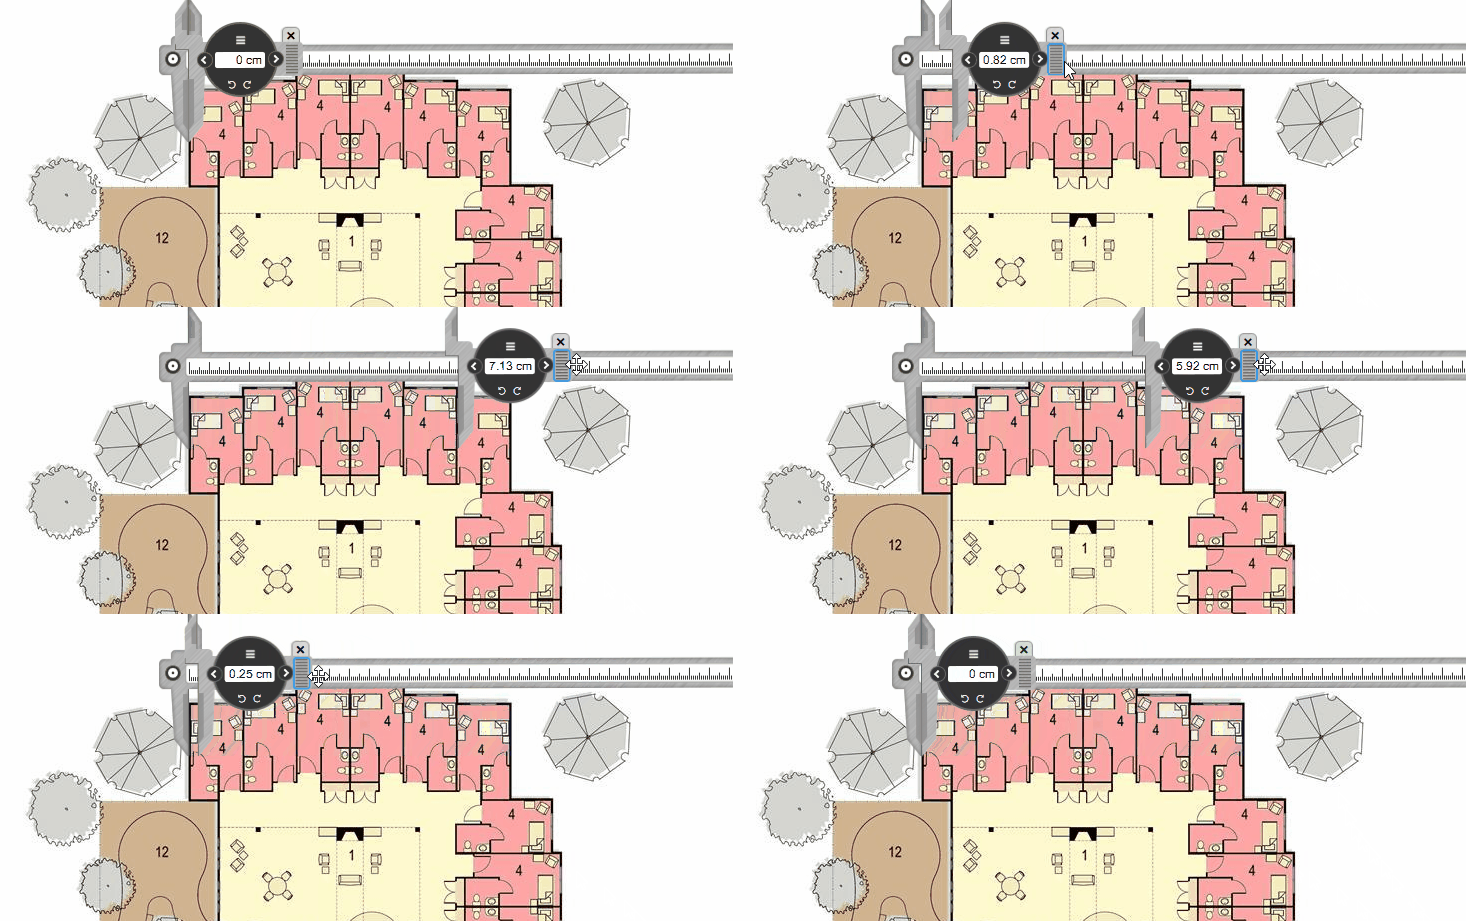
Alternatively, fine tune the jaws of the caliper with the Move slider left and Move slider right buttons.
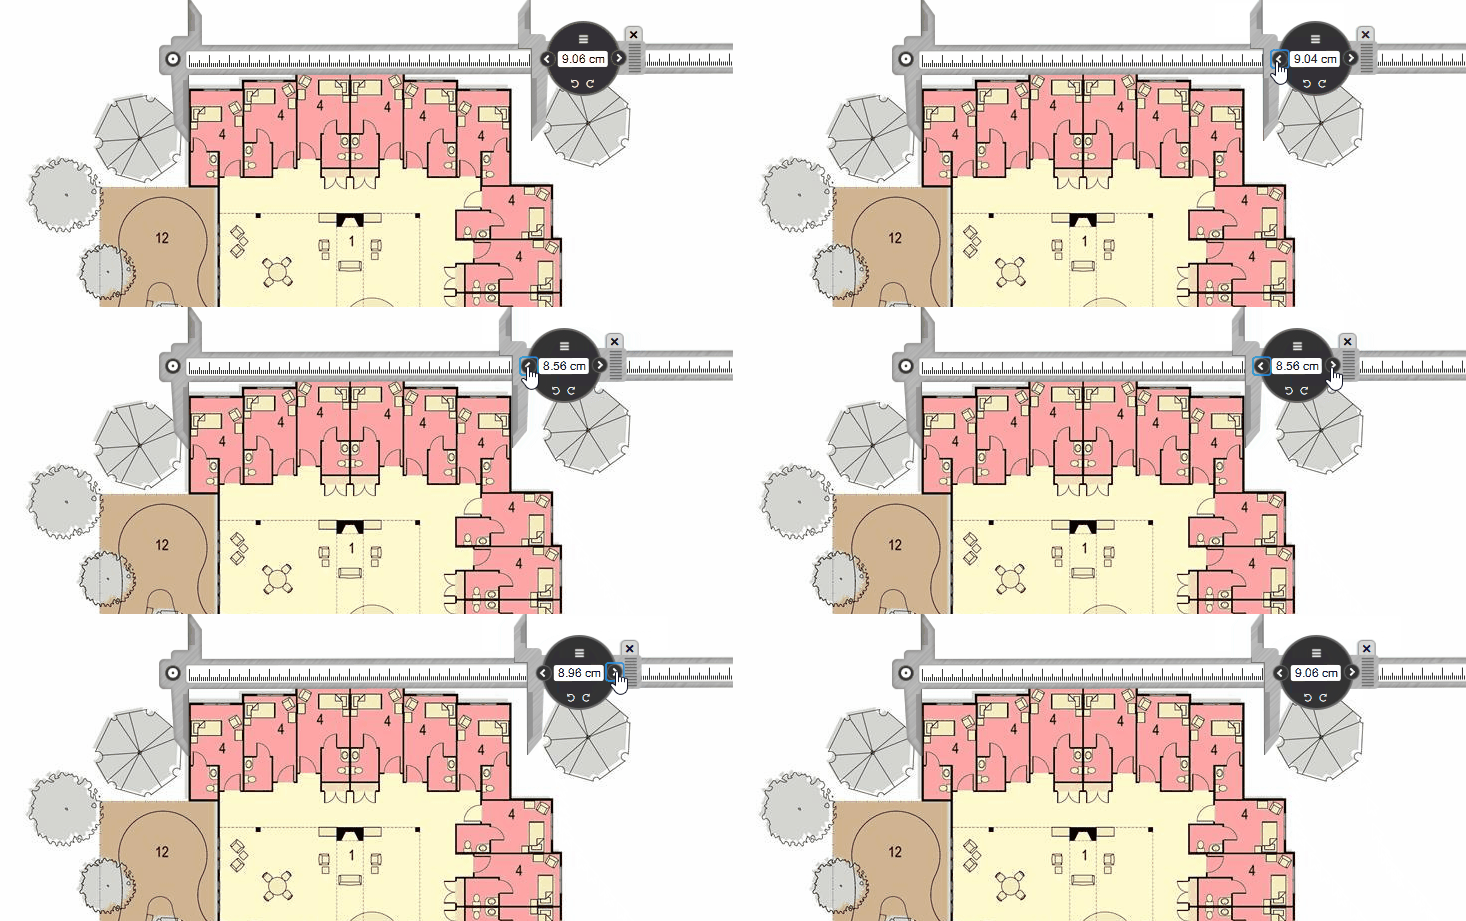
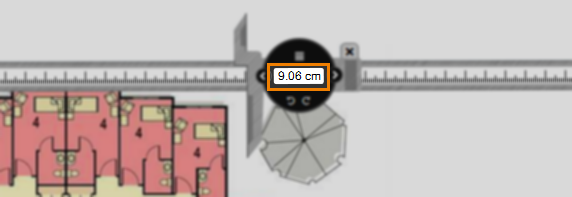
You can read the distance between the jaws of the caliper on the slider.
Resetting the Caliper tool
Reset the position, rotation, and distance of the caliper tool by selecting Reset caliper.

Closing the Caliper tool
Close the caliper tool with Close caliper .
You can re-open the caliper tool at any time.
Further reading
Read the following articles for more information on the functionality available to candidates in the Surpass test driver:
