
Adding Routed Sections to Test Forms in the Test Wizard
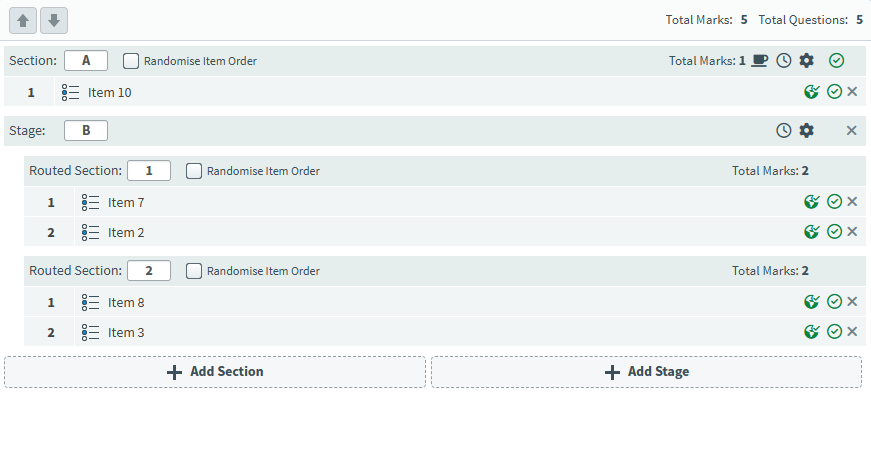
A routed section is a section that is selected automatically during test delivery based on candidate performance in the previous sections. Routed sections are used in multi-stage tests to direct candidates to different paths through a test form.
Routed sections sit within stages and are created in the Test Wizard. You can configure routing criteria based on candidate performance, using either current score or percentage to control which section is selected.
This article explains how to add stages and routed sections to a test form using the Test Wizard.
In this article
1. Enable Timed Sections
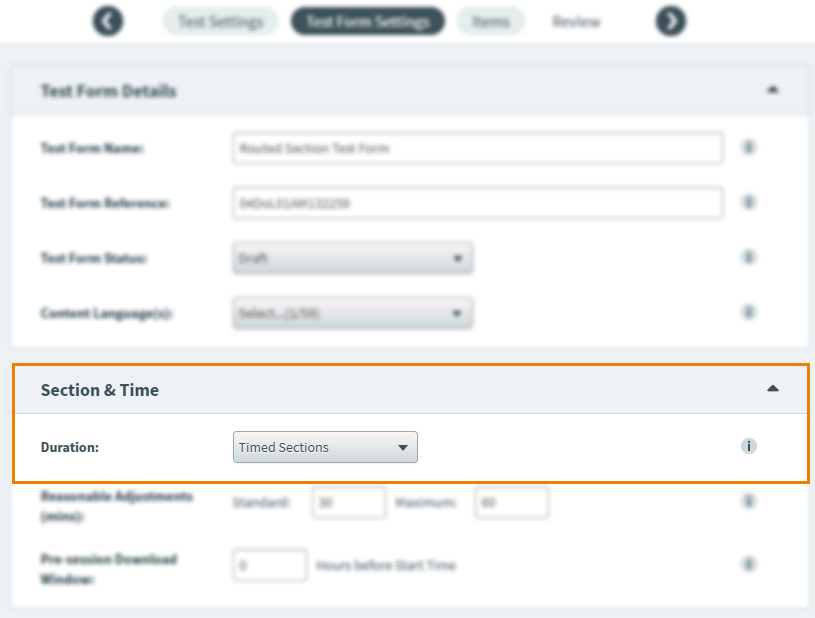
You must enable Timed Sections in the Test Form Settings screen to use Stages and Routed Sections. Time limits are defined for each section on the Items screen.
2. Add a stage
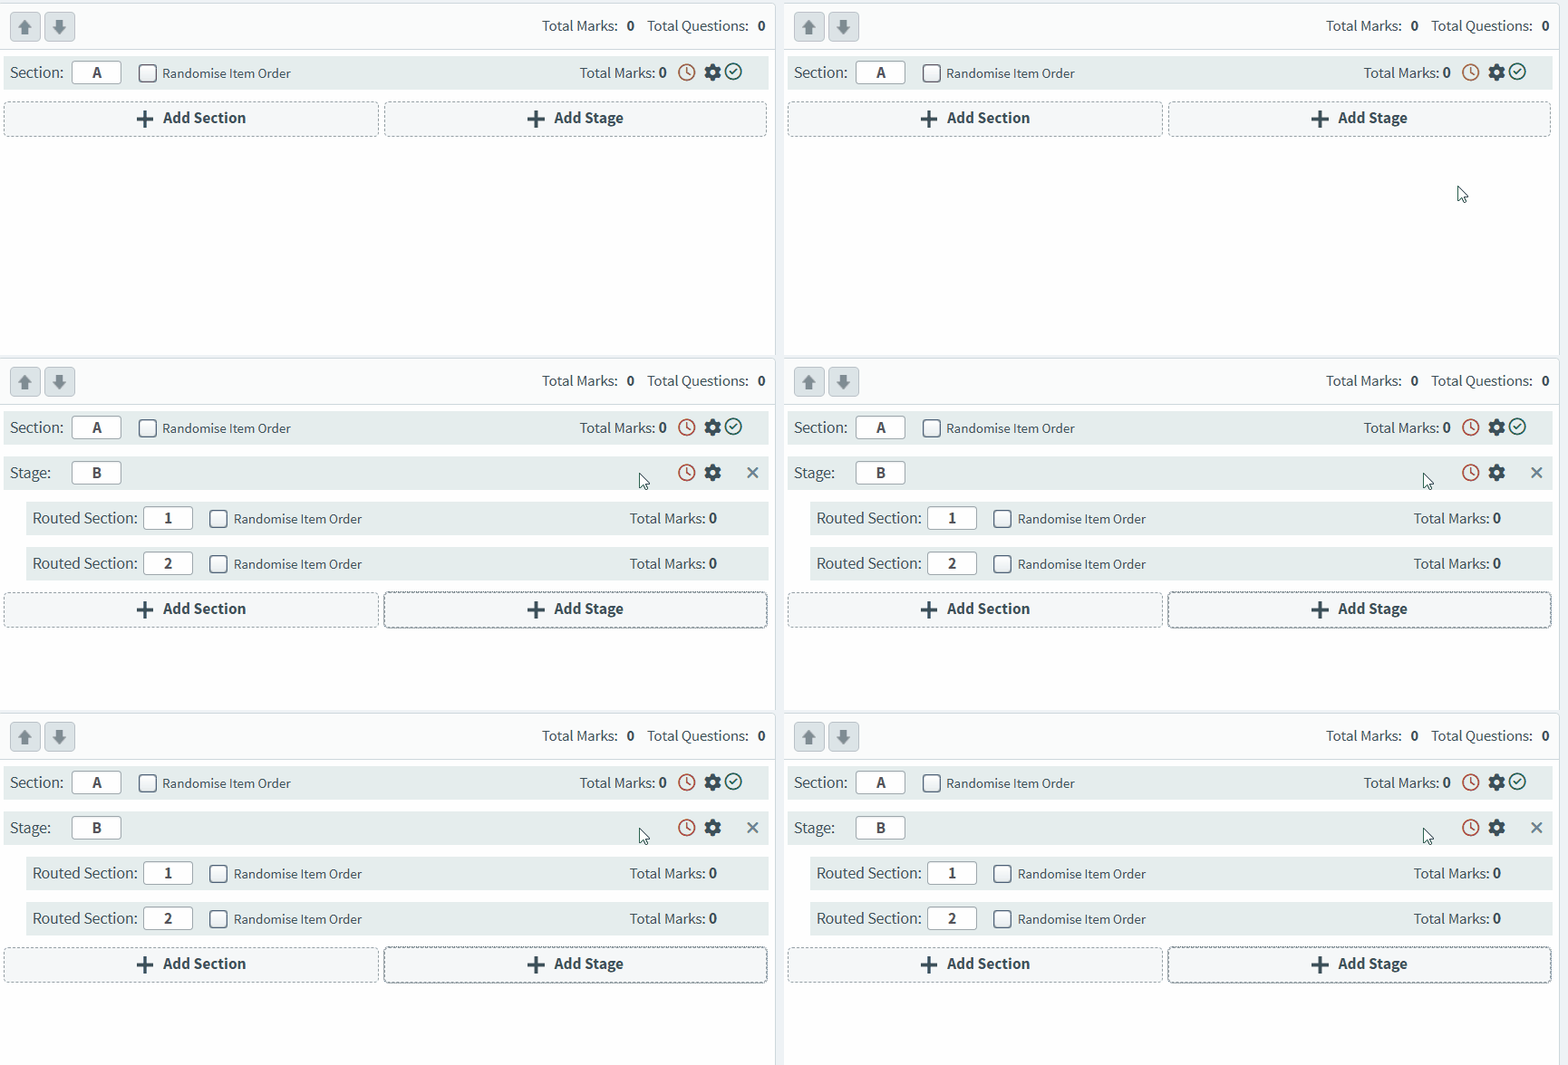
In the Items screen, select Add Stage to add a stage with two routed sections.
3. Configure the stage settings
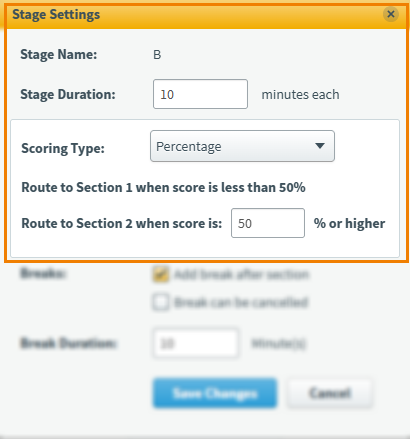
Select on the stage to configure the settings for each routed section.
| Setting | Description |
|---|---|
| Stage Name |
The label given to this stage of the test. This can be changed in the Items screen. |
| Stage Duration |
The time limit for candidates to complete the stage. All stages must have a duration. |
| Scoring Type |
Select the scoring type: Percentage or Score. If the candidate score is lower than the defined value, routed section 1 is selected. If the score or percentage is equal to or higher than the defined value, routed section 2 is selected. |
Add candidate breaks
When using stages, breaks can be given to candidates between sections.
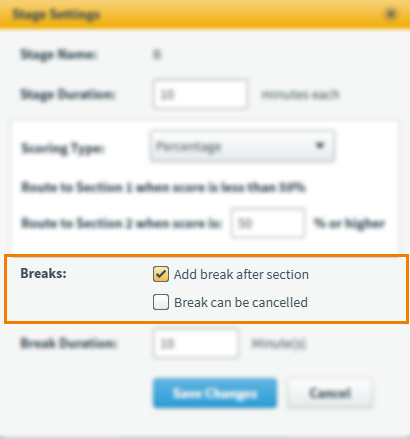
Select Add break after section. To enforce candidates taking the entire duration of the break, disable Break can be cancelled.
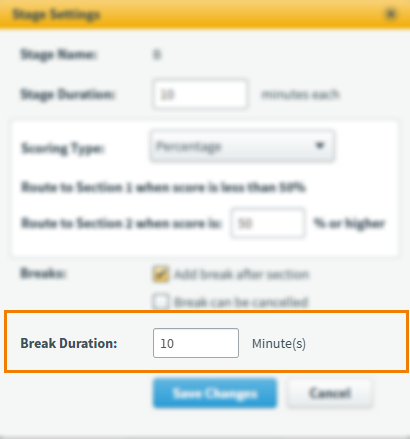
Enter a time limit for the break in the Break Duration field.
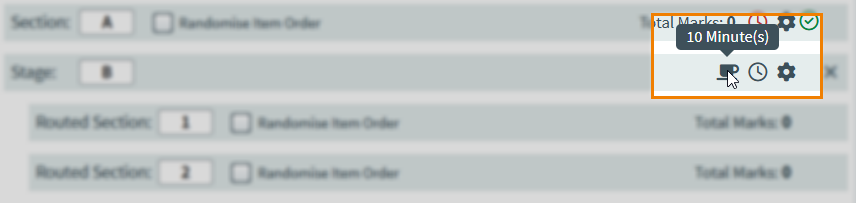
A coffee cup icon indicates the stage has a break after it. You can hover over the coffee cup to reveal a break’s duration.
4. Add items to Routed Sections
To add an item to a test, choose your item and select Add or drag the item into the test. You can use Control or Shift to select multiple items at a time. Drag the items into the correct routed section.
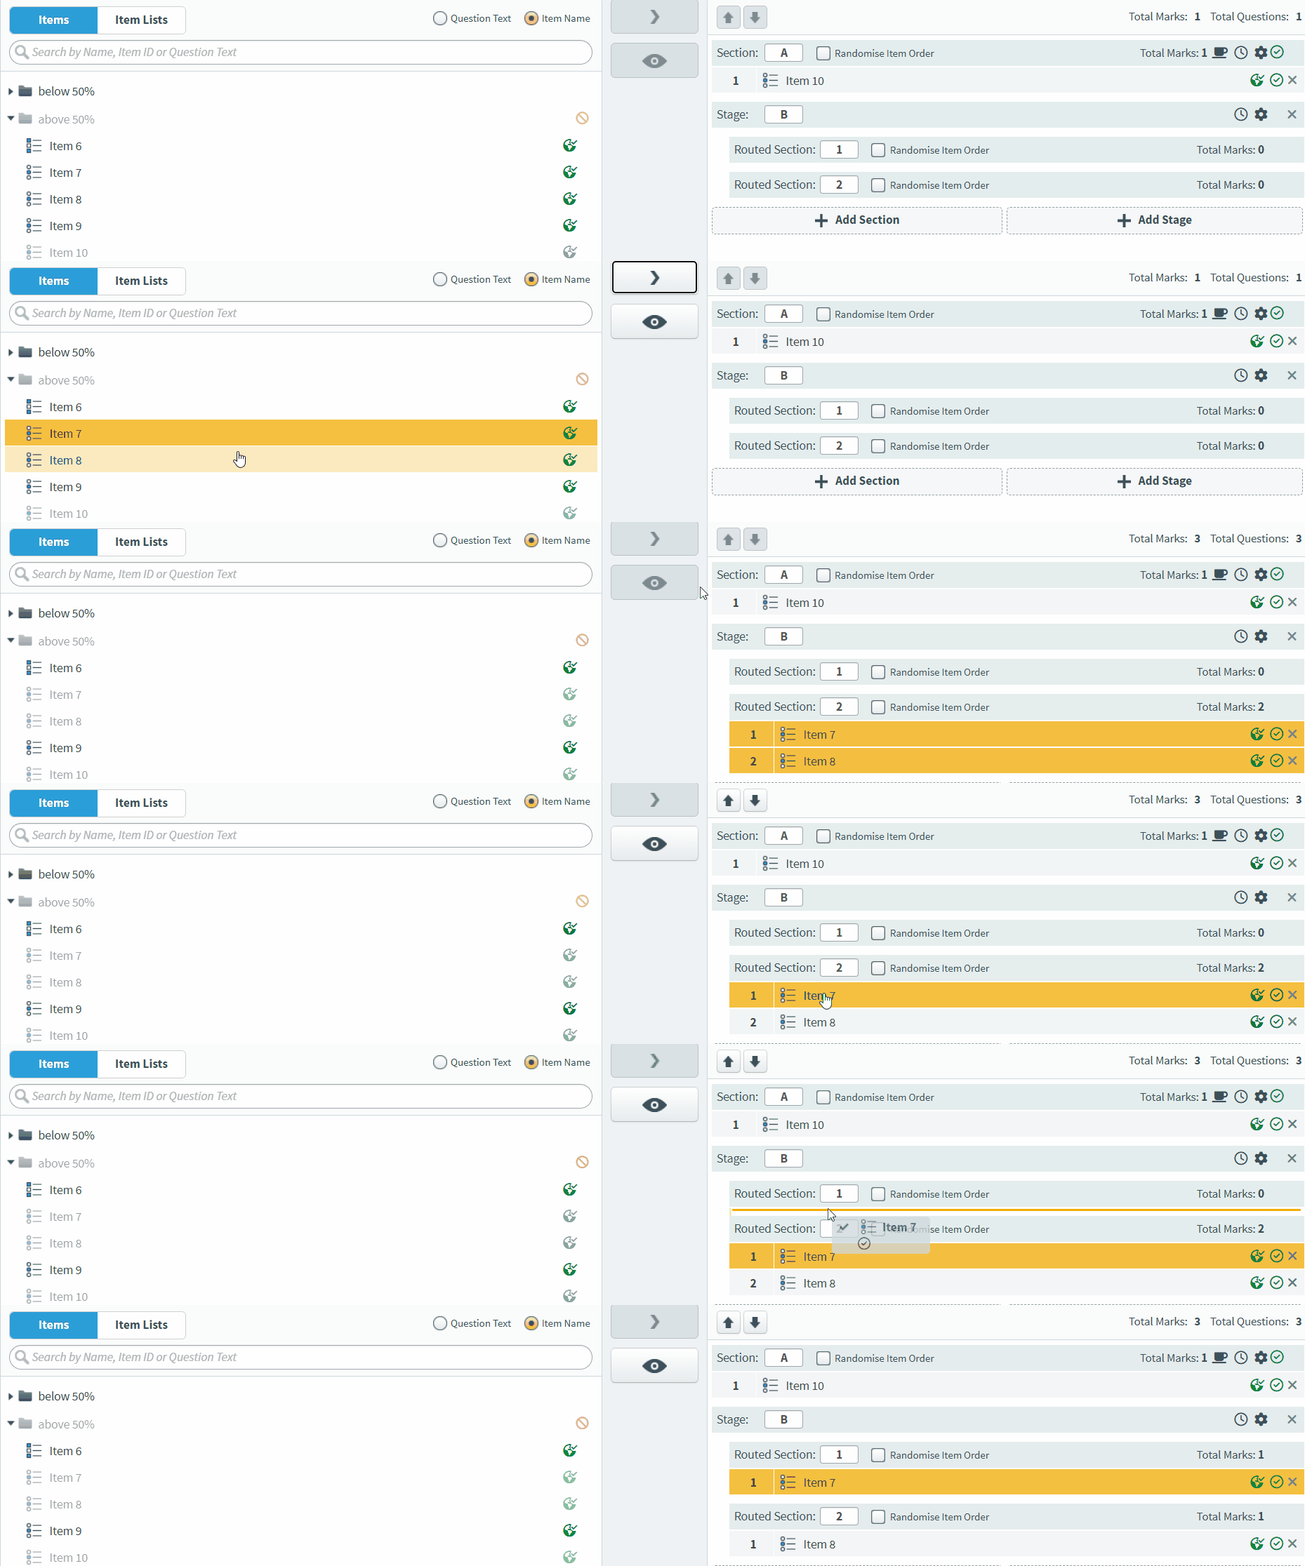
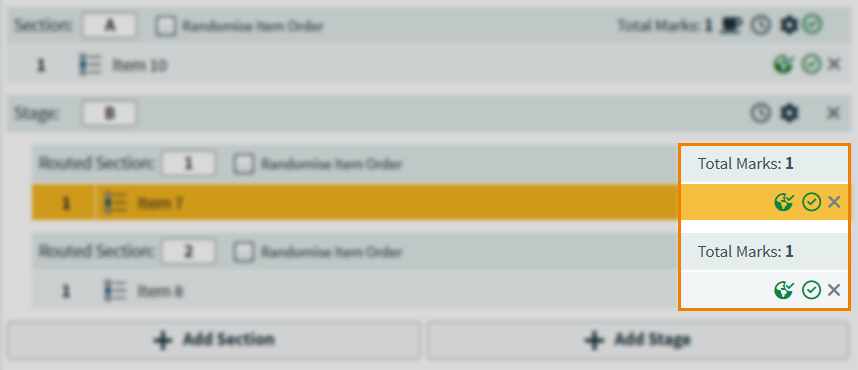
When you have added items to your test form, you can see the total amount of marks associated with the items in the stage.
5. Review your test form
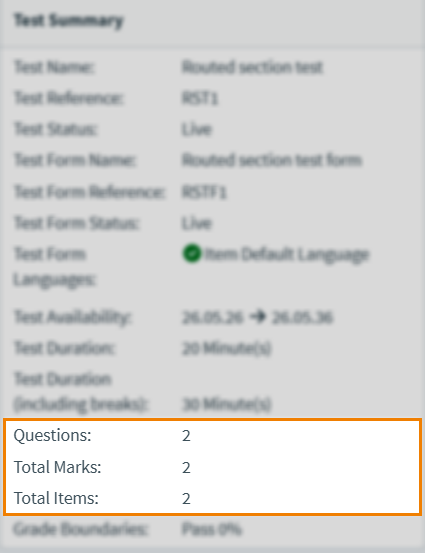
You can finalise and review your test summary from the Review tab.
For more information about the Review screen, read Reviewing a test in the Test Wizard.
6. Save your test form
Select Create Test to create your test.

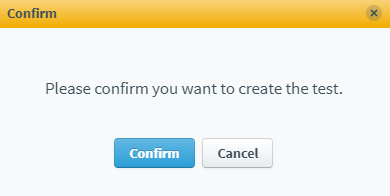
Select Confirm to confirm you want to create your test.
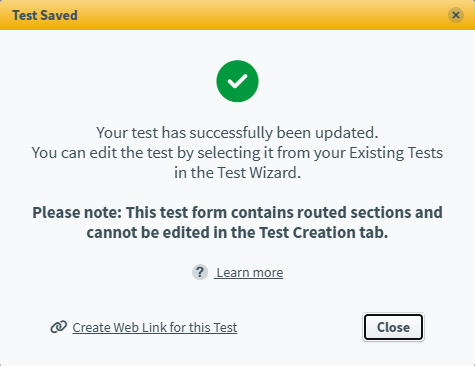
Select Close to return to the Subjects screen.
Further reading
Now that you know how to add items to a test form in the Test Wizard, read the following articles to learn more: