About the Subjects screen in Item Authoring
In Surpass, a subject is where you create and manage items for use in tests. Subjects can hold folders and sub-folders of items, allowing for flexible organisation of your test content. You can also upload media to your subject’s media library for use in its items. A subject is associated with at least one centre. Any tests created in the subject can be scheduled at the associated centre(s).
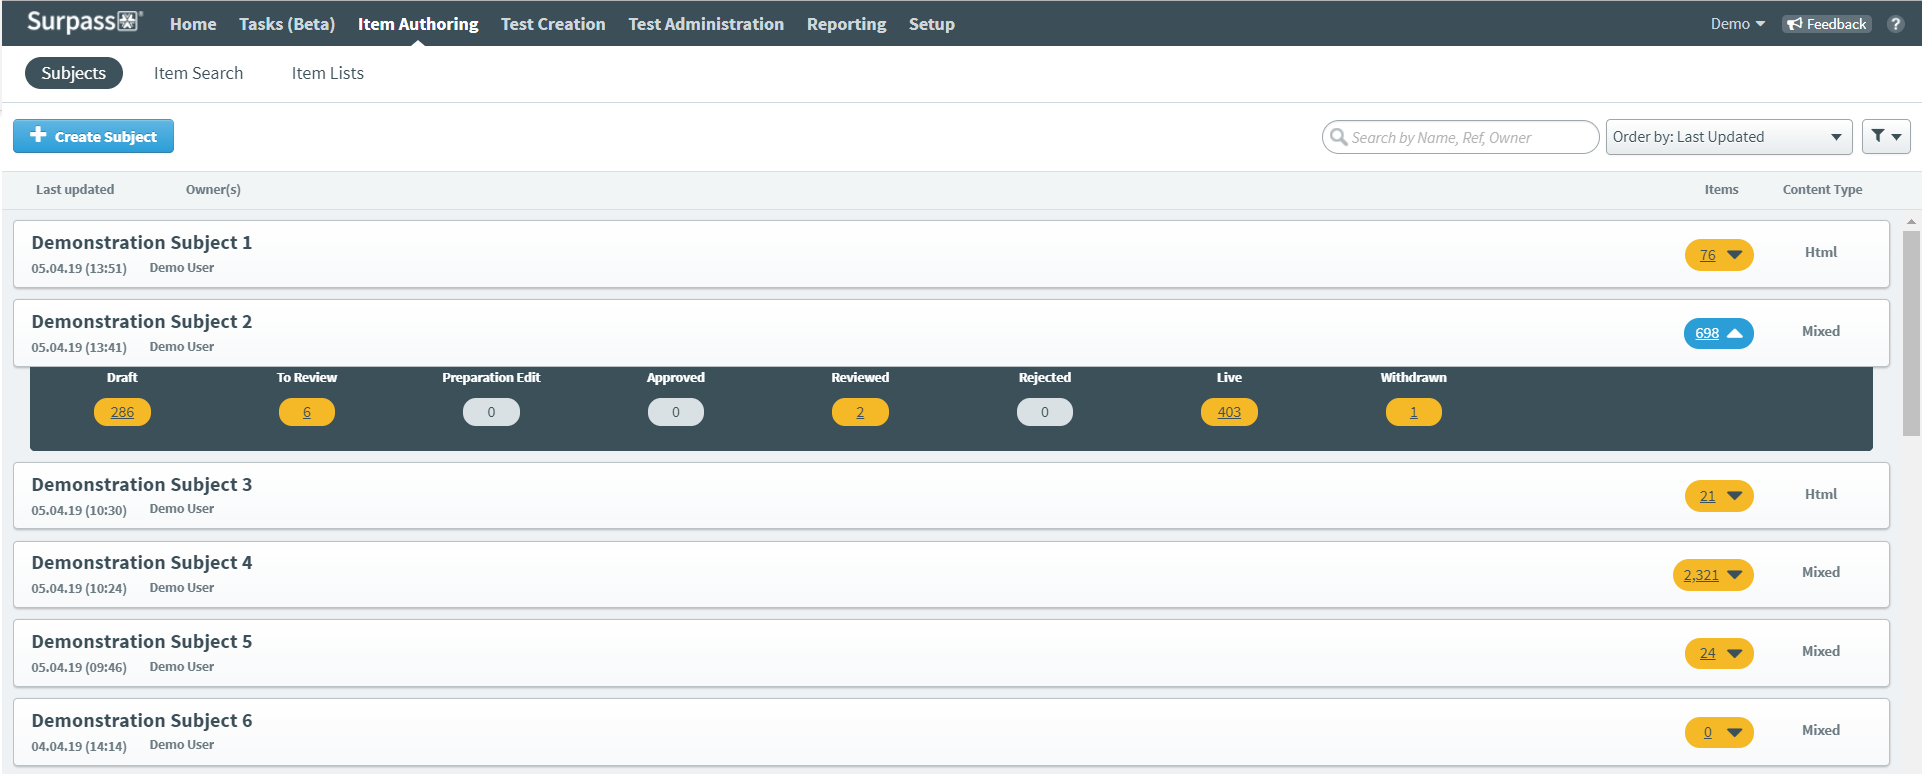
The Subjects screen is the top level of the Item Authoring section of Surpass. Here, you can view and enter the subjects in your Surpass instance.
This article explains how to navigate the Subjects screen and use its features.
In This Article
Navigating to the Subjects screen
To view the Subjects screen, go to Item Authoring > Subjects.
The Subjects screen is the first thing you see when you enter Item Authoring. It lists all subjects in your instance you have access to. For more information about access levels in Surpass, read About roles and permissions.

Finding a subject
By default, the subject list is ordered by the most recently updated subjects. To find a specific subject, you can search, order, and filter the subject list.
Searching for subjects

Type in the search bar to filter the subject list in real time. Surpass looks up your search string in subjects’ Name, Reference, and Owner fields.
Re-ordering subjects
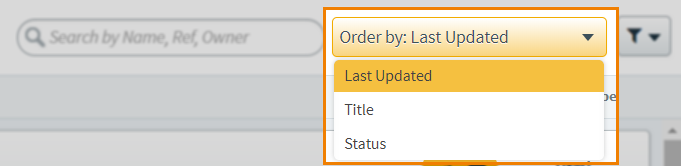
Use the Order by menu to re-order the subject list by the most recently updated first (Last Updated), the subjects’ names in alphabetical order (Title), or their statuses (Status).
Filtering subjects
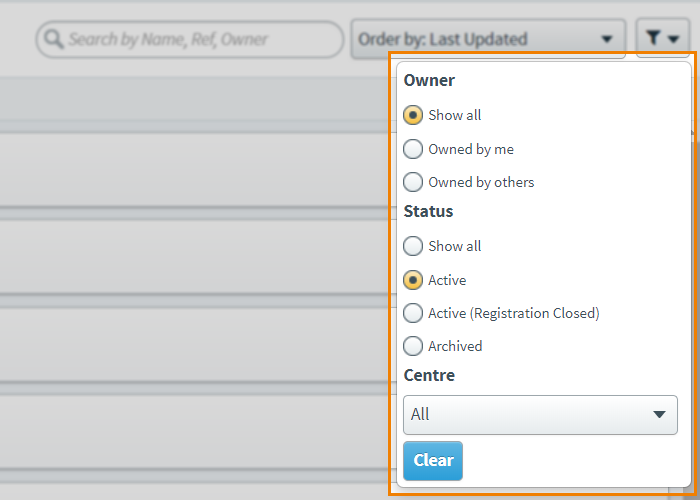
Use the Filter menu to display only certain subjects. The following table explains each filter type and the available options.
| Filter type | Description |
|---|---|
| Owner |
Filters subjects based on who owns them. Choose from the following three options:
|
| Status |
Filters subjects based on their status. Choose from the following four options:
|
| Centre | Filters subjects based on their parent centre. Select a centre from the list to only display that centre’s subjects. |
Reading subject details

You can find the following information for each subject on the subject list:
- The subject’s name.
- The date on which the subject was last edited.
- The subject’s owners.
- The total number of items in the subject.
- The subject’s content type (either Mixed or HTML).
Select Items on a subject to see a breakdown of that subject’s items by workflow status.

Entering a subject
Select a subject in the subject list to enter it. Read Managing items in a subject to learn about the functions available inside a subject.

Creating a subject
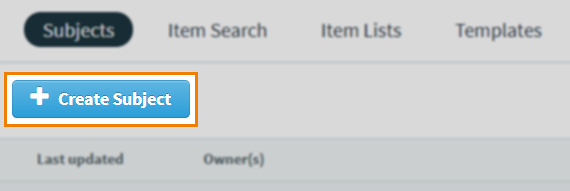
Select Create Subject to create a new Mixed subject. Read Creating a subject in Item Authoring for full instructions on how to create a subject.
Further reading
Now you know how to move around the Subjects screen, read the following articles to learn more: