Creating control items in SecureMarker
Control items in SecureMarker are pre-marked items that have been approved by senior examiners and are used to test whether examiners are marking within accepted tolerances. You can create control items for each item or item group in a test from the Quality Control screen or the Marking screen.
This article explains how to create control items in the Quality Control screen of SecureMarker. For more information on how to create control items in the Marking screen, read Submitting a response as a control item in the Marking screen.
In this article
1. Go to the Quality Control screen
To view the Quality Control screen, select Quality Control on the top navigation bar.

2. Select a subject and test
Select the Subject/Test menu on the navigation bar.

3. Select an item
Select an item or item group in the Items grid that you want to create control items for.

4. Select Create CIs
Select Create CIs.

5. Find a response to mark

In the Create / Review Control Items screen, you can view responses to find a suitable response to create as a control item.
You can view the following information for the selected item or item group:
- Test – Displays the name of the test.
- Item – Displays the name of the item of item group.
- Response ID – Displays the visible response’s unique ID number.
- CIs required – Displays the number of control items recommended for the item or item group.
- CIs created – Displays the number of control items already created and approved for the item or item group.
- CIs marked and ready for review – Displays the number of control items created and awaiting approval for the item or item group.

Mark the response in the Mark Awarded field or select Skip to view the next response. For more information on marking, read Marking responses in SecureMarker.

6. Mark the response
In the Create / Review Control Items screen, you can mark responses and submit them as control items. For more information on how to mark a response, read Marking responses in SecureMarker.
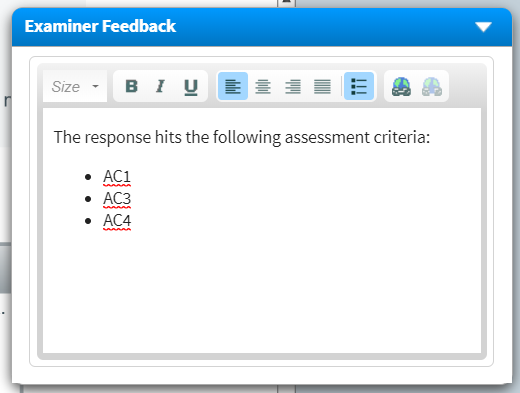
Adding examiner feedback
You may also need to add Examiner Feedback. This text displays to examiners after they have marked a control item and can be used to guide examiners.
7. Submit the control item
After you have marked the response, select Submit to confirm the mark.

Further reading
To find out more about Quality Control and setting up control items, read the following articles:

