Marking responses in SecureMarker
In SecureMarker, you can assign marks to and interact with candidate responses. This includes adding annotations, submitting responses as control items, and escalating scripts for further attention. You can mark responses in the Marking screen.
This article explains how to mark a response in the Marking screen of SecureMarker, including how to download mark schemes and annotate responses.
In This Article
1. Go to the Marking screen
To view the Marking screen, select Marking on the navigation bar.

2. Choose an item
Select an item or item group to mark in the Items grid.

3. Select Mark
Select Mark to open the Mark Quota screen.

4. Mark the response
You can view responses, assign marks, and download mark schemes in the Mark Quota screen. You can also submit responses as control items and escalate responses for further attention. For more information, read Submitting a response as a control item in the Marking screen and Escalating a response in the Marking screen.
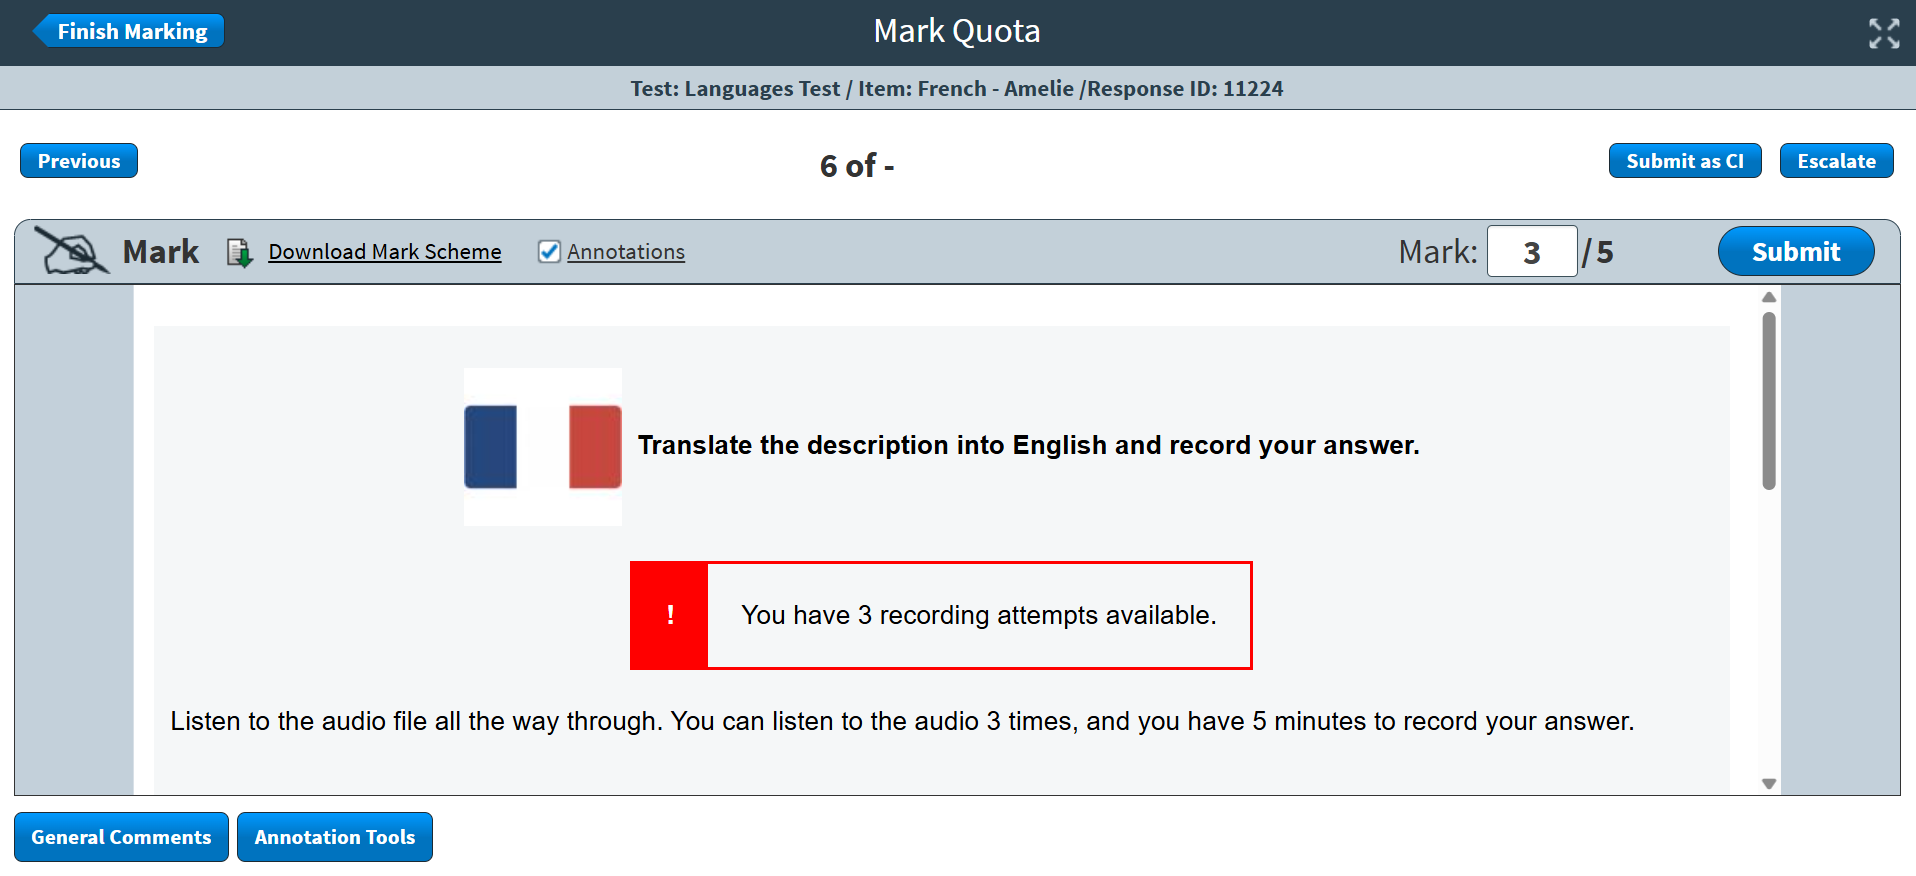
You can view basic details about the selected response in the Mark Quota screen:
- Test – Displays the name of the test.
- Item – Displays the name of the item.
- Response ID – Displays the response’s ID number.

You can view the number of responses you have marked and the number of responses left to mark in your quota. A hyphen (-) indicates an unlimited quota. For more information, read Setting quotas for examiners in SecureMarker.

Downloading mark schemes
If a mark scheme has been attached to the item, you can download it while marking scripts.
Viewing annotations and annotating responses
If annotation tools are set up on the parent test form in Surpass, you can mark up candidates’ scripts. For more information, read Configuring a test form for SecureMarker.
Viewing and adding comments
If annotation tools are set up on the parent test form in Surpass, you can view and add comments to candidate responses.
Marking responses with Marked Learning Outcomes
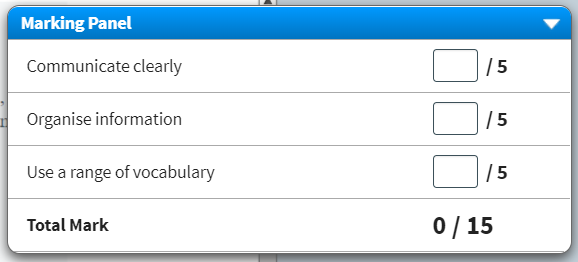
If an item has Marked Learning Outcomes, you must add a score for each Learning Outcome in the Marking Panel.
Assigning zero marked codes
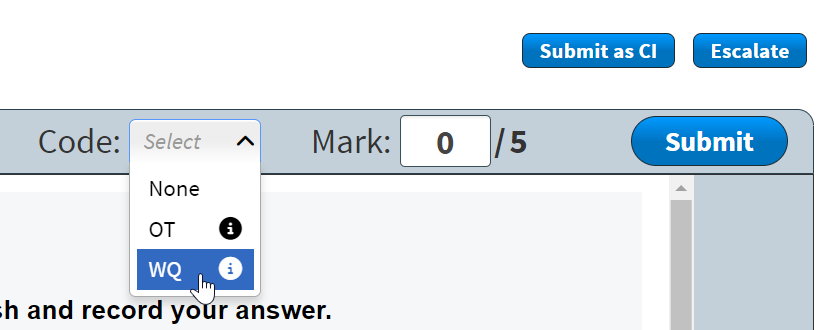
If zero marked codes are enabled in Site Settings, a code can be assigned to a response awarded a mark of zero. For more information, read ‘About Zero Marked Codes’ in About Site Settings options.
5. Submit marks
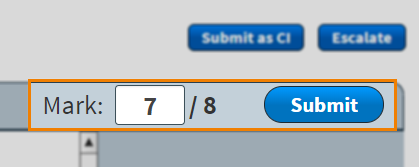
To assign a mark to a response, enter a value in the Mark field and select Submit. The next response to mark automatically populates on the Mark Quota screen.
Marking double marked responses
Items can be configured for double marking in Quality Control. For more information, read Setting up double marking in SecureMarker.
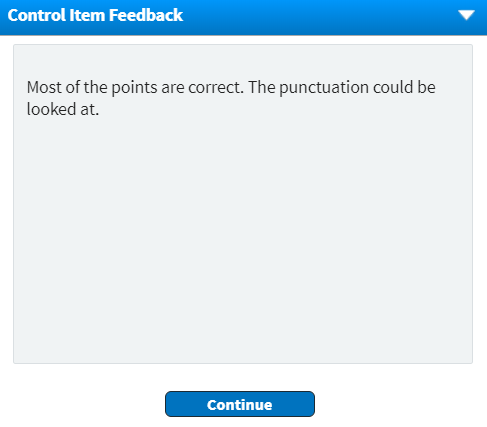
Viewing control item feedback
If you are marking a control item, you can view feedback added to the control item when it was created.
Further reading
To learn more about working in Marking, read the following articles:
- About the Marking screen in SecureMarker
- Submitting a response as a control item in the Marking screen of SecureMarker
- Escalating a response in the Marking screen of SecureMarker
- Viewing marking reports in SecureMarker
- Viewing unmarked item reports in SecureMarker
- Viewing marking managers reports in SecureMarker





Select Annotations to enable annotation tools.
Select General Comments to add your comments.