Setting up double marking in SecureMarker
Scripts can be configured to require marking by two independent markers. The final mark assigned to an item is the aggregated mark between the two markers. Items marked out of tolerance are sent for adjudication.
This page explains how to configure items for double or blind double marking in SecureMarker.
In this article
1. Go to the Quality Control screen
To view the Quality Control screen, select Quality Control on the top navigation bar.

2. Select a subject and test
Select the Subject/Test menu on the navigation bar.

3. Choose marking type
Double marking can be configured for individual items or all items in a test. You can choose between the following marking types:
- Single Marking – Responses are marked by a single marker.
- Double Marking – Responses are marked by two independent markers. The final mark assigned to an item is the average mark between the two markers. The second marker can see the first marker’s mark, comments, and annotations.
- Blind Double Marking – Responses are marked by two independent markers. The final mark assigned to an item is the average mark between the two markers. The second marker cannot see the first marker’s mark, comments, and annotations.

Test-level item settings
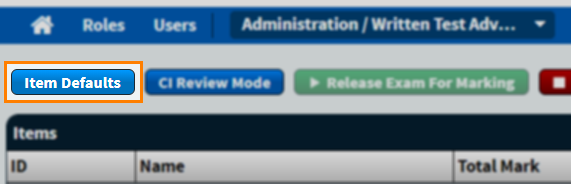
To set all new responses for a test to require double marking, select Item Defaults and then choose your marking type.
Item-level item settings
To set individual items to require double marking, select an item or item group and choose Examiner Competency Settings.

4. Set tolerance
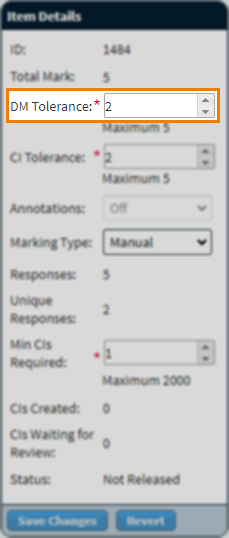
Each item’s DM Tolerance is the maximum allowed discrepancy between both markers before their marks are considered out of tolerance. If one or both markers are out of tolerance, the response is sent for adjudication. For more information on the adjudication process, read Adjudication.
Set a DM Tolerance for individual items in the Item Details panel.
To set a default DM Tolerance for all new responses in a test, enter a value in the Tolerance field within Item Defaults.

Further reading
To learn more about working in the Quality Control screen, read the following articles: