Setting up mapping rules and marking criteria in SecureMarker
You can apply mapping rules and marking criteria to a test and items in SecureMarker to support complex weighted mapping rules. You might want to set up mapping rules and marking criteria for examiners to enter marks against.
This article explains how to set up mapping rules and marking criteria in the Quality Control screen.
In this article
1. Go to the Quality Control screen
To view the Quality Control screen, select Quality Control on the top navigation bar.

2. Select a subject and test
Select the Subject/Test menu on the navigation bar.

3. Select Mapping Rules
Select Mapping Rules to add a mapping rules file to the test.

4. Create a mapping rules file
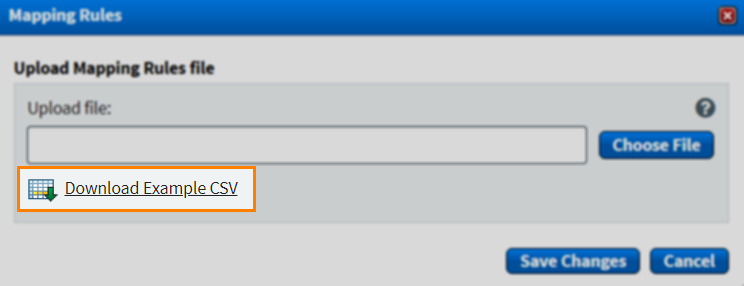
Select Download Example CSV in the Mapping Rules dialog to download an example spreadsheet. The spreadsheet must contain information on how examiner marks are scaled.
5. Upload mapping rules file
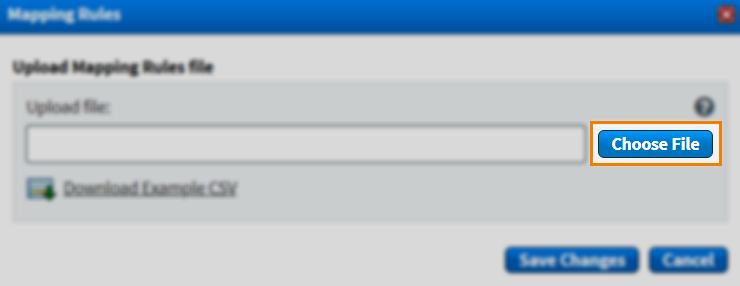
Select Choose File to open your device’s file explorer. Choose the file you want to upload and select Open.
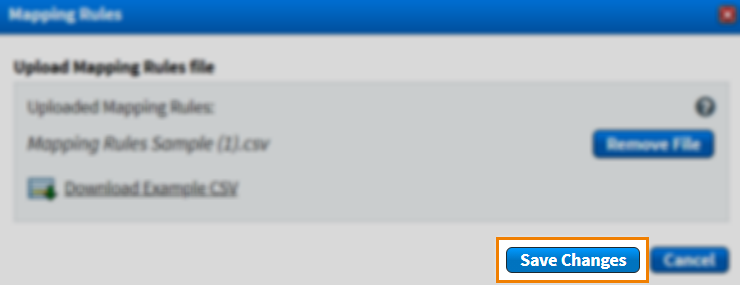
Select Save Changes to save your mapping file to the test.
6. Choose an item
Select an item or item group in the Items grid that you want to apply marking criteria to.

7. Apply marking criteria
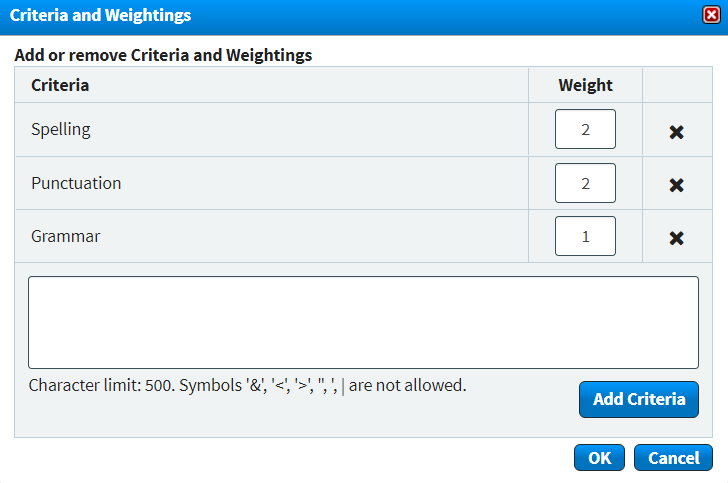
You can add marking criteria in SecureMarker so examiners can enter marks against predefined standards. You can weight the marking criteria to control how much each mark contributes to the candidate’s result. To add marking criteria to the selected item, select Marking Criteria.

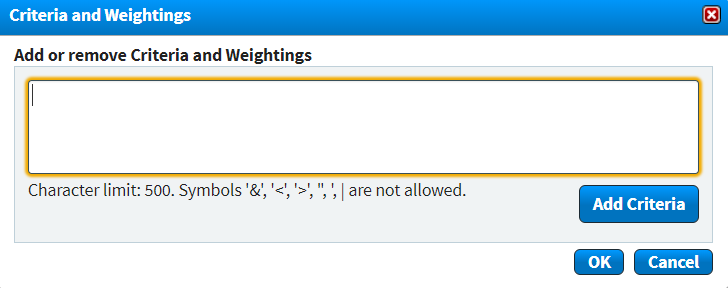
Type the criteria in the text entry field and select Add Criteria.
When you have entered the marking criteria, enter a weighting score in the Weight column. This controls the proportion of the item’s total mark that each criteria is worth. Select Delete to remove marking criteria.
Further reading
To find out more about setting up tests for marking, read the following articles:
