Using the SecureMarker OAPI Swagger console
The SecureMarker OAPI adopts the OpenAPI (previously Swagger) specification, an open-source API standard used to describe API files. A working, testable API console can be generated from a Swagger specification. For more information about OpenAPI, visit https://www.openapis.org/about.
The SecureMarker OAPI Swagger console therefore lets you test the SecureMarker OAPI by directly sending a HTTPS request to any of the available endpoints for your instance of Surpass. It automatically generates the endpoint URL, header parameters, and request body, leaving you to complete/amend any parameters and properties as needed.
This article explains how to send a request using the SecureMarker OAPI Swagger console.
We recommend creating a dedicated integration user that can be used when calling the SecureMarker OAPI. This is a good idea even if you are only testing the OAPI as it enables you to work in the SecureMarker UI and OAPI simultaneously without being logged out of the UI after each request to the OAPI.
In this section
1. Navigate to your Swagger console
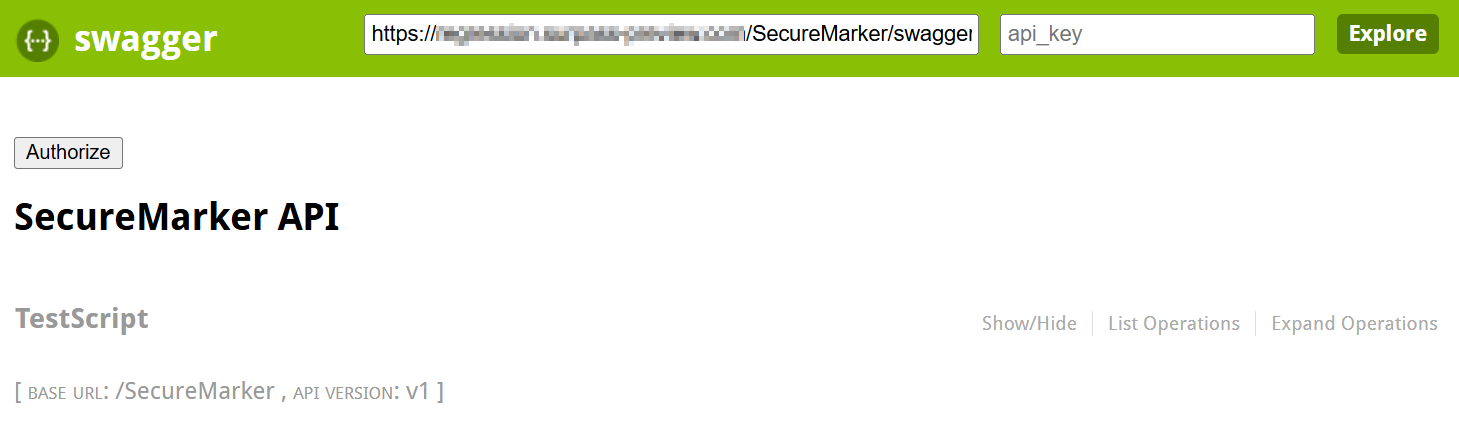
Each instance of Surpass has a Surpass OAPI Swagger console. To access it, add /oapi.index.html to your Surpass instance’s URL.
2. Enter authorisation details
Select Authorize and enter your credentials to authorise your requests using basic authentication. For more information on authentication and authorisation, read Connecting to the SecureMarker OAPI.
3. Choose an API
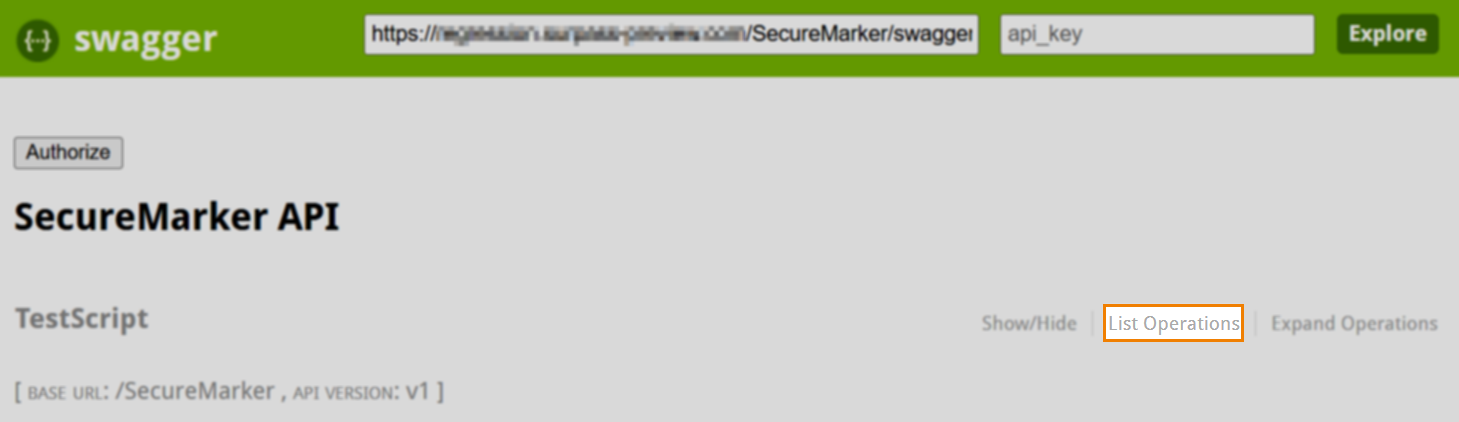
All of the available SecureMarker OAPI resources are listed on the Swagger console page.
Select List Operations to reveal a resource’s methods. These can also be toggled using Show/Hide.
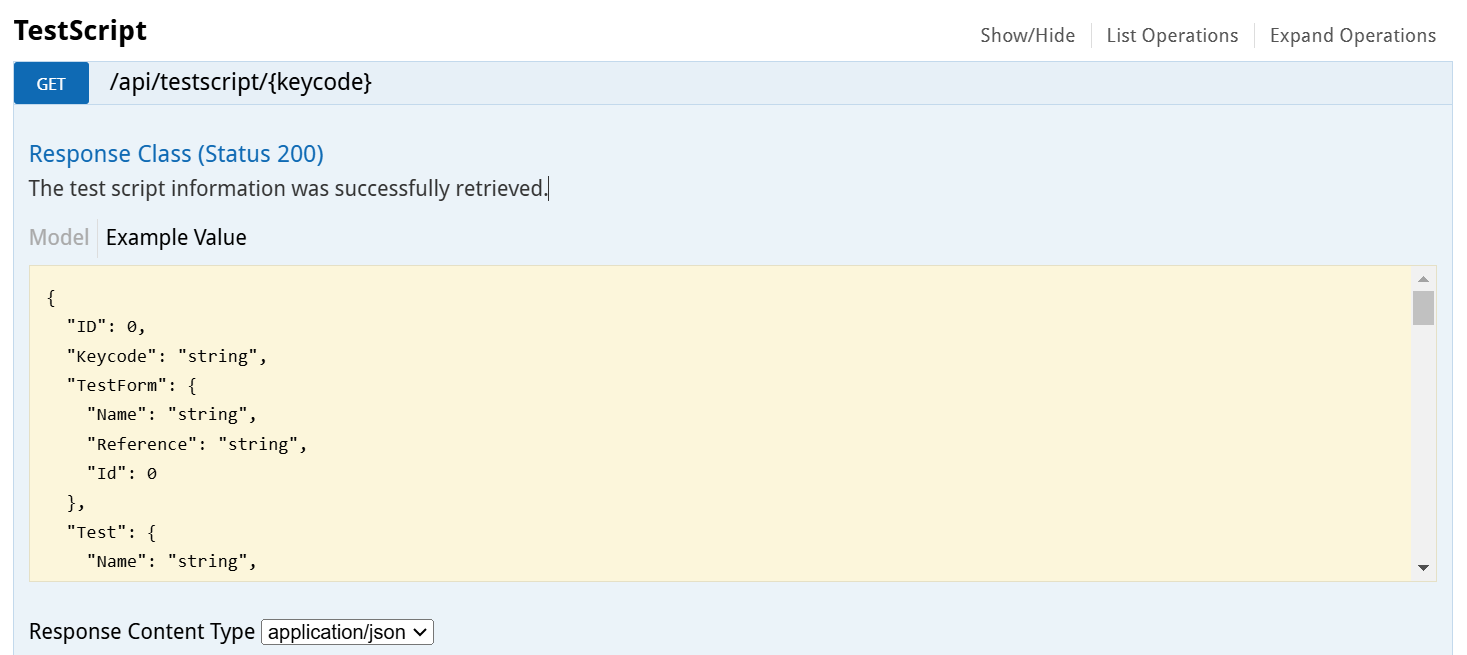
Select an API’s method or endpoint to reveal an expanded section containing the available parameters, responses, and a request body where applicable.

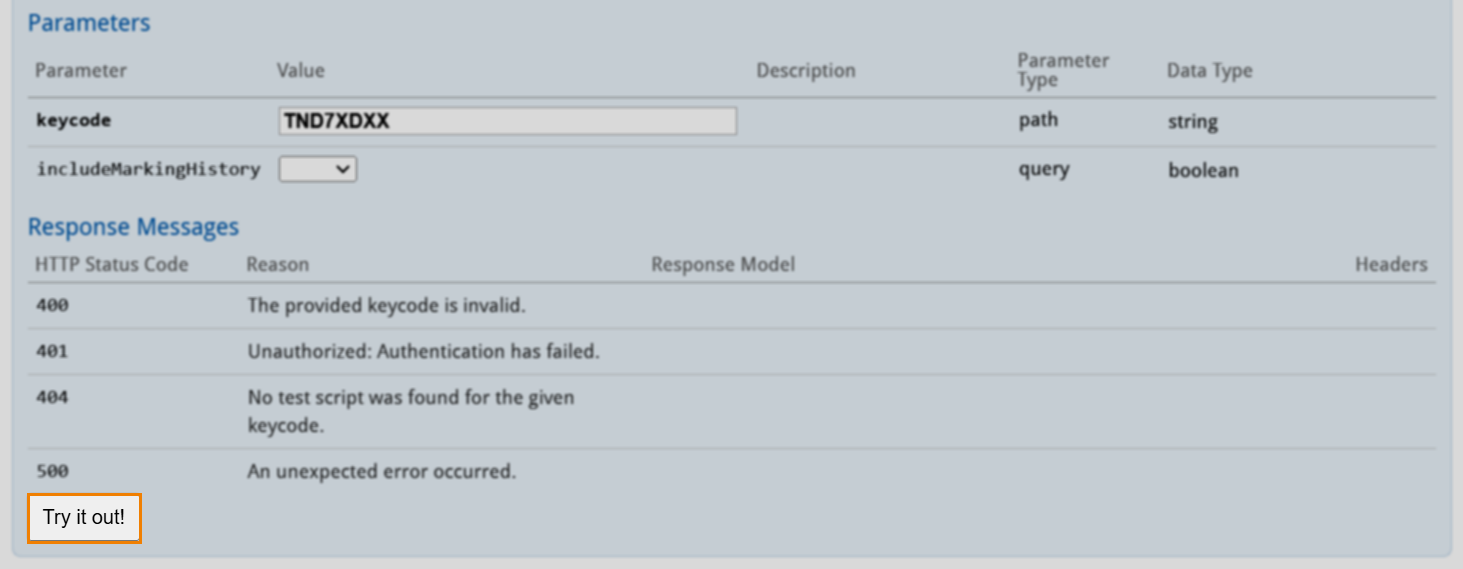
4. Input path and query parameters
Any path or query parameters are listed in the Parameters tab.
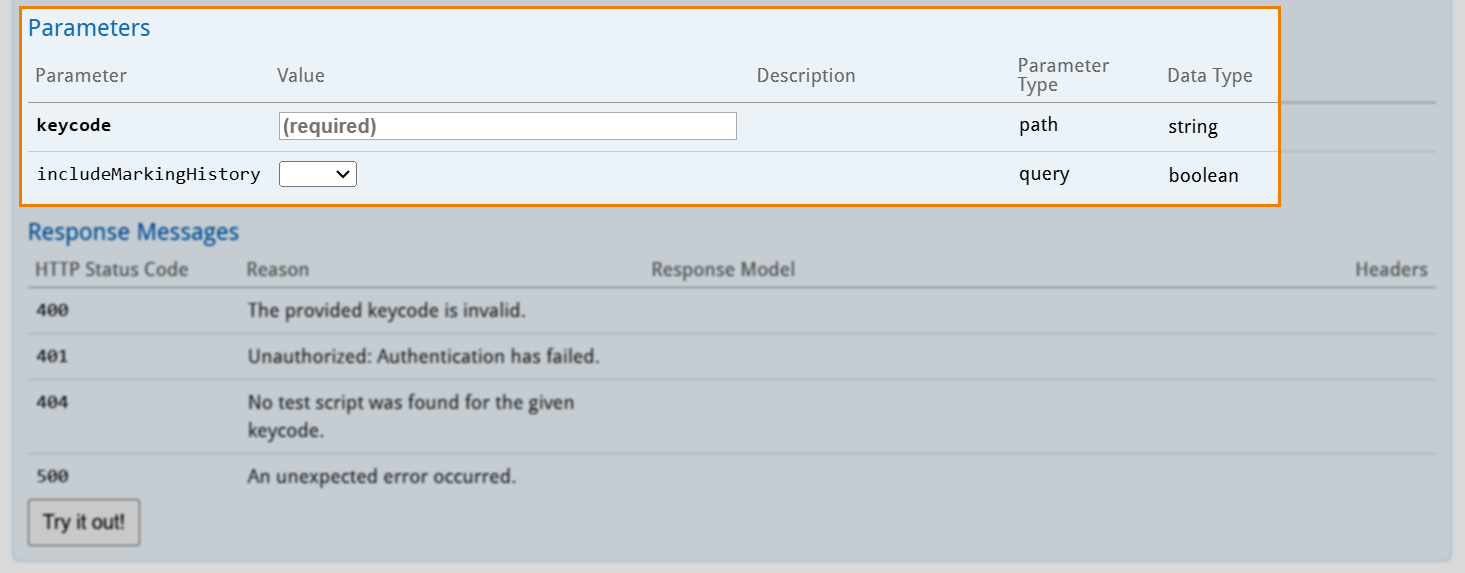
Mandatory path parameters are indicated with a (required) flag.
5. Input request body
Request bodies are pre-populated with all the available properties for the specified API. In the Item structure section of Request body, amend the properties and their values as required.
For information on the optional and mandatory request body properties of each OAPI, read the OAPI Reference documentation.
Changing the request body sample content type
You can change the format of the request body sample. This will automatically update the content-type header parameter.
Viewing the request body schema
Before selecting Try it out, you can view the request body’s schema.
6. Send request
Press Try it out! to send the request.
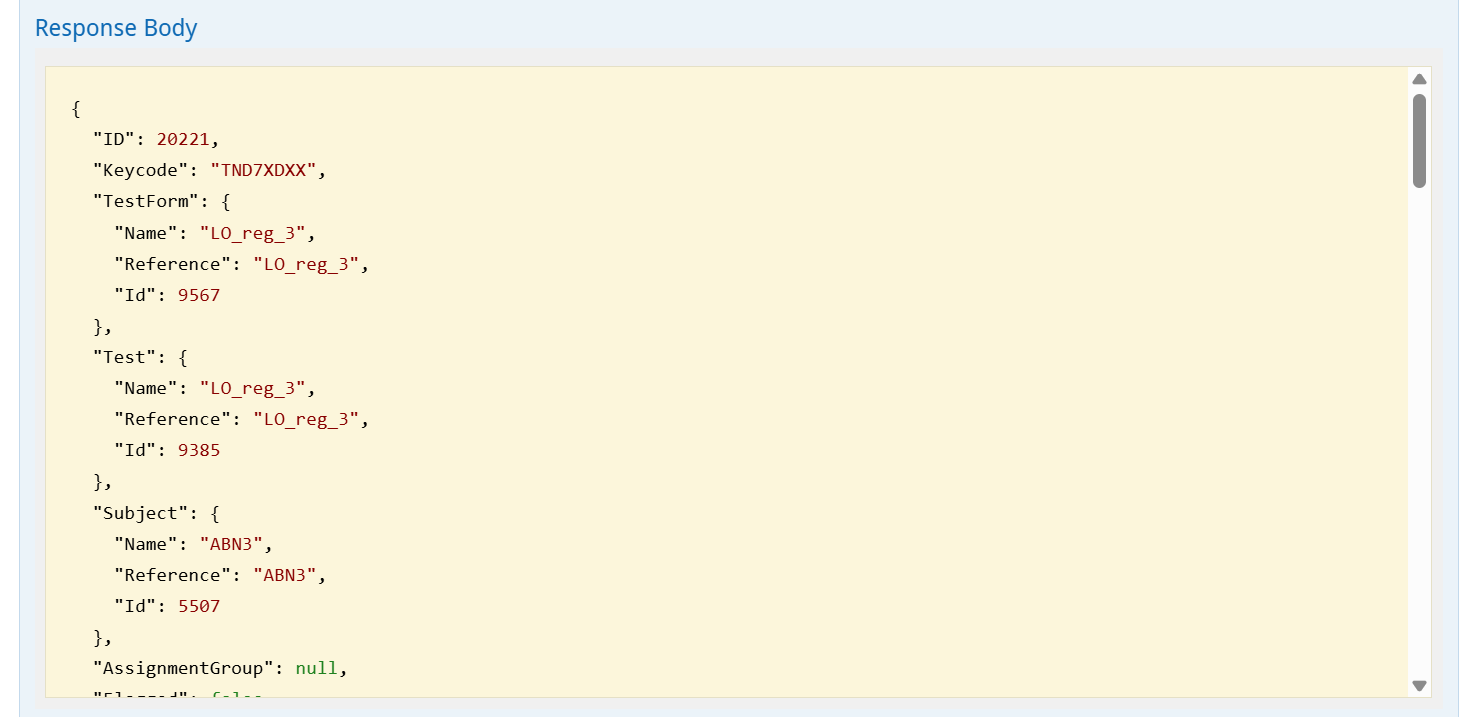
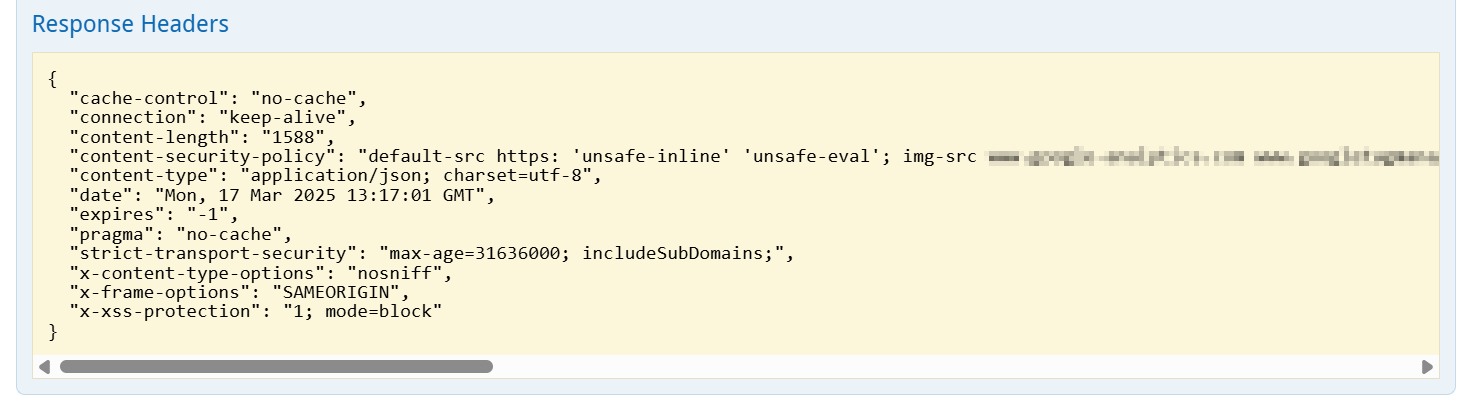
7. Read response
The response details its HTTP Code (a successful request returns a 200 code,) and the returned Response Body and Response Headers, and Request duration.
A Curl of the request and the Request URL endpoint it was sent to is detailed firstly.

The Response Body is returned.
Next, the Code section details the HTTP status code.

Lastly, returned Response Headers can be found.
Further reading
Now you know how to use the SecureMarker OAPI Swagger console, read the following articles to learn more: