Setting up Single Sign-On with Okta
Okta is an identity management platform that can enable Single Sign-On (SSO) authentication/authorisation. It is a claims-based authentication process; users are identified using a set of claims that are packaged into a secure token.
This article explains how to set up SSO for Surpass using Okta.
In this section
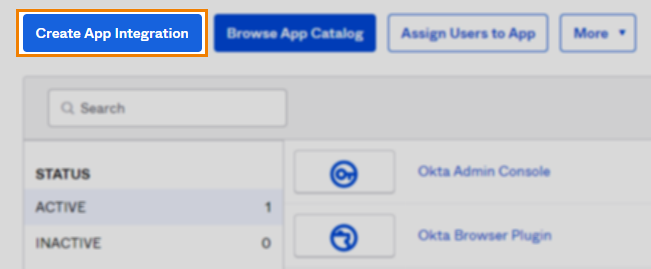
1. Navigate to Applications > Applications
2. Create new integration
Select Create App Integration to create a new integration.
Choose SAML 2.0 from the available options.
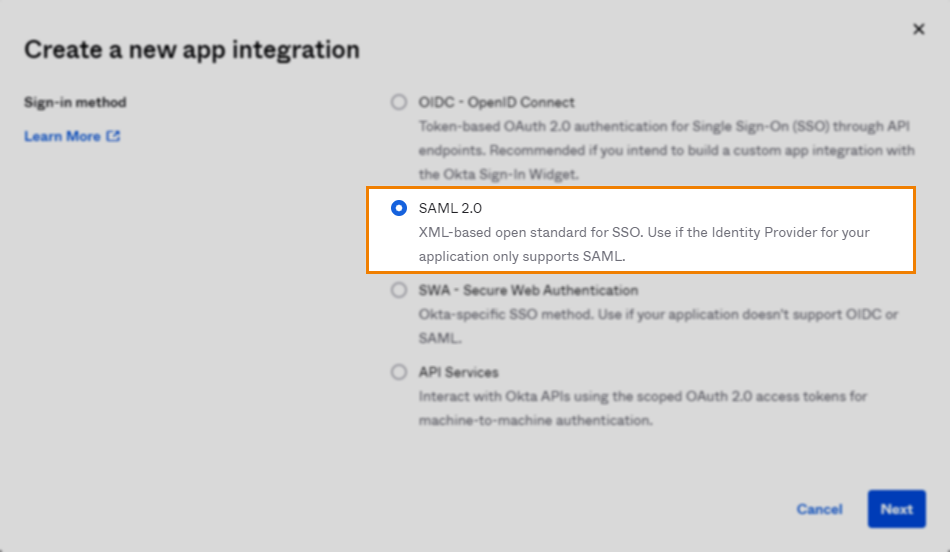
Select Next to continue.

3. Complete General Settings
Complete the App name field. Upload a logo (optional). Choose whether to display the application icon to users.
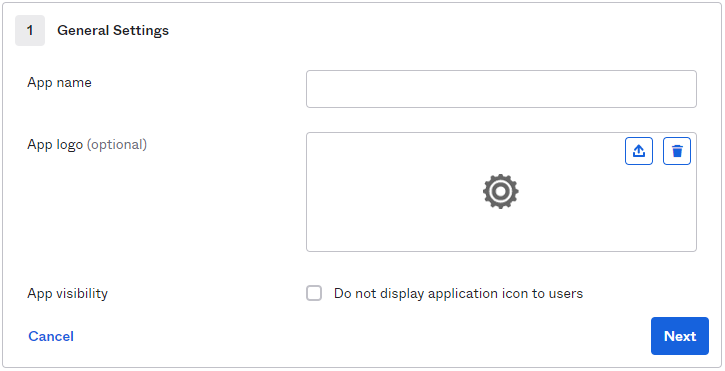
Select Next to continue.
4. Configure SAML Settings
In SAML Settings, complete the General fields.
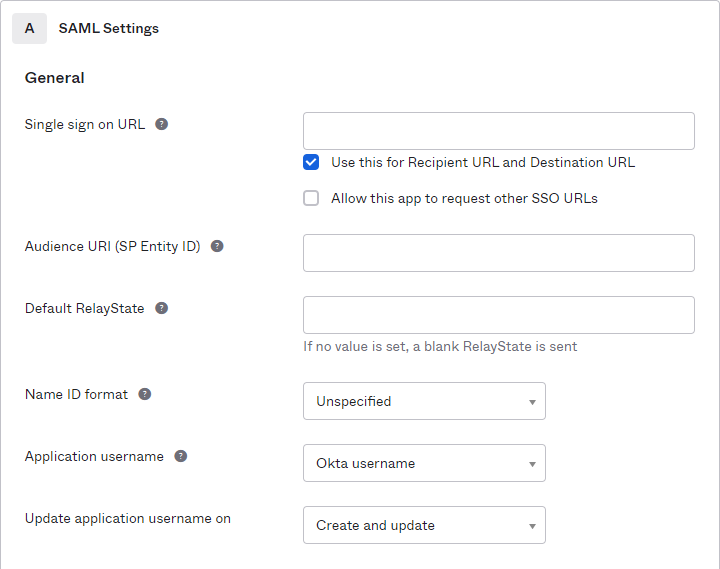
Read the following table for a sample setup:
| Property | Value |
|---|---|
|
Single sign on URL |
https://{your Surpass instance}.surpass.com/Saml/SingleSignOnService |
|
Audience URI (SP Entity ID) |
Demo_SurpassEditions
IMPORTANT: This must match the Name/Identity ID in Surpass Site Settings > Single Sign On.
|
|
Default RelayState |
Blank |
|
Name ID format |
Transient |
|
Application username |
N/A |
|
Update application username on |
N/A |
Select Show Advanced Settings.

Complete the Advanced fields.

Read the following table for a sample setup:
| Property | Value |
|---|---|
|
Response |
Signed |
|
Assertion Signature |
Signed |
|
Signature Algorithm |
RSA-SHA1 |
|
Digest Algorithm |
SHA1 |
|
Assertion Encryption |
Encrypted
|
|
Enable Single Logout |
Disabled |
|
Assertion Inline Hook |
Disabled |
|
Authentication context class |
PasswordProtectedTransport |
|
Honor Force Authentication |
Yes/No |
|
SAML Issuer ID |
N/A |
5. Map Attribute Statements
To authenticate where the user already exists in Surpass, in the Attribute Statements (optional) section of SAML Settings enter the following outgoing Surpass attribute along with your value:
| Attribute | Surpass Input | Value |
|---|---|---|
|
Unique User Identifier (Name ID) |
|
|
To authenticate and create new users, enter the following outgoing Surpass attributes along with your values:
| Attribute | Surpass Input | Value |
|---|---|---|
| Unique User Identifier (Name ID) |
|
{username} |
|
http://schemas.xmlsoap.org/ws/2005/05/identity/claims/name |
Username |
|
|
http://schemas.xmlsoap.org/ws/2005/05/identity/claims/emailaddress |
|
{email address} |
|
http://schemas.xmlsoap.org/ws/2005/05/identity/claims/givenname |
First Name |
{First Name} |
|
http://schemas.xmlsoap.org/ws/2005/05/identity/claims/surname |
Surname |
|
|
CentreReference |
Centre Reference |
{Centre Reference} |
For more information, read ‘Mapping SAML attributes to Surpass centre and user attributes’ in Configuring Surpass for Single Sign-On.
6. Preview SAML Assertion
You can preview your configured SAML assertion by selecting Preview the SAML Assertion.
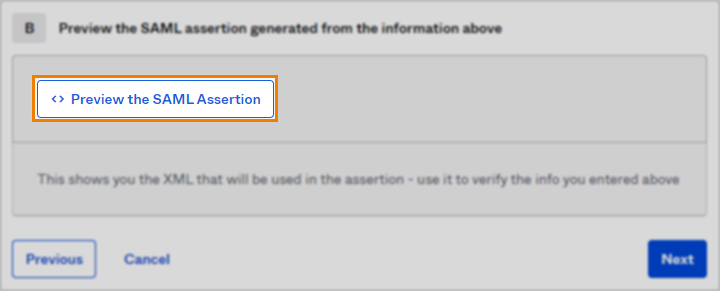
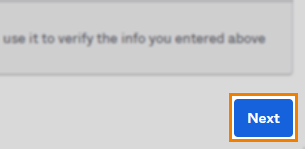
Select Next to continue.
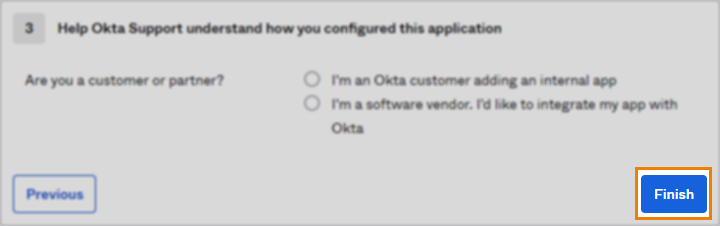
7. Finish configuring application
In Step 3, choose a feedback option and then Finish the process.
You can edit the SAML settings at any time by navigating to General and then SAML Settings > Edit.

8. Configure Surpass
Navigate to Sign On and then SAML Signing Certificates. Select View SAML setup instructions.
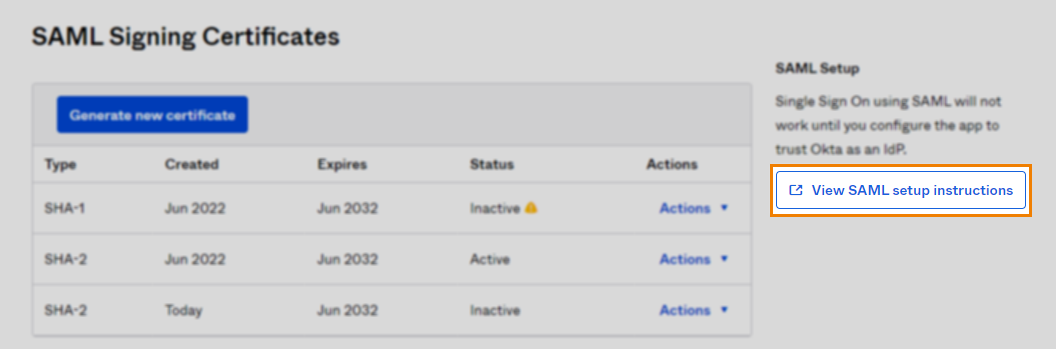
Retrieve the Identity Provider Single Sign-On URL, Identity Provider Issuer, and X.509 Certificate. Input and upload these in Surpass Site Settings > Single Sign On. For more information, read Configuring Surpass for Single Sign-On.
Further reading
Now you know how to set up Single Sign-On using Okta, read the following articles to learn more: