Setting up Single Sign-On with AD FS
Active Directory Federation Services (AD FS) is a system developed by Microsoft to enable Single Sign-On (SSO) authentication/authorisation. It is a claims-based authentication process; users are identified using a set of claims that are packaged into a secure token.
Surpass must be added as a relying party using the AD FS console. This enables the Surpass Platform’s server to provide users with access to Surpass. This article explains how to add Surpass as a relying party to AD FS.
In this section
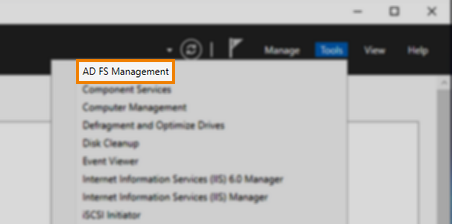
1. Launch AD FS Management
Select AD FS Management from the Tools menu.
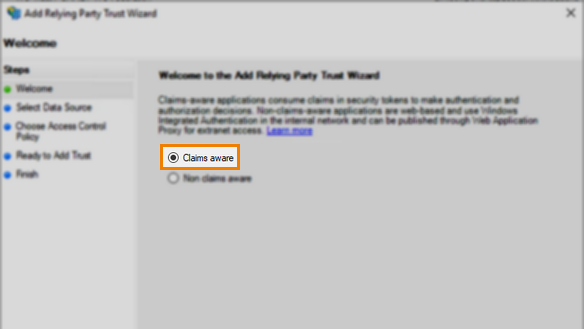
2. Begin to Add Relying Party Trust
Select Add Relying Party Trust… from the Actions toolbar.

In the first step of the Add Relying Party Trust Wizard, choose Claims aware.
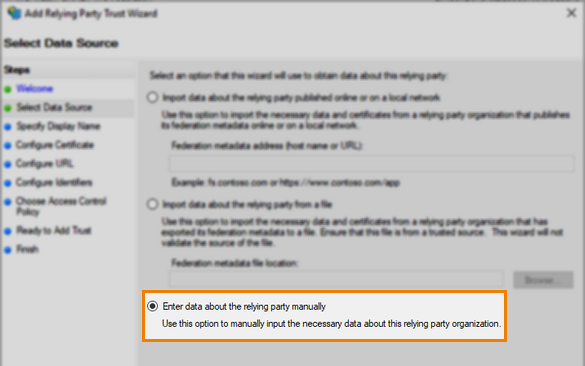
In the Select Data Source step, choose to Enter data about the relying party manually.
3. Specify Display name
Enter a Display name in the Specify Display Name step.
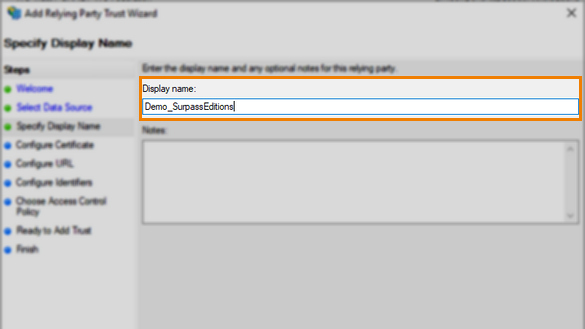
This must match the name in the Service Provider Name field of Surpass in Site Settings > Single Sign On.
4. Upload the Surpass Service Provider Certificate
In Surpass, select Download Certificate from the Single Sign On page in Site Settings to download the certificate.

This certificate is the token-encryption certificate used to encrypt the SAML assertion. The SP (Surpass) decrypts the SAML assertion using the associated private key. Ignore any warnings about the key length.
Select Browse… in the Configure Certificate step of the Add Relying Party Trust Wizard to find and upload the certificate.

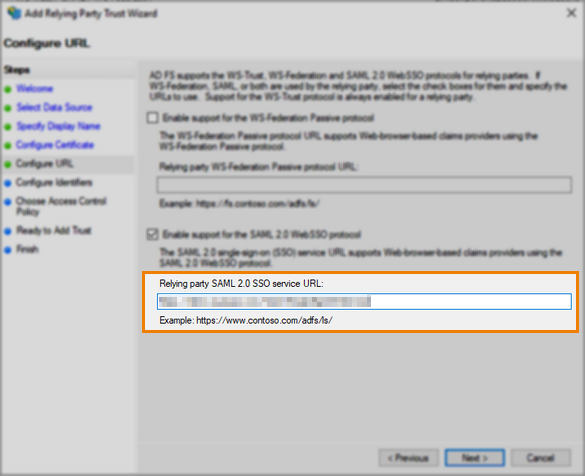
5. Configure URL by enabling support for the SAML 2.0 WebSSO protocol
In the Configure URL step, select to Enable support for the SAML 2.0 WebSSO protocol.
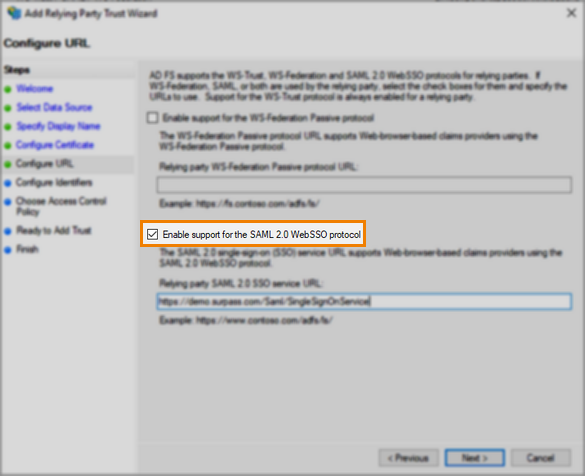
Enter the URL to the Surpass SAML login page in the Relying party SAML 2.0 SSO service URL field. To get this URL, add /Saml/SingleSignOnService to your Surpass instance’s URL.
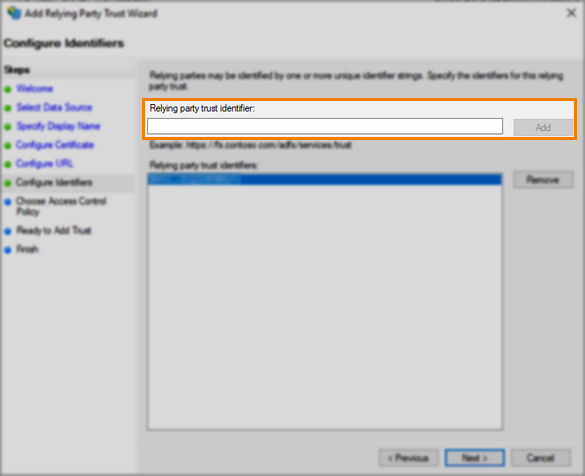
6. Enter the Relying Party Trust Identifier
In the Configure Identifiers step, enter the name of your Surpass instance (the Service Provider) in the Relying party trust identifier field and select Add.
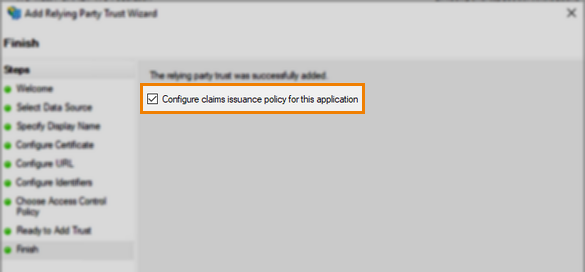
7. Finish adding relying party trust
Navigate through the remainder of the Add Relying Party Trust Wizard. You can choose an access control policy and amend any final trust configurations.
In the final step, select to Configure claims issuance policy for this application and then Close the dialog to finish the setup.
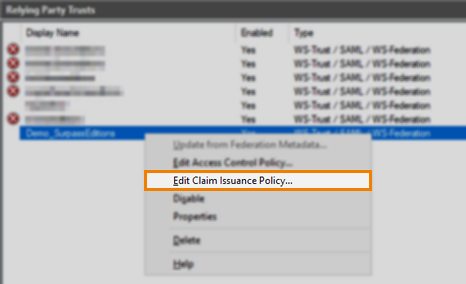
8. Update your rules for outgoing claims
From your list of Relying Party Trusts, right-click on your configuration and select Edit Claim Issuance Policy….
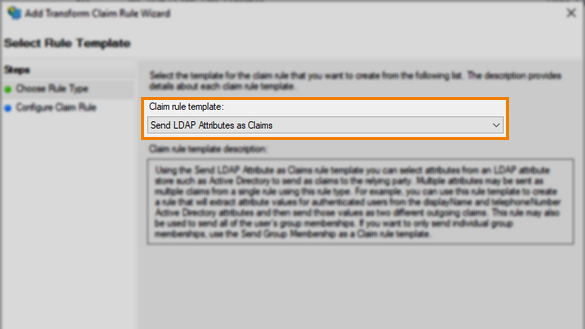
In the Choose Rule Type step of the Add Transform Claim Rule Wizard, select Send LDAP Attributes as Claims from the available claim rule templates.
To authenticate where the user already exists in Surpass, enter the following outgoing Surpass attribute along with your value in the Configure Claim Rule step:
| Attribute | Surpass Input | LDAP Attributes |
|---|---|---|
|
Unique User Identifier (Name ID) |
|
|
To authenticate and create new users, enter the following outgoing Surpass attributes along with your values:
| Attribute | Surpass Input | LDAP Attributes |
|---|---|---|
| Unique User Identifier (Name ID) |
|
{username} |
|
http://schemas.xmlsoap.org/ws/2005/05/identity/claims/name |
Username |
|
|
http://schemas.xmlsoap.org/ws/2005/05/identity/claims/emailaddress |
|
{email address} |
|
http://schemas.xmlsoap.org/ws/2005/05/identity/claims/givenname |
First Name |
{First Name} |
|
http://schemas.xmlsoap.org/ws/2005/05/identity/claims/surname |
Surname |
|
|
CentreReference |
Centre Reference |
{Centre Reference} |
For more information, read ‘Mapping SAML attributes to Surpass centre and user attributes’ in Configuring Surpass for Single Sign-On.
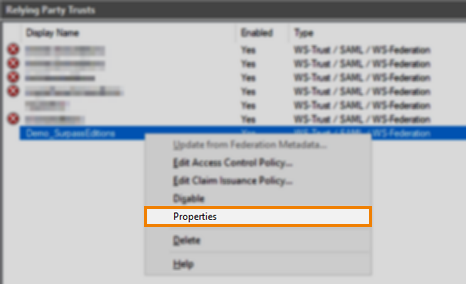
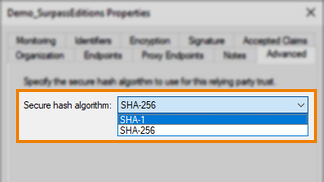
9. Change the Secure Hash Algorithm to SHA-1
From your list of Relying Party Trusts, right-click on your configuration and select Properties.
Select the Advanced tab.
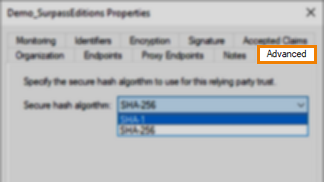
Select SHA-1 from the available secure hash algorithms.
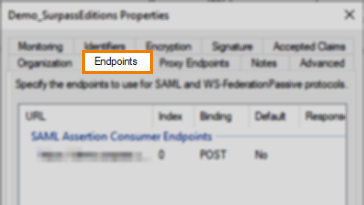
10. Configure endpoint
In Properties, select the Endpoints tab.
Select Add SAML…
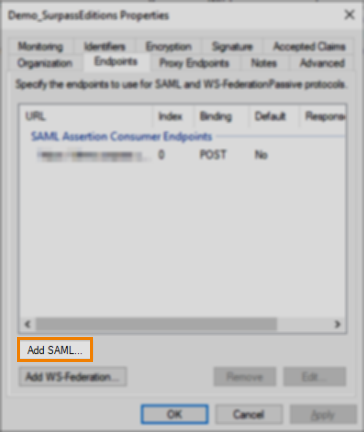
In the Add an Endpoint dialog, add an endpoint with the following properties:
| Property | Value |
|---|---|
| Endpoint type | SAML Logout |
| Binding | Redirect |
| Trusted URL | https://{your Surpass instance}.surpass.com/Saml/SingleLogOutService |
| Response URL | https://{your Surpass instance}.surpass.com/login |
11. Configure Surpass
Retrieve the certificate and any other information required to complete the Surpass Site Settings > Single Sign On configuration. For more information, read Configuring Surpass for Single Sign-On.
Further reading
Now you know how to set up Single Sign-On using AD FS, read the following articles to learn more: