Using the Surpass API v2 test console
The Surpass API v2 test console lets you test the Surpass API by directly sending a HTTPS request to any of the available endpoints for your instance of Surpass. It automatically generates the endpoint URL, header parameters, and request body, leaving you to complete/amend any parameters and properties as needed.
This article explains how to send a request using the Surpass API v2 test console.
We recommend creating a dedicated integration user that can be used when calling the Surpass API. This is a good idea even if you are only testing the API as it enables you to work in the Surpass UI and API simultaneously without being logged out of the UI after each request to the API.
In this section
1. Navigate to your test console
Each instance of Surpass has an API v2 test console. To access it, add /api/v2 to your Surpass instance’s URL.
If you are not already logged in to Surpass, you are required to log in in the same way you do to access the Surpass UI. Once logged in, a token is sent with each request to the Surpass API to authorise the request. Read Connecting to the Surpass API v2 for more information on authentication and authorisation.
2. Choose an API
All of the available Surpass API resources and their methods are listed on the test console page.
Find the API you wish to test, and then select Test API.

A partially-completed request to the relevant endpoint using the specified method is automatically generated and displayed in a dialog for you to complete.
3. Input URI parameters
URI (Unique Resource Identifier) parameters are path and query parameters.
Every available URI parameter is listed in the URI parameters section of the dialog with a corresponding checkbox. Each parameter is already checked. Uncheck any unneeded parameters.
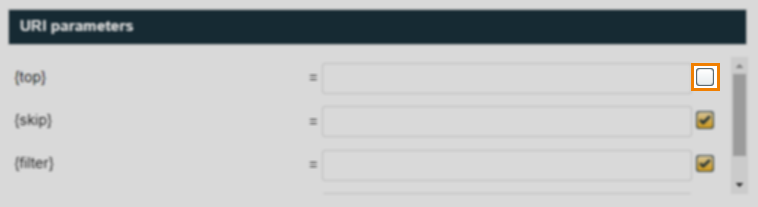
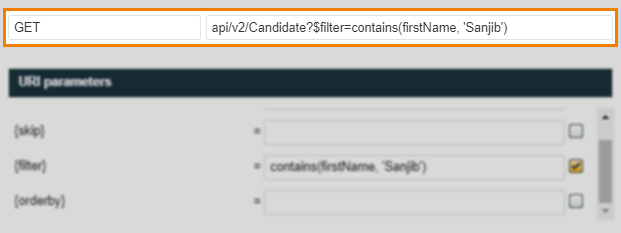
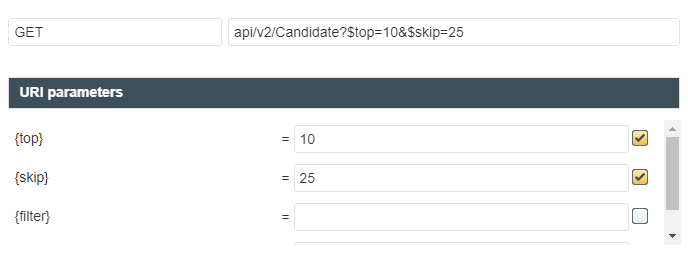
Input the value of any parameters in their corresponding text entry field.
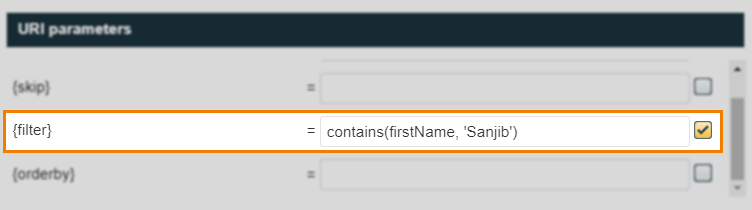
These values are automatically added to the endpoint accordingly.
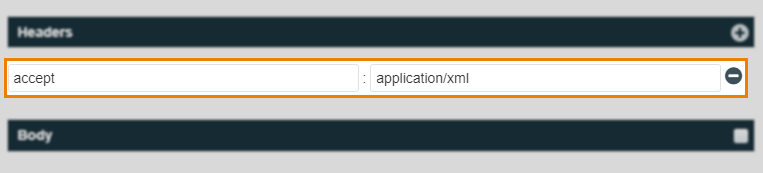
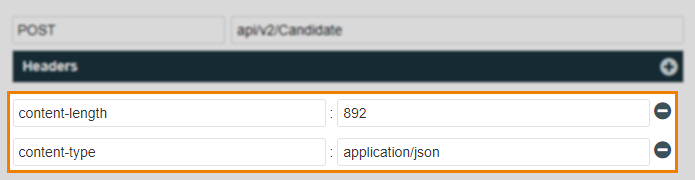
4. Input header parameters
To add a header parameter, select the Add button in the Headers section of the dialog.

Input the header parameter and its value in the corresponding text entry fields.
5. Input request body
Request bodies are pre-populated with all the available properties for the specified API. In the Body section of the dialog, amend the properties and their values as required.
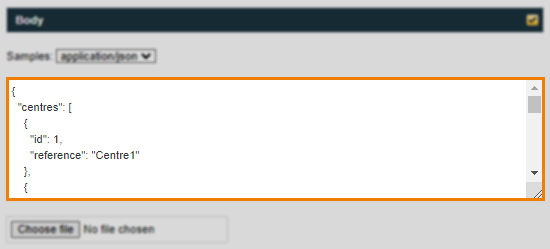
For information on the optional and mandatory request body properties of each API, read the API v2 Reference documentation.
Changing the request body sample content type
You can change the format of the request body sample. This will automatically update the content-type header parameter.
To change the content type of the request body sample, select the Samples drop-down menu.
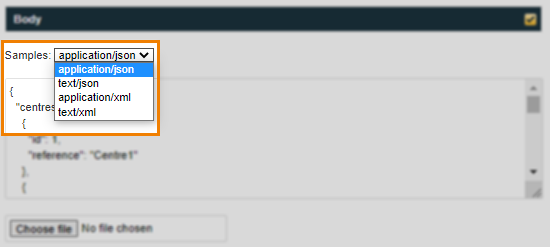
The available content types are:
- application/json – Lets the server know that JSON is being sent in the request.
- text/json – Lets the server know that JSON is being sent in the request.
- application/xml – Lets the server know that XML is being sent in the request.
- text/xml – Lets the sever know that XML is being sent in the request.
Sending a file with the request
Files can be passed in the request along with the request body. Uploaded files are equivalent to sending data in a content-type (multipart/form-data) header.
To add a file to the request, select Choose file. Choose a file from your file explorer and upload it to the request.
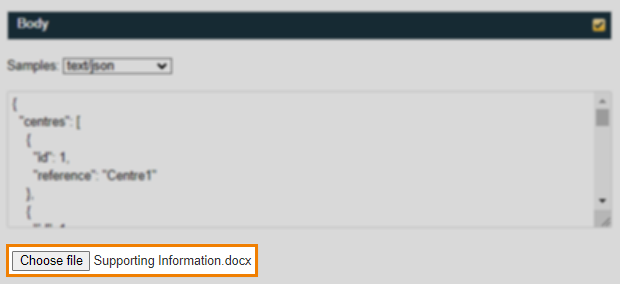
The file name and extension of successfully uploaded files are displayed next to the Choose file button.
6. Send request
Press Send to send the request.

7. Read response
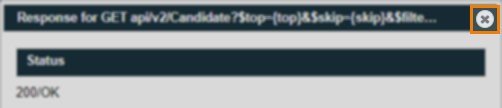
The response details its HTTP Status and the returned Headers and Body.
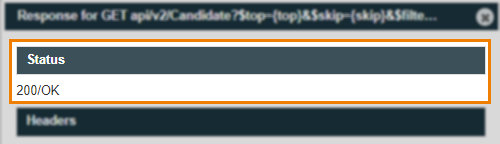
The Status section of the dialog returns a standard HTTP status code. A successful request returns a 200/OK code.
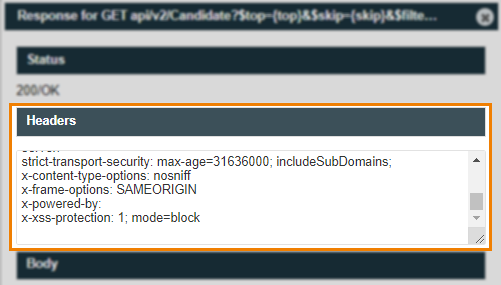
The Headers section of the dialog returns any information found in the header parameters of the response.
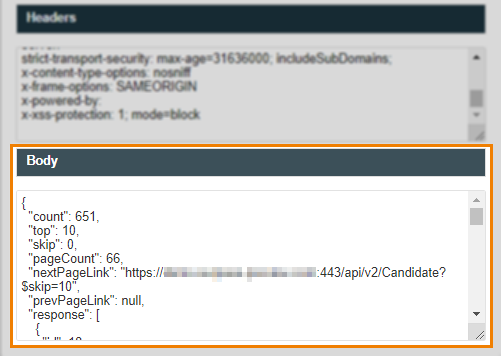
The Body section of the dialog returns any information found in the response body. For GET requests, this may include several properties and their values. For other requests, only an indication that the request was successful is returned in the body.
To close the response and return to the request, select the Close button.
Further reading
Now you know how to use the Surpass API v2 test console, read the following articles to learn more: