Configuring Surpass for Single Sign-On
Surpass must be configured as the service provider (SP) to enable Single Sign-On (SSO) authentication/authorisation with other identity providers (IdP).
This article explains how to configure Surpass for SSO.
In this section
1. Navigate to Surpass Single Sign-On Site Settings
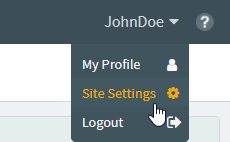
To view Site Settings, select your user name to open the User menu.

Select Site Settings in the User menu.
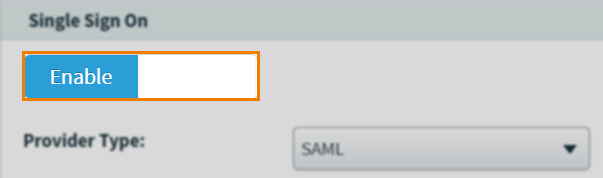
Navigate to Single Sign On in Site Settings, and select Enable .
2. Upload the identity provider (IdP) token-signing certificate to Surpass
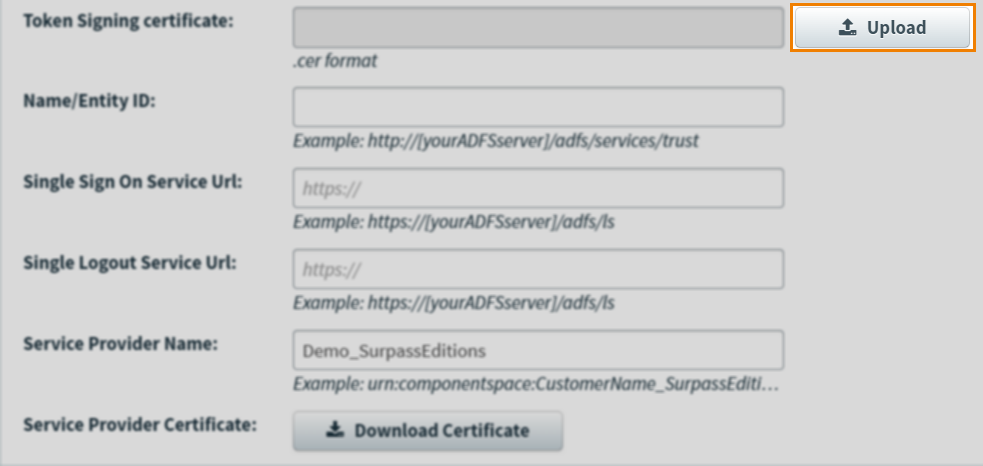
Retrieve the token-signing certificate from the identity provider (IdP). Select Upload to upload it to Surpass.
3. Input identity provider (IdP) details
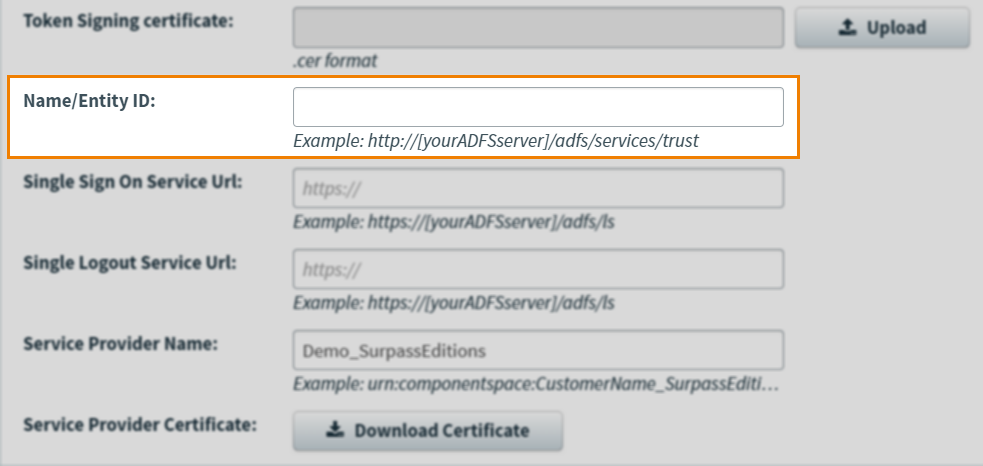
Add your IdP’s details in the Name/Entity ID field.
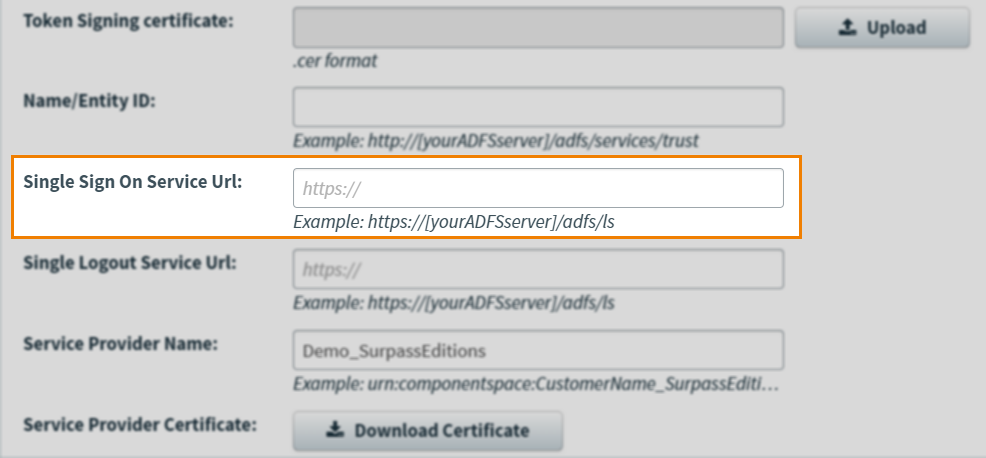
4. Input Single Sign-On and Logout Service URLs
Add your IdP’s Single Sign-On Service URL to the Single Sign On Service Url field.
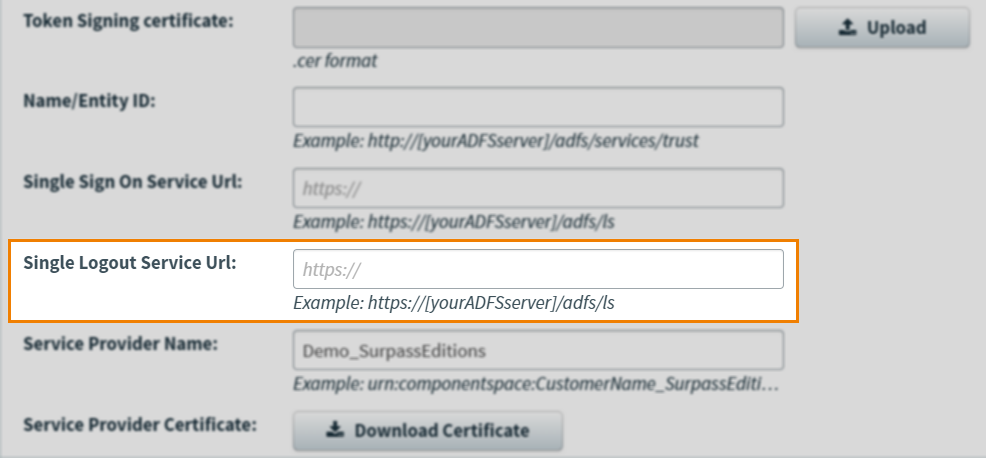
Add your IdP’s Single Logout Service URL to the Single Logout Service Url field.
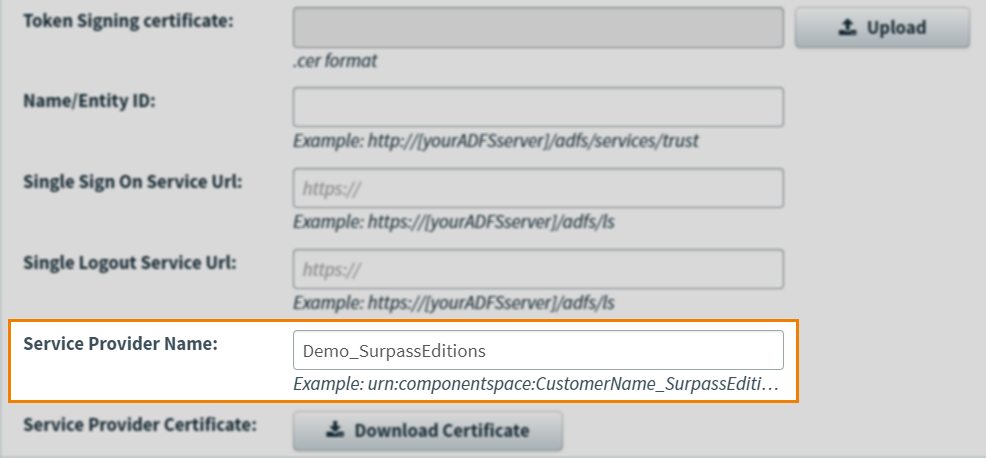
5. Input Service Provider Name
Enter your SP name in the Service Provider Name field.
Select Save Changes.
6. Enable users in Surpass to use SSO
Enable users to use SSO by updating their SSO External ID, which should match the Name ID you send when configuring your IdP. To do this, send a PUT request updating the ssoExternalId property using the User API. For more information on how to do this, read User API.
If your users do not already exist in Surpass, read Creating a user for information on how to create them.
Once the user is created they will need to request a Surpass Admin updates their roles accordingly
This value must match an attribute in the IdP to successfully authenticate the user.
Mapping SAML attributes to Surpass centre and user attributes
If the user has never accessed Surpass before and the SAML attributes (themselves mapped to your IdP’s claims) are mapped to the Surpass centre and user attributes correctly, the system creates a user with basic access and populates the necessary user fields in Surpass with the information stored in the IdP that was sent within the SAML request.
For a user to be successfully registered in Surpass, they need to have the relevant user details matched in your IdP. The following Surpass attributes need to be mapped to SAML attributes:
| Attribute | Surpass UI |
|---|---|
|
http://schemas.xmlsoap.org/ws/2005/05/identity/claims/name |
Username |
|
http://schemas.xmlsoap.org/ws/2005/05/identity/claims/givenname |
First Name |
|
http://schemas.xmlsoap.org/ws/2005/05/identity/claims/surname |
Surname |
|
http://schemas.xmlsoap.org/ws/2005/05/identity/claims/emailaddress |
|
|
CentreReferences |
Centre Reference |
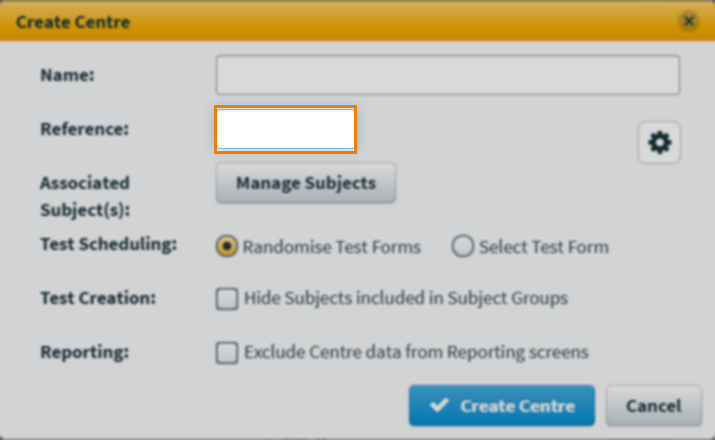
To create a user in Surpass, they must be associated with at least one centre. Read Creating a user for more information on creating users. The unique reference code for the centre that the user is associated with must match a SAML attribute. For more information on creating centres, read Creating a centre.
As the user is only given basic access to the specified centre(s), a Surpass administrator must update their roles and permissions to give them the level of access you require. Read Editing a user and ‘Choose user roles’ in Creating a user for more information.
7. Login to Surpass
After you have successfully configured Surpass and your IdP, you can now login via your IdP.
You can login via Surpass by visiting the following client-specific SSO login page:
If accessing this address for the first time, a user is created in Surpass and is granted basic access to all the centres they should have permissions for. From then on, all permissions are managed from within Surpass. Since this process only grants the user basic centre permissions, a site administrator will have to login and grant the new user any relevant permissions.
Further reading
Now you know how to configure Surpass for Single Sign-On, read the following articles to learn more: