Publishing items for Adobe InDesign
The Surpass Publisher can publish items retrieved from the Surpass Platform for use in Adobe InDesign.
This article explains how to publish items for use in Adobe InDesign.
In this section
1. Select items to publish
Select the items you want to publish by selecting their corresponding checkboxes.
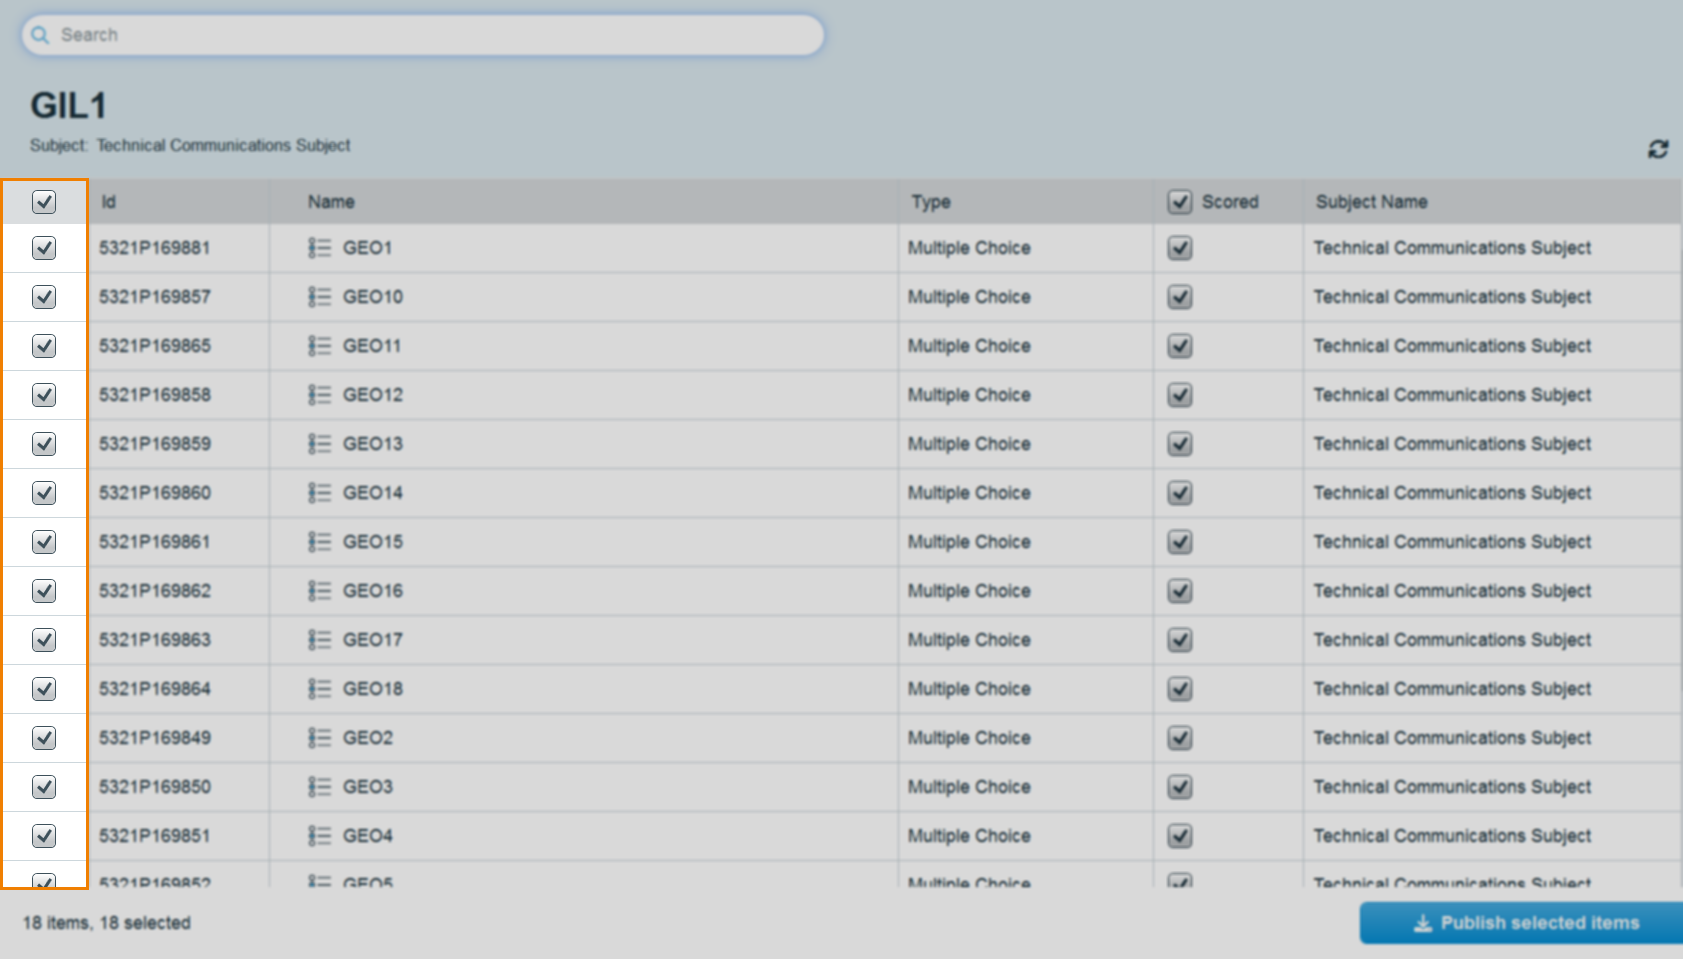
You can select all items in the list using the checkbox in the header row. All items in the list are selected by default.
For more information on the Surpass Publisher item grid, read About the Surpass Publisher item grid.
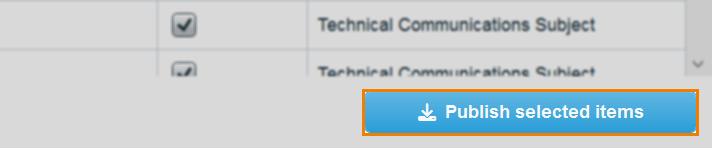
2. Select Publish selected items
Select Publish selected items.
3. Configure exporting options
Select InDesign Document from the Publishing Format drop-down menu.
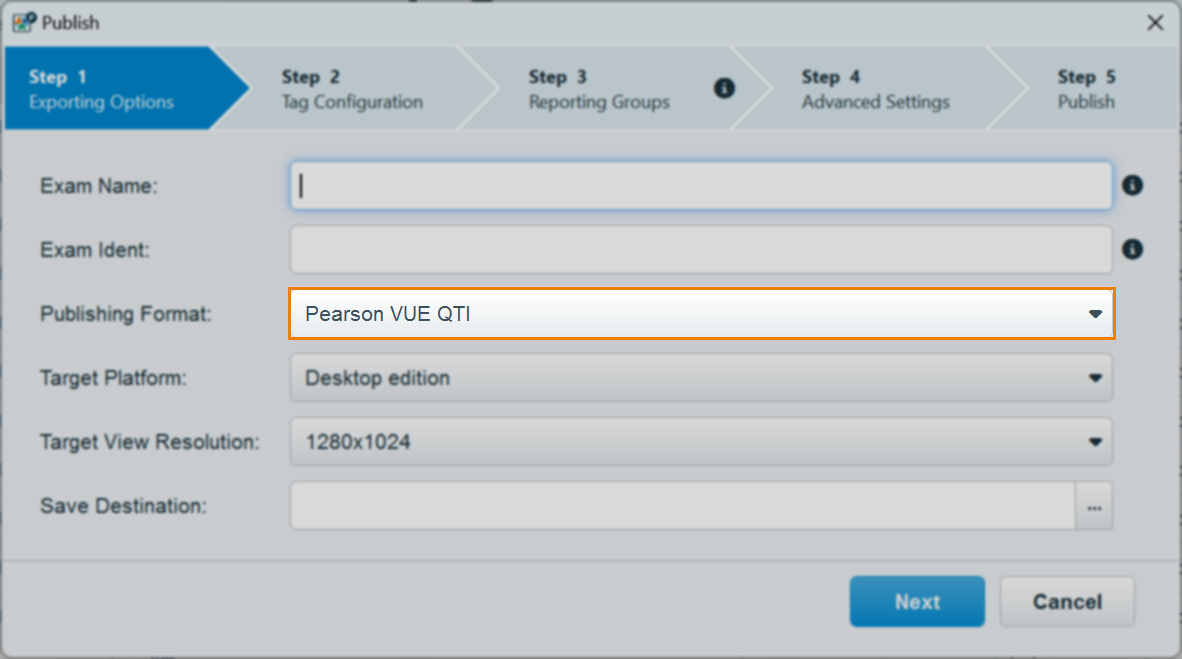
The Publish dialog will resize to hide exporting options not relevant to Adobe InDesign publishing.
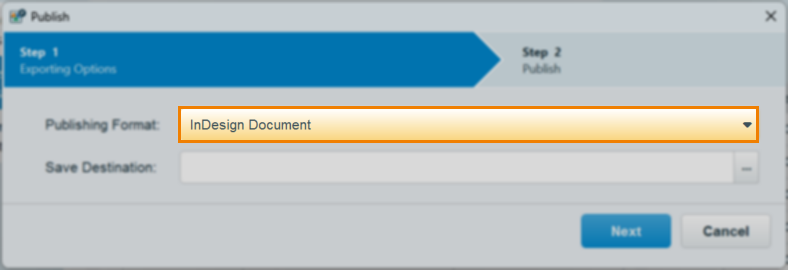
4. Specify a save destination
Select […] to choose a save destination for your published items. You must give the ZIP file a name.
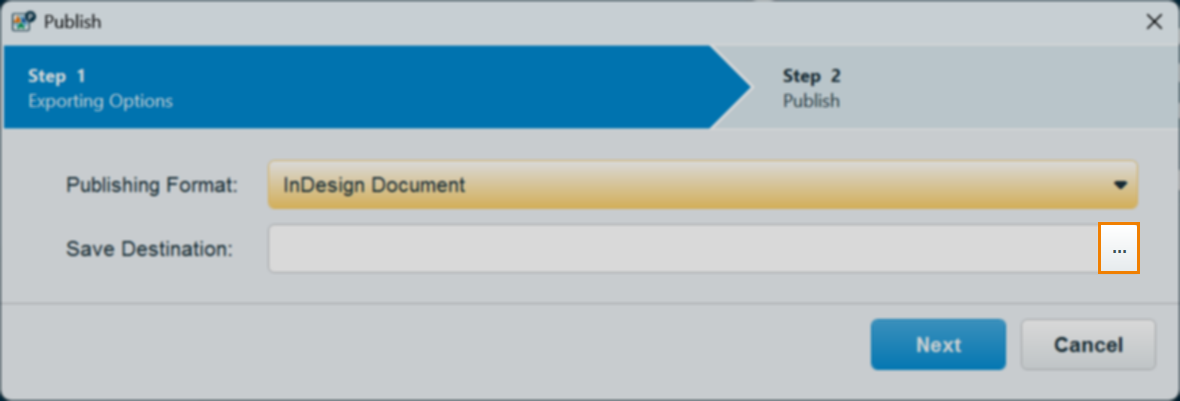
Select Next to continue.
5. Review and publish package
Review the package summary in Step 2 of the Publish wizard before publishing.
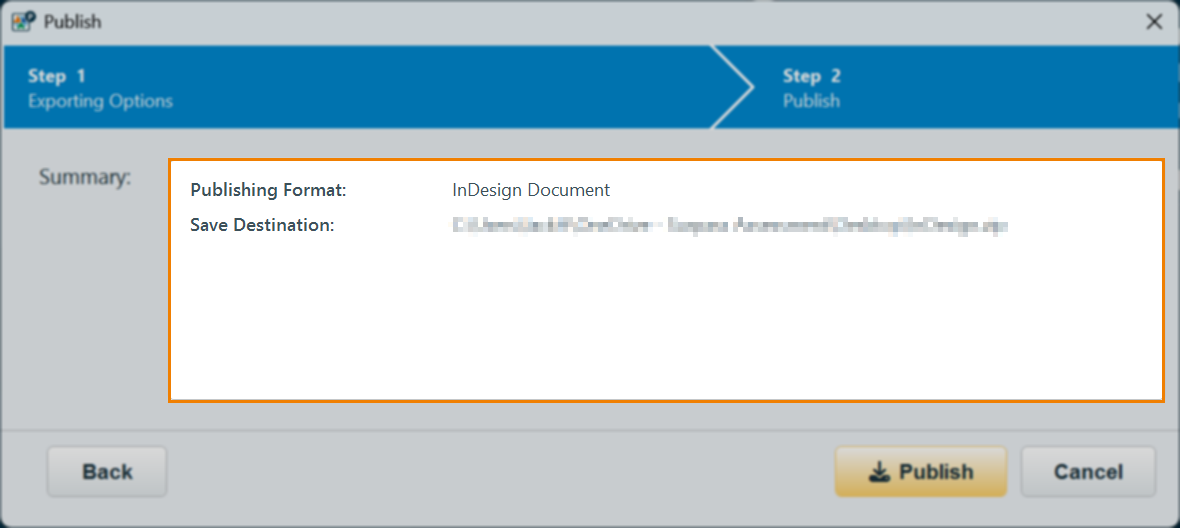
Select Publish to publish your items. Your items are published in a ZIP file in your specified Save destination.

Once Publish has been selected, you can view the progress of the publishing process within the wizard. You can also choose to Stop publishing if required.
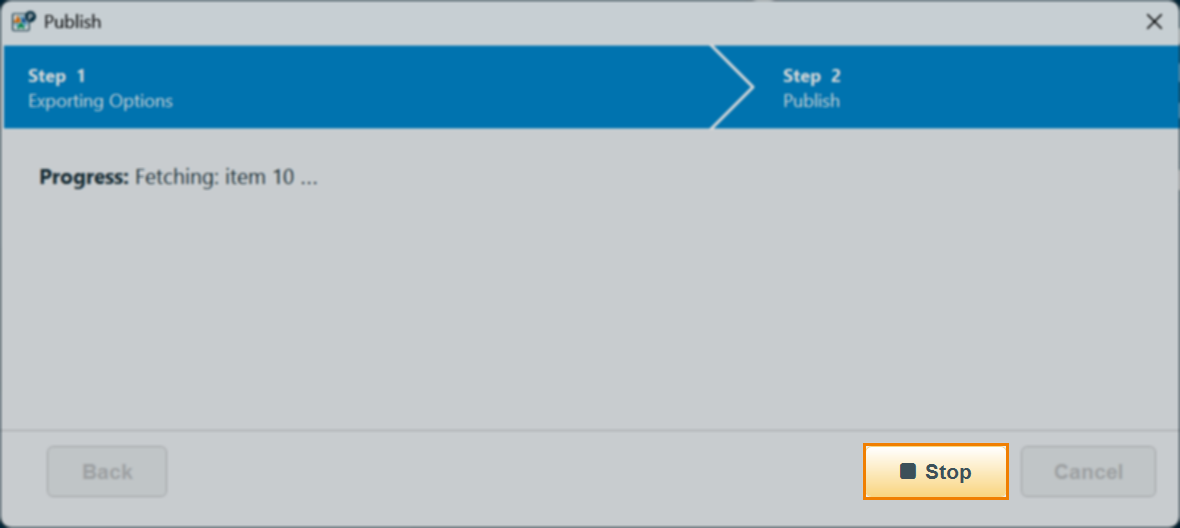
Upon completion, a Publish report detailing the success or failure of the publish attempt is generated. For more information on the generated report, read Downloading publish reports.
The ZIP file contains an InDesignExport_{YYYY-MM-DDTHH-MM-SS} XML file and a folder of any media assets.
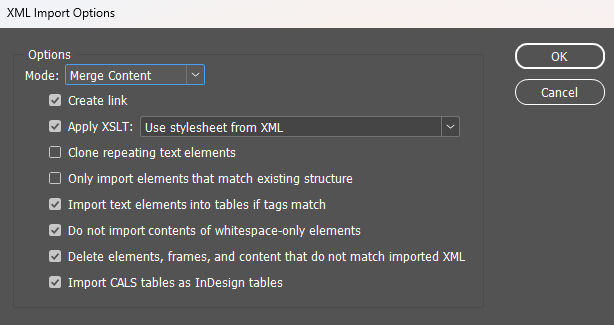
6. Importing items into Adobe InDesign
To import your items into Adobe InDesign, go to File > Import XML… in InDesign and find and select your InDesignExport file.
Before selecting OK, enable the following XML Import Options:
- Create link
- Apply XSLT: Use stylesheet from XML
- Import text elements into tables if tags match
- Do not import contents of whitespace-only elements
- Delete elements, frames, and content that do not match imported XML
- Import CALS tables as InDesign tables
For help with Adobe InDesign, read Adobe’s InDesign documentation. For help with importing XML into Adobe InDesign specifically, read ‘Import XML in InDesign’.
Further reading
To learn more about publishing items with the Surpass Publisher, read the following articles: