Publishing items in spreadsheet format
The Surpass Publisher can publish items retrieved from the Surpass Platform in spreadsheet format for direct import into other test drivers.
This article explains how to publish items in spreadsheet format.
In this section
1. Select items to publish
Select the items you want to publish by selecting their corresponding checkboxes.
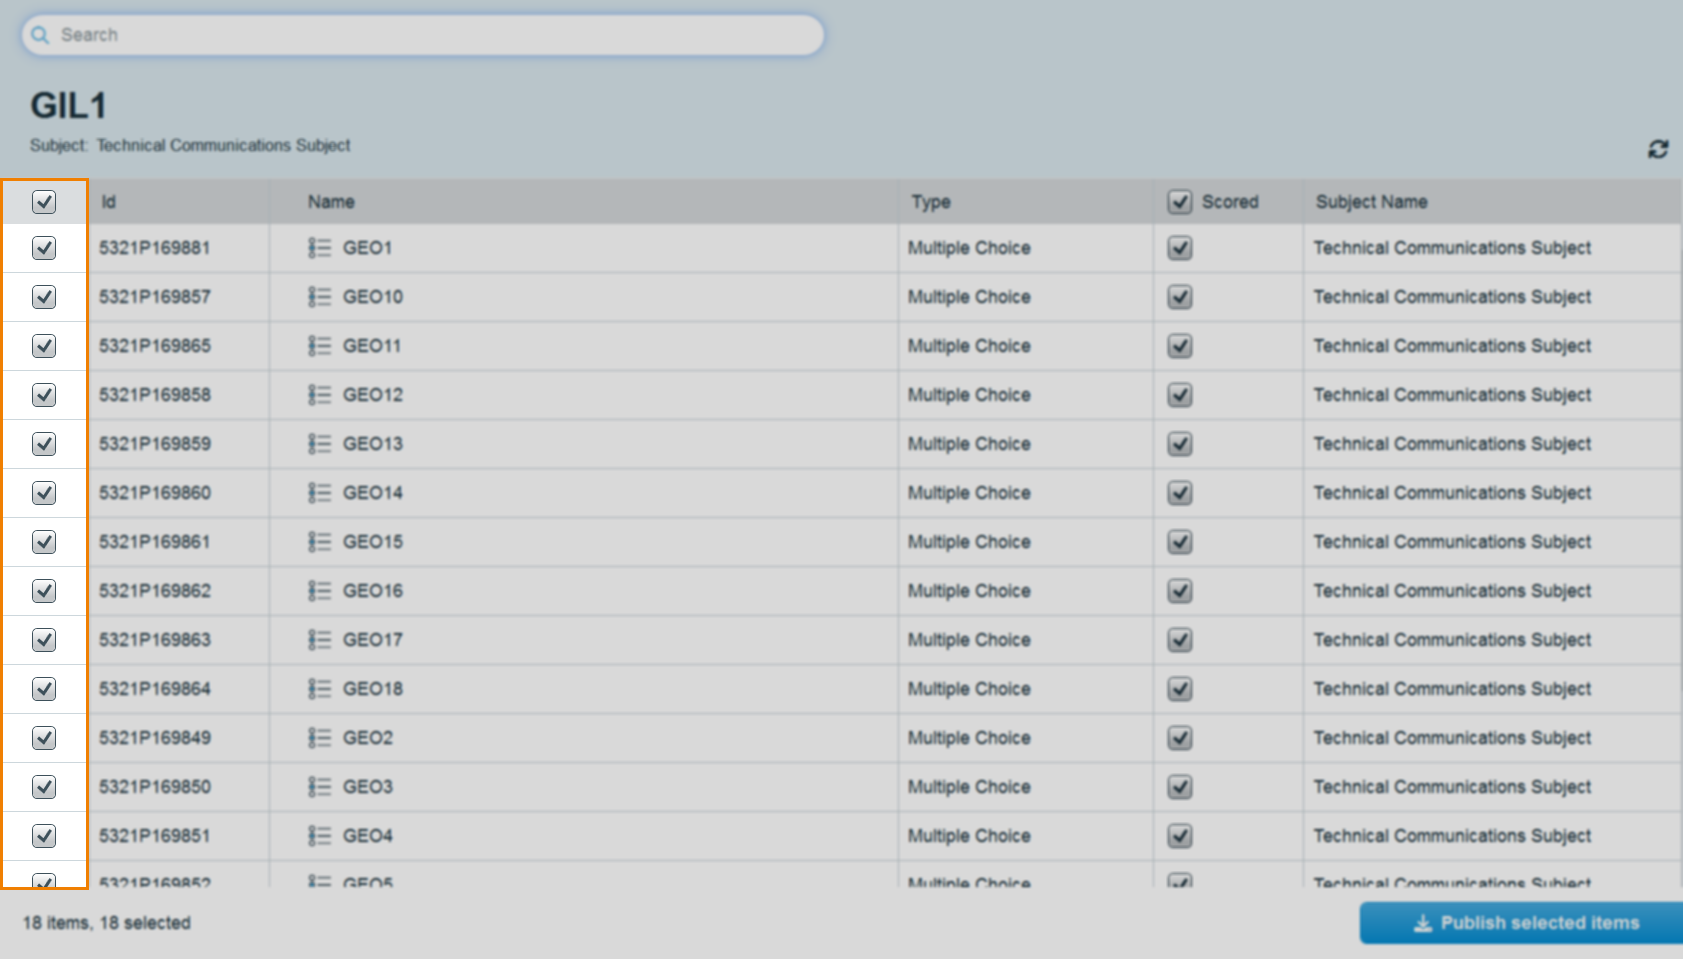
You can select all items in the list using the checkbox in the header row. All items in the list are selected by default.
For more information on the Surpass Publisher item grid, read About the Surpass Publisher item grid.
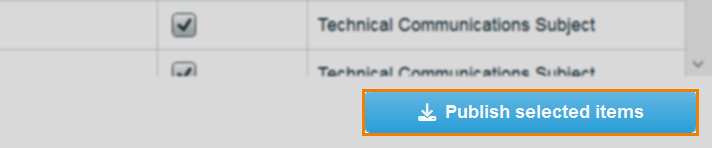
2. Select Publish selected items
Select Publish selected items.
3. Select to publish in spreadsheet format
In the first step of the Publish wizard, Exporting Options, select Spreadsheet from the Publishing Format drop-down menu.
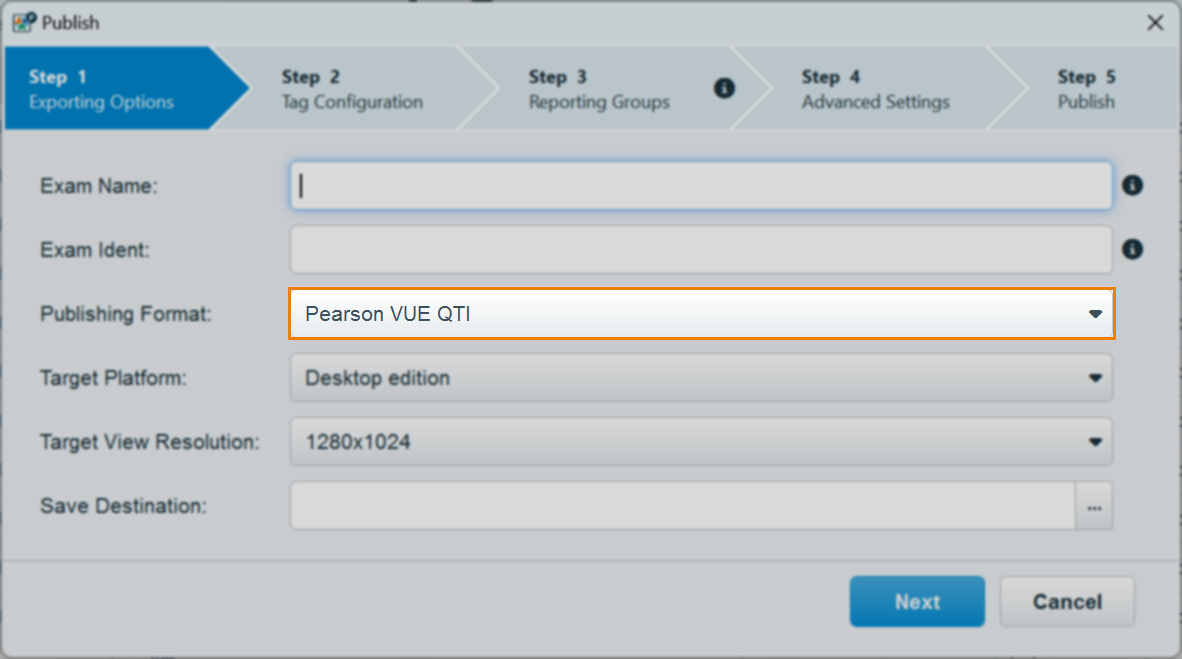
The Publish dialog will resize to hide exporting options not relevant to Spreadsheet publishing. Select […] to choose a save destination for your published items. You must give the ZIP file a name.

4. Specify a save destination
Select […] to choose a save destination for your published items. You must give the ZIP file a name.

Select Next to continue.
5. Choose data to include
In Step 2 – Data Inclusion, choose what data to include in your spreadsheet.
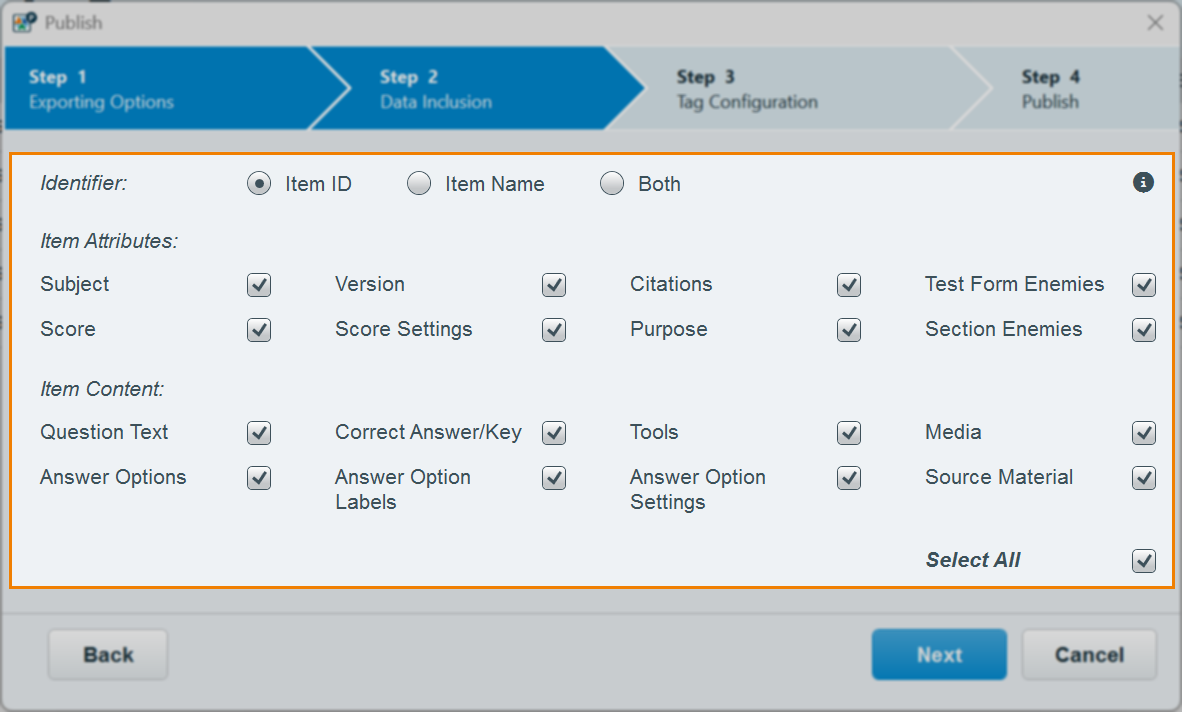
Refer to the following table for information on each option:
| Data | Description |
|---|---|
| Identifier | Choose between Item ID, Item Name, or Both (also includes item set IDs and names). |
| Subject | The item’s unique subject reference code. |
| Version | The item’s version. |
| Citations | Any citations on the item. |
| Test Form Enemies | The item IDs of any test form enemies. |
| Score | The item’s score. |
| Score Settings | Any score settings, such as Partial Score. |
| Purpose | The item’s purpose. |
| Section Enemies | The item IDs of any section enemies. |
| Question Text | The item’s question text. |
| Correct Answer/Key | The item’s correct answer option key. |
| Tools | Any tools attached to the item. |
| Media | Any media attached to the item. |
| Answer Options | The item’s answer options. |
| Answer Option Labels | The item’s answer option labels. |
| Answer Option Settings | Any answer option settings, such as Exclusive Option. |
| Source Material | Any source material attached to the item. |
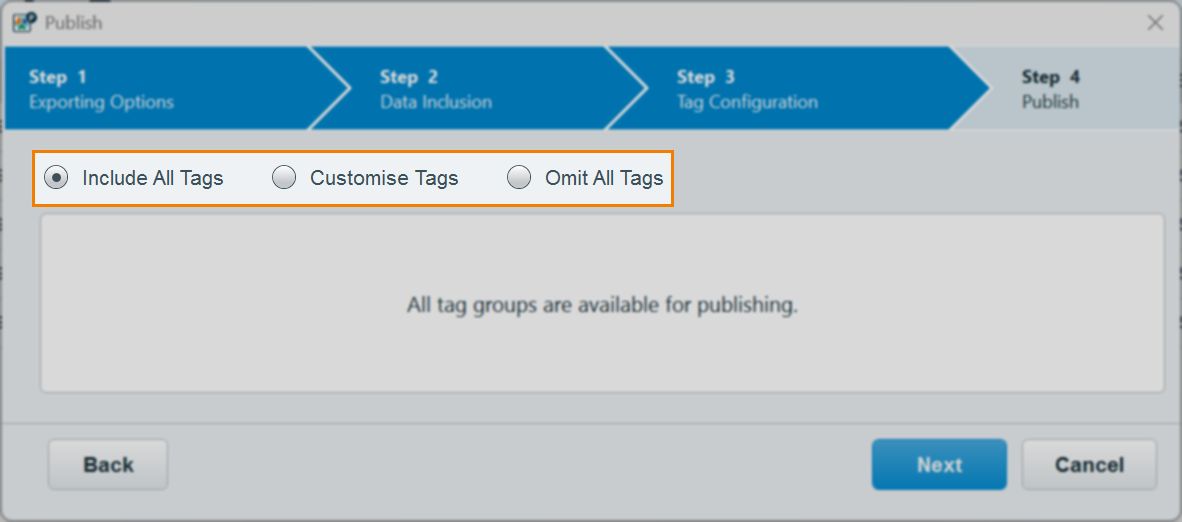
6. Configure tags
In Step 3 – Tag Configuration, choose between including all tags (Include all tags), a subset of tags (Customise tags), or no tags (Omit all tags) in your spreadsheet. The available tag groups are the tag groups in the subject(s) of the items in the item list.
7. Review and publish package
Review the package summary in Step 4 of the Publish wizard before publishing.
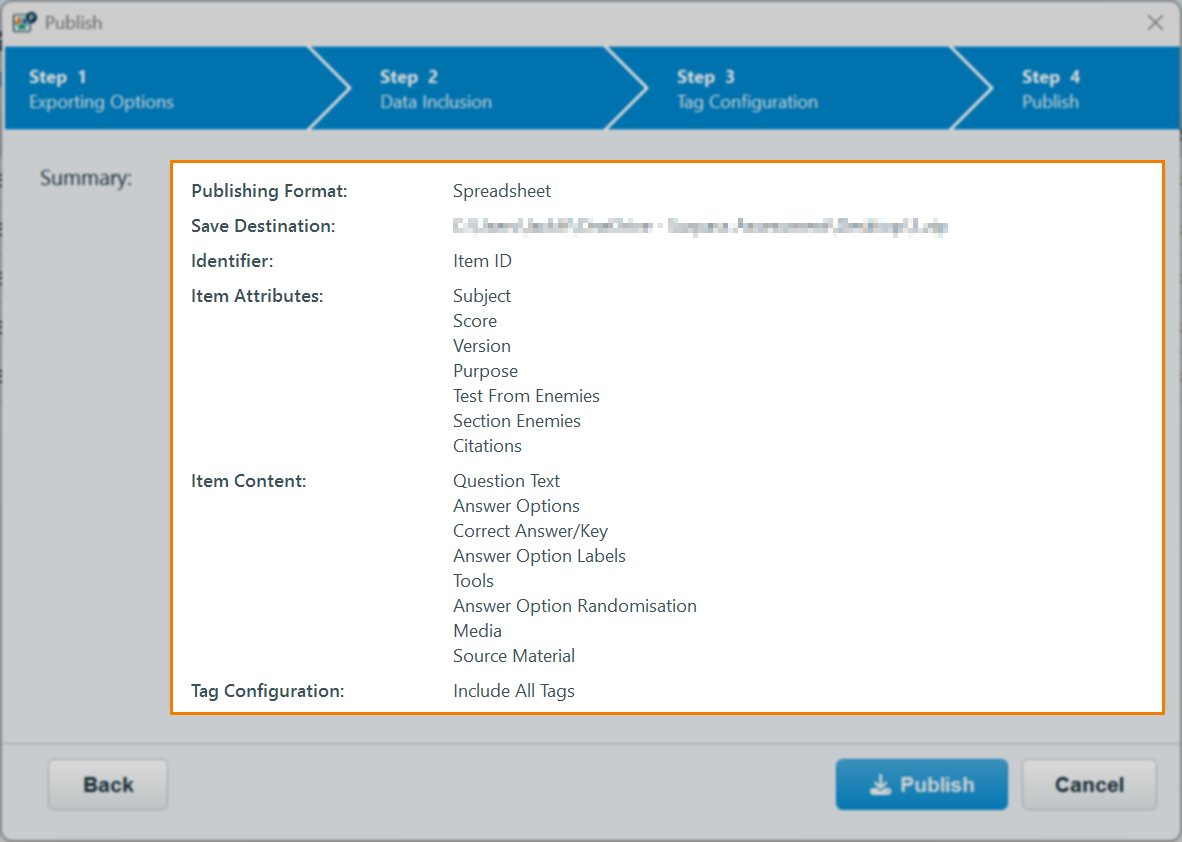
Select Publish to publish your items. Your items are published in a ZIP file in your specified Save destination.

Once Publish has been selected, you can view the progress of the publishing process within the wizard. You can also choose to Stop publishing if required.
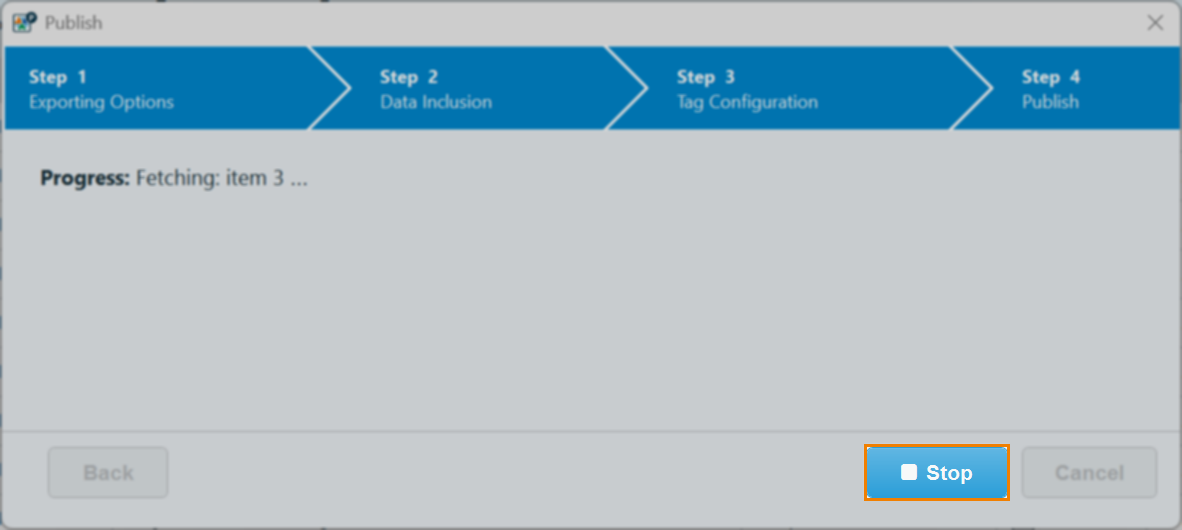
Upon completion, a Publish report detailing the success or failure of the publish attempt is generated. For more information on the generated report, read Downloading publish reports.
The ZIP file contains an XLSX file of the items’ content and a folder containing any media attached to the item(s). Different item types are broken down by tab within the spreadsheet.
Further reading
To learn more about publishing items with the Surpass Publisher, read the following articles: