Creating an item group in SecureMarker
Item groups in SecureMarker allow examiners to view or mark related items at the same time. An item group must contain a minimum of two items, a maximum of ten items, and at least one item to mark. You can create item groups in the Item Groups screen.
This article explains how to create an item group in the Item Groups screen of SecureMarker, including how to release an item group for marking.
In This Article
1. Go to the Item Groups screen
To view the Item Groups screen, select Item Groups on the navigation bar.

2. Select a qualification and exam
3. Select a test form version
Select a test form version for your chosen qualification and exam.

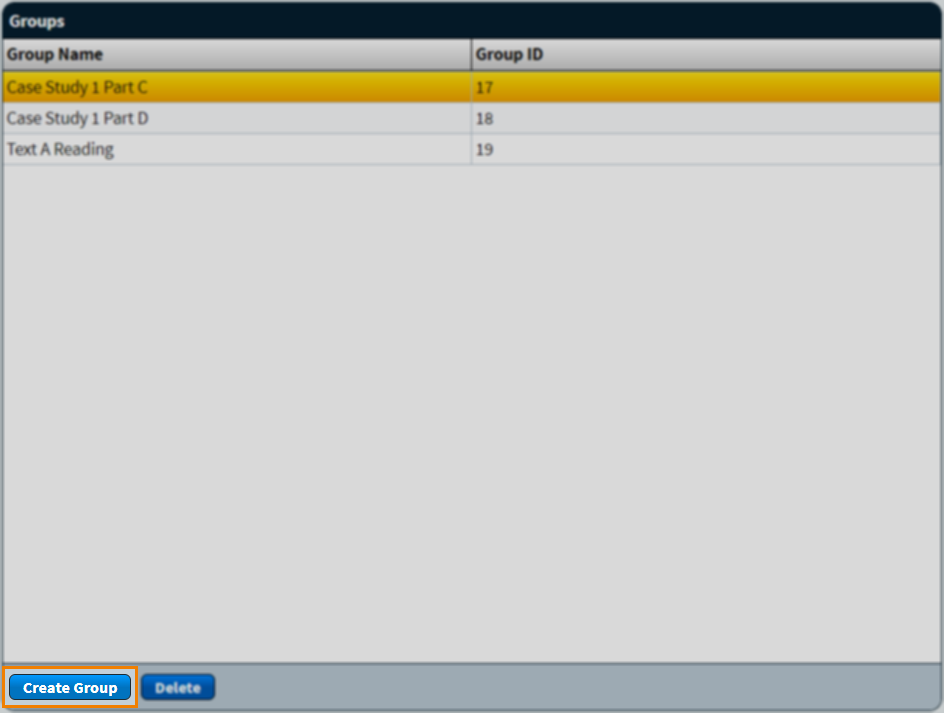
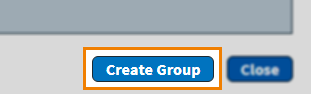
4. Select Create Group
Select Create Group in the Groups grid.
5. Add items to your item group
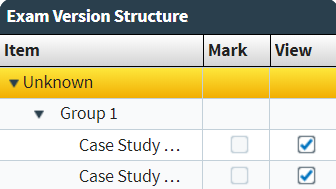
In the Exam Version Structure panel, you can view a list of items in your chosen test form version.
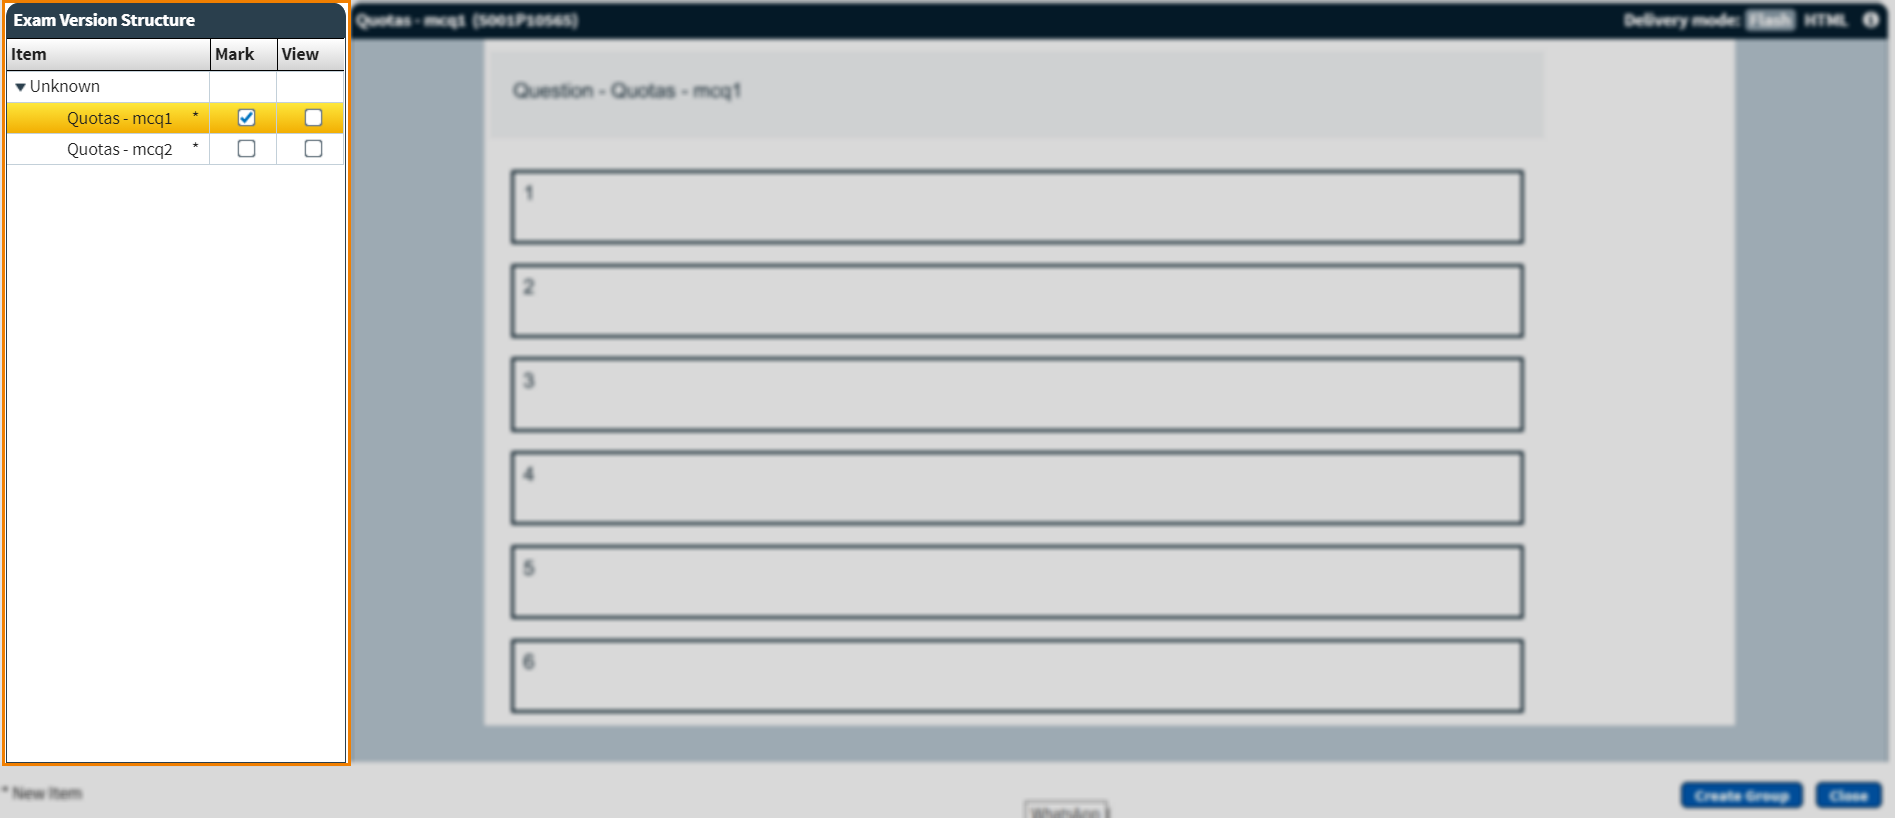
In the Mark column, select the items you want examiners to mark in the item group. Any computer-marked items set to be marked are overridden and become human-marked items.
In the View column, select the items you only want examiners to view in the item group.
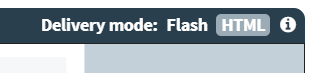
About the Delivery Mode toggle
The Delivery mode toggle displays whether the item was delivered in the standard or legacy test driver.
Delivery mode: Flash indicates that the item was delivered in the legacy test driver.

Delivery mode: HTML indicates that item was delivered in the standard test driver.

If the item was created in a Mixed subject and was delivered in both standard and legacy tests, you can choose to view the item in either Flash or HTML. Select HTML on the Delivery mode toggle to view the item as it appeared to candidates in the standard test driver. Select Flash on the Delivery mode toggle to view the item as it appeared to candidates in the legacy test driver. For more information on the available test delivery options in Surpass, read About Surpass test delivery options.
6. Confirm item group
Select Create Group to create your item group.
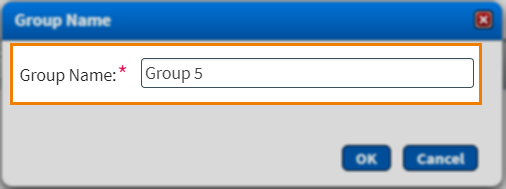
7. Name your item group
Enter a name for your item group in the Group Name dialog. Item group names can contain up to 35 alphanumeric characters, commas, and full stops.
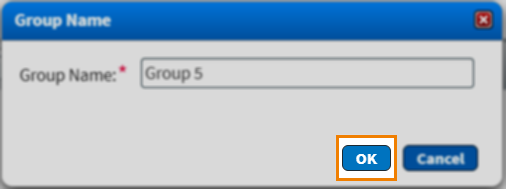
Select OK in the Group Name dialog to create your item group and return to the Item Groups screen.
8. Release your item group for marking
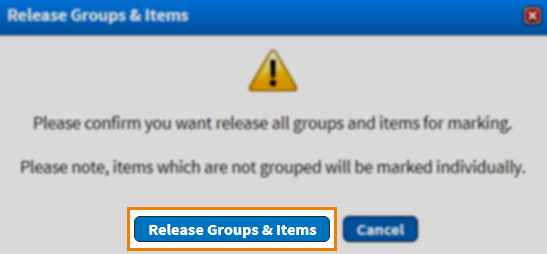
Item groups are not automatically added to quotas and need to be manually released when they are finalised. Select Release Groups & Items to release your item group for marking.

Select Release Groups & Items to confirm you want to release your item group.
To discard changes made to your item group, select Revert.
Further reading
To learn more about working in Item Groups, read the following articles: