Creating a Multiple Response question
A Multiple Response question offers candidates a set of possible answers to a question. The options contain correct answers and plausible but incorrect answers (also known as distractors). Candidates can select multiple answer options as their response.
This article explains how to create a basic Multiple Response question in Surpass and includes details on how to add rationale and labels to answer options, set minimum and maximum candidate selections, and use table answers in HTML subjects.
In This Article
1. Choose your item type
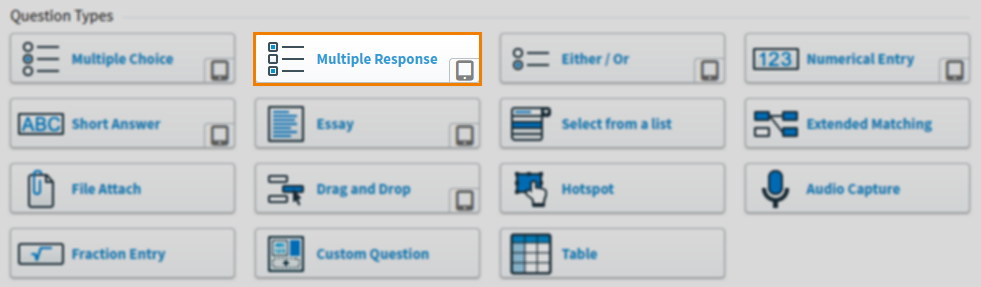
In your subject, select Create New Item to open the Question Types menu. Choose Multiple Response to create a blank Multiple Response item and go to the Edit screen.
2. Name your item
Enter the item’s name in the Name field.

3. Enter your question text
Enter your question text in the question stem. Select Add Text Area to add an additional question stem. You can have a maximum of five question stems per item.

Open Additional Options to add source material or assistive media to your question stem. In mixed subjects, you can also add a table to your question stem (in HTML subjects, tables can be added using the formatting toolbar).
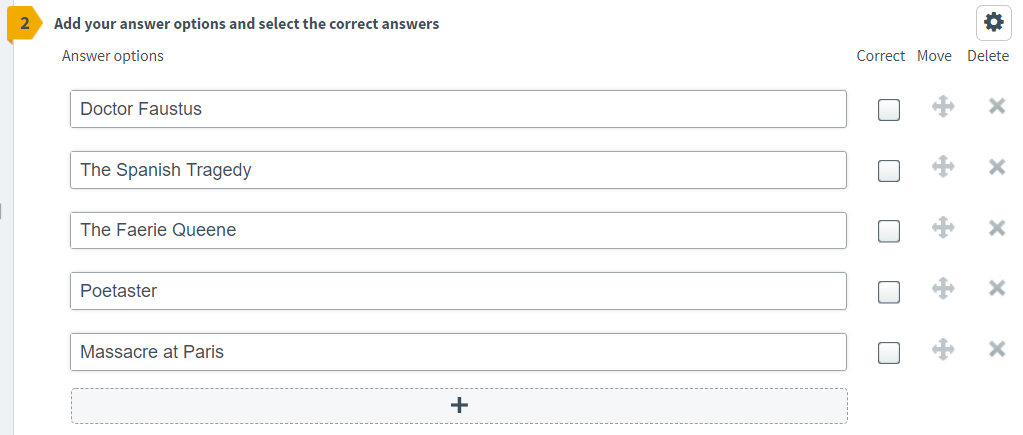
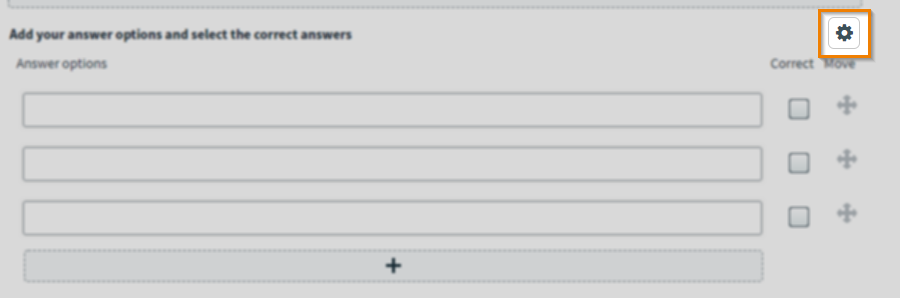
4. Add your answer options
Enter your answer options in the answer fields. Multiple Response items default to three answer options. Select Add Answer Option to add an additional answer option. You can have a maximum of 30 answer options per Multiple Response item. Select Delete to remove an answer option. Multiple Response items must have a minimum of three answer options.
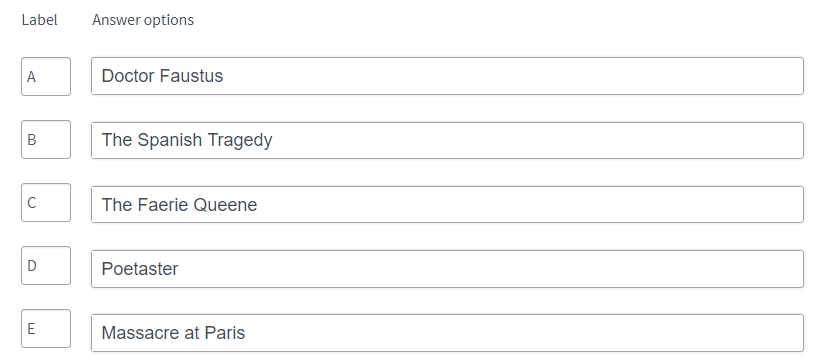
Adding labels to answer options
You can add short labels to your answer options, like ‘A’, ‘B’, ‘C’ or ‘1’, ‘2’, ‘3’.
Select Additional Options to open the Options menu. Select Add Labels for Candidate Delivery to add Label fields to each answer option. Labels default to ‘A’, ‘B’, ‘C’ values, but you can change these if necessary.
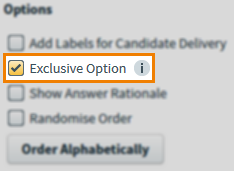
Adding an exclusive answer option
You can add an exclusive answer option to a Multiple Response item that candidates cannot select in combination with any other answer options.
Select Additional Options to open the Options menu.
Select Exclusive Option to add an exclusive answer option.
Enter your answer option text in the Exclusive Option field.

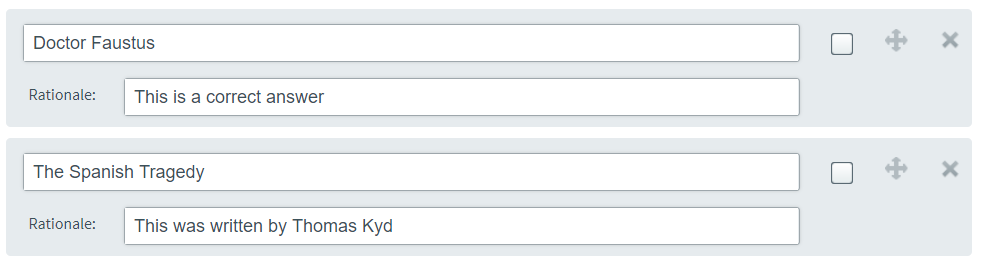
Adding answer option rationale
The Rationale fields let you leave a comment against each answer option. This is useful if multiple authors are working on the same item and you want to explain the reasons behind your authoring choices.
Select Additional Options to open the Options menu. Select Show Answer Rationale to add Rationale fields to each answer option. Enter your rationale against each answer option.
You can view rationale in the Edit screen and an exported Word document. For more information, read Exporting items to Microsoft Word.
Re-ordering answer options (random, alphabetical, manual)
By default, Surpass presents Multiple Response answer options to candidates in a randomised order. If answer options are not set to be randomised, they are delivered to the candidate in the same order they are seen in the Edit screen. You can also order answer options alphabetically, or manually re-order your answer options on an option-by-option basis.
Drag Move next to an answer option to change its order.
Setting the number of candidate selections
You can set the maximum number of selections a candidate can make in a Multiple Response items. This prevents candidates from selecting all available answers. For items delivered in HTML tests, you can also set the minimum number of responses a candidate must make before the item is considered attempted.

Open the Additional Options menu and choose one of the following options under Maximum number of candidate selections:
- Equal to correct options – Candidates’ selections are limited by the number of correct answers. For example, candidates have two available selections in a Multiple Response item with two correct answers.
- No Limit – Candidates have unlimited selections. This is recommended for use with combination marking.
- Custom – You can define how many selections are available to candidates in the entry field.
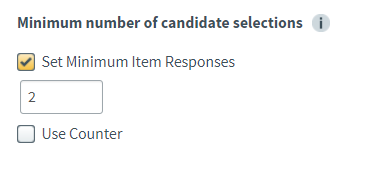
Open the Additional Options menu and select Set Minimum Item Responses to enable an entry field where you can define the minimum number of selections.
Select Use Counter to allow candidates to see how many selections they have made.

Using answer layout options
Multiple Response answer options can be presented in either one or two columns. In a two column layout, you can combine text, image, and/or equation content in a single answer option.
Select Additional Options to open the Layout options menu. Select Two columns to enable a double column layout and choose an appropriate Layout from the following options:
| Icon | Setting | Description |
|---|---|---|
| Equal column widths | Both columns have the same width. | |
| Left Column 20% Right Column 80% | The right column is wider than the left column. | |
| Left Column 80% Right Column 20% | The left column is wider than the right column. |
Each answer option now has two columns, with any prior content in the left column. You can use the formatting toolbar to change either column’s content type (for example, to add an image).

Setting answer options as a table (HTML subjects only)
You can set HTML-subject Multiple Response answer options to be a table. This lets candidates choose their response from a predefined set of related answer options.

Go to Additional Options > Layout Options > Answer options as a table to create a blank answer table. Enter your groups of answer options in each row. Answer option tables are compatible with both standard and weighted marking. To learn more, read ‘5. Set the correct answers and marks’ later in this article.
You can use the formatting toolbar to change the appearance of your cell’s contents. Use the following settings to edit the table itself:
| Icon | Setting | Description |
|---|---|---|
| Add Column Right | Adds a new column to the right of the selected cell. | |
| Delete Column | Removes the column the selected cell is in. | |
| Add Row Below | Adds a new row below the selected cell. | |
| Delete Row | Removes the row the selected cell is in. | |
| Add Header Row | Adds a pre-formatted header row to the table. | |
| Delete Header Row | Removes the selected header row. | |
| Merge Cells | Combines the selected cells. You must have more than one cell selected. | |
| Split Cells | Divides the selected cell into two cells. | |
| Make Column Widths Equal | Makes all columns even in length. |
5. Set the correct answers and marks
You can choose between three marking modes for Multiple Response items: standard, weighted, and combination marking.
Using standard marking
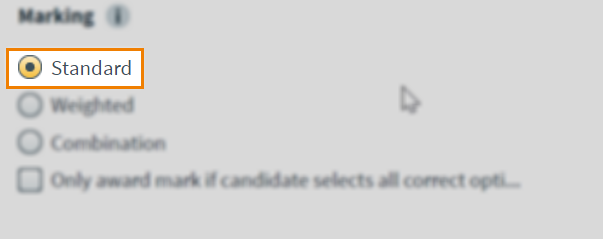
In a Multiple Response item with standard marking, each correct answer gives the candidate a percentage of the item’s total mark.
Select Additional Options to open the Marking menu. Select Standard to enable standard marking.
Choose the relevant Correct Option radio buttons to set answer options as the correct answers.

Set the item’s total marks in the Mark field.

Using weighted marking
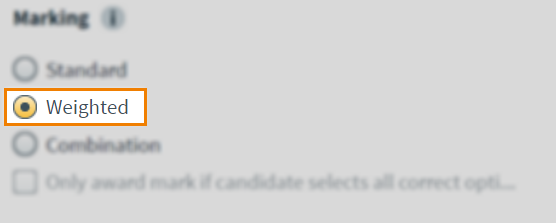
In a Multiple Response item with weighted marking, each answer option has its own marking value.
Select Additional Options to open the Marking menu. Select Weighted to enable weighted marking.
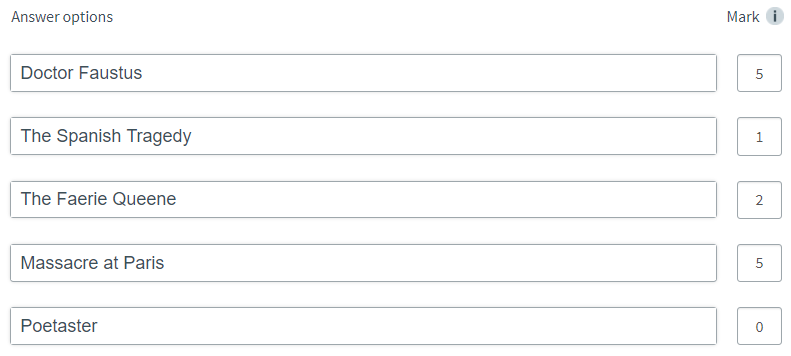
When you select Weighted, the Correct radio buttons on the Edit screen are replaced with Mark entry fields. This lets you assign a numerical value against each answer option.
Using combination marking
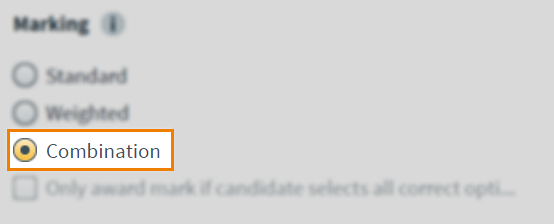
In a Multiple Response item with combination marking, each combination of answers has its own marking value..
Select Additional Options to open the Marking menu. Select Combination to enable combination marking. This also adds labels to your answer options.
In the Combination marking area, choose an answer option under Combination 1. Select Add answer option to add another answer option to Combination 1. Repeat this process as necessary for all answer options. Enter a numerical value for the combination in Mark.
To add another combination, select Add combination .
To delete a combination, select Remove combination .
If you switch back to Standard marking, the combination with the highest Mark value reverts to the correct answer.
6. Select a workflow status
Set the item’s workflow status in the Status drop-down menu. Only items set to Live can be used in a test.

7. Preview your question
To see your item from a candidate’s perspective, select Preview .

In Mixed subjects, you can preview your item in the HTML test driver. Use the Preview arrow to open the Preview Options menu and select Preview in HTML . Any custom CSS is applied in the Preview screen. For more information on custom CSS, read ‘About Subject settings’ in About Site Settings options.

You can check your item’s marking behaviour in the Preview screen. Select answer options to update the Mark field.
If you need to continue working on the item, select Edit to return to the Edit screen.

8. Saving and closing your item
Select Save to save your item to your subject.

To see additional saving options, use the Save arrow to open the Save Options menu. Select Save & Close to save the item and return to the Subjects screen. Select Save & New to save the item and create another Multiple Response item.

Select Close to leave the Edit screen. If you have unsaved changes, you are prompted to either save or discard them.

Further reading
You can do much more with Multiple Response items in Surpass. For more information, read the following articles: