Creating an item set
Item sets are groups of items with “friend” relationships. Items with friend relationships cannot be added to a test without their friend items. Friend items always appear next to each other in tests and can share source material and question text, making them ideal for presenting a number of items on the same theme (such as in a case study).
This article explains how to create a basic item set, including how to add shared question text and set up the item set’s ordering and randomisation properties.
In this article
1. Create your item set
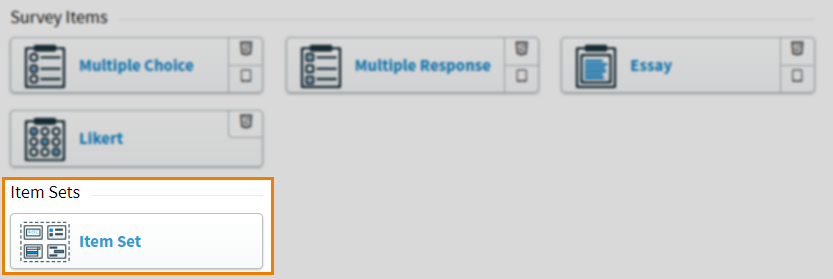
In your subject, select Create New Item to open the Question Types menu.

Under Item Sets, select Item Set to create a blank item set and go to the Edit screen.
2. Name your item set
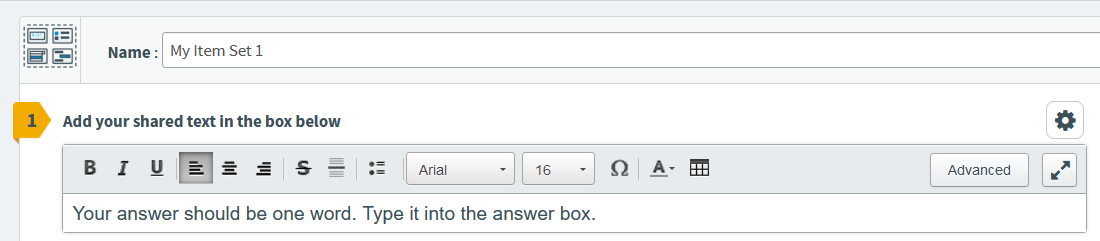
Enter the item set’s name in the Name field.

3. Enter your shared text
Enter the item set’s shared text in the text entry box.
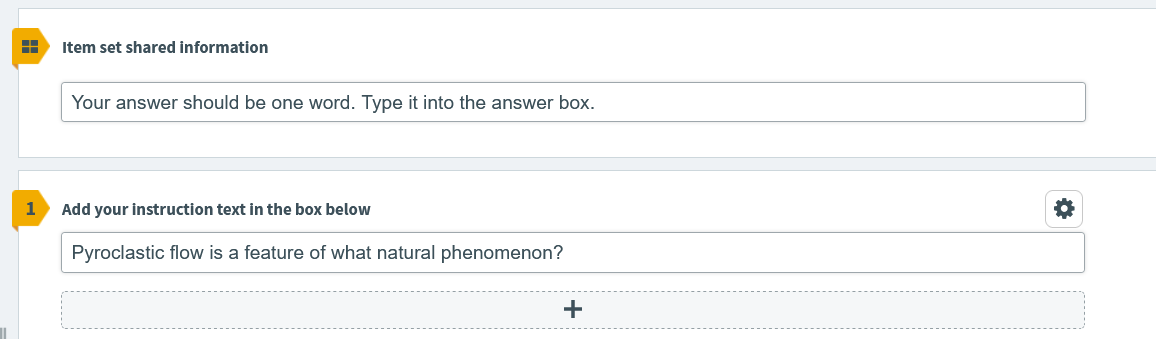
Open Additional Options to add source material to your shared information.
This shared information appears above each item’s individual question text when they are added to the item set.
4. Edit item set properties

Select Allow randomisation of item set to allow test creators to apply randomisation settings to your item set when creating a test. The order of item set items can be randomised within the set, but all items will still appear together. Item set items cannot be mixed with non-item set items in a random order.
Select Fix the order of items to lock the order of your item set. You cannot add items to or remove items from a fixed item set. Fixed item sets are identified by the following symbols: .

You can add tags, enemies, media, and source material to item sets. You can also leave comments on item sets for quality review purposes. For more information, read Adding tags, source material, and enemies to an item set, Adding images to an item set, Adding audio to an item set, Adding video to an item set, and Leaving comments on item sets.
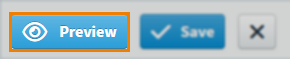
5. Preview your item set
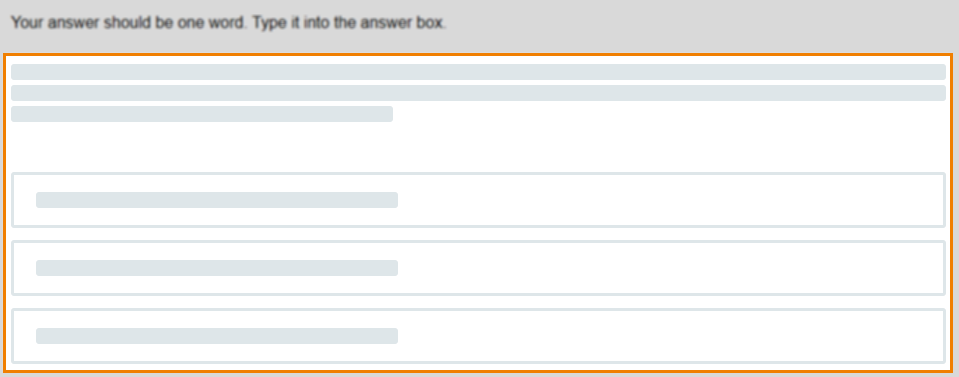
To see your item set’s content from a candidate’s perspective, where it is visible in relation to the content of any items in the set, select Preview .
A representation of where the content of any items in the set is positioned in relation to the item set’s shared content is displayed.
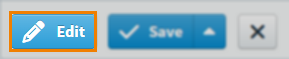
If you need to continue working on the item, select Edit to return to the Edit screen.
6. Save your item set
Before adding items, select Save to save your item set.

7. Add items to your item set
There are two ways to add items to your item set. You can drag existing items into the item set or create new items within the item set.
Adding existing items to an item set
To add an existing item to an item set, drag the item over the item set until an orange line appears through the item set’s name. Release the item to add it to the item set. You can drag items within an item set to rearrange their order.
Creating new items in an item set
To create a new item in an item set, select the item set in the item panel.
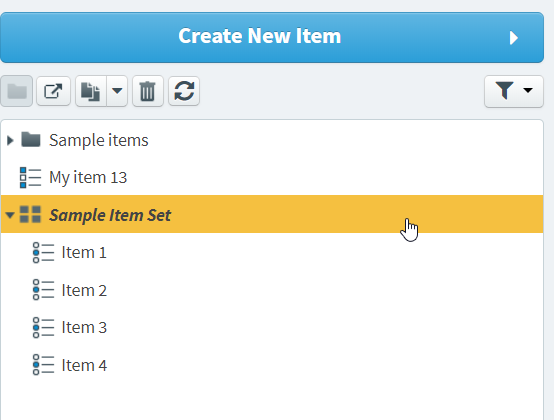
With the item set highlighted, select Create New Item to add a new item to the item set.
Further reading
To learn more about item sets, read the following articles: