Entering your keycode and confirming your details
Before you can start a test in the Surpass test driver, you must enter your unique alphanumeric keycode and confirm your details. These details include your first name and the name of your test.
This article explains how to enter your keycode and confirm your details before starting a test in the Surpass test driver, including how to configure your preferences.
In This Article
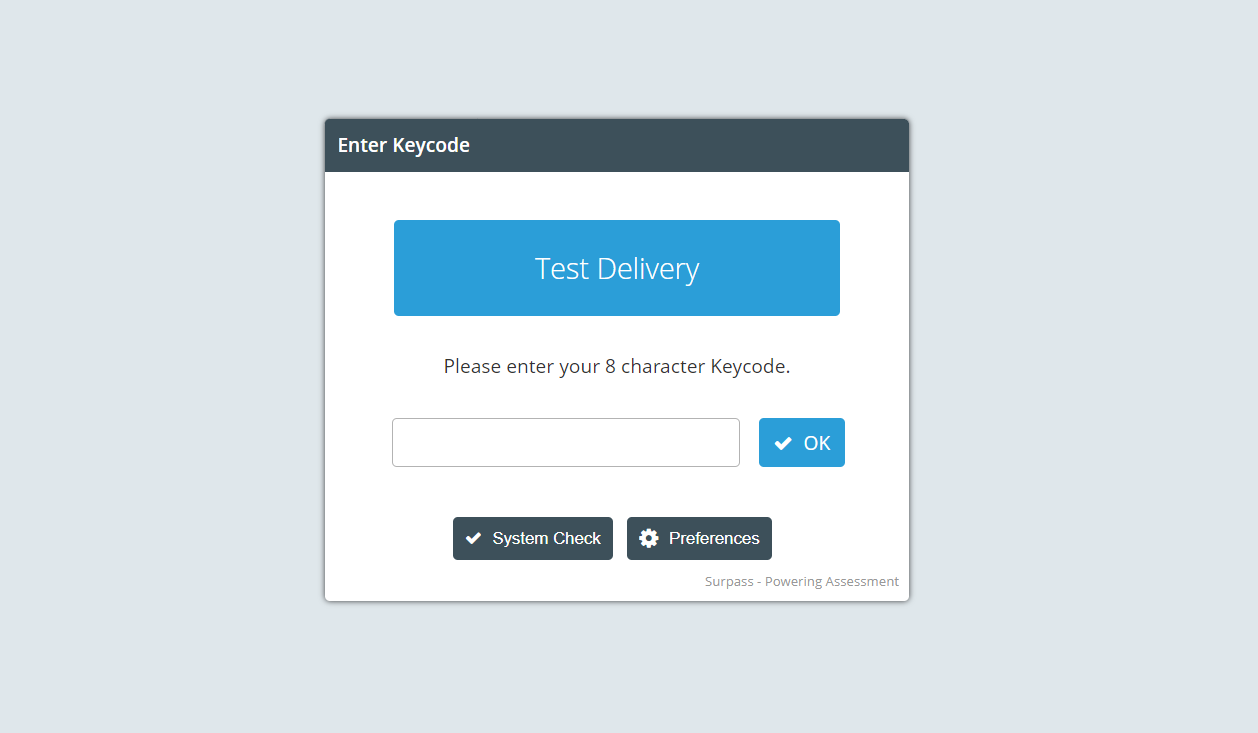
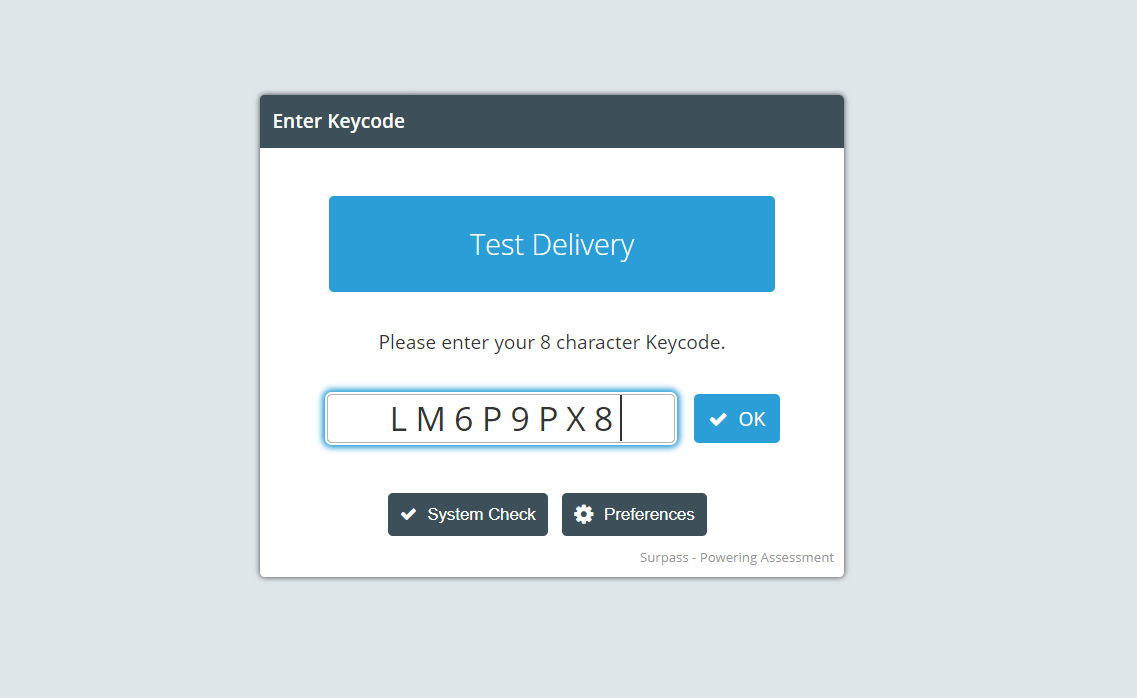
1. Enter your keycode
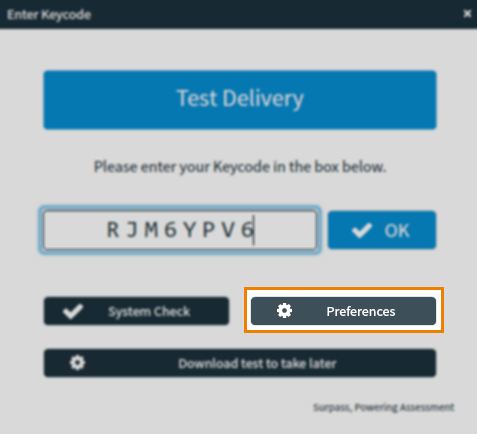
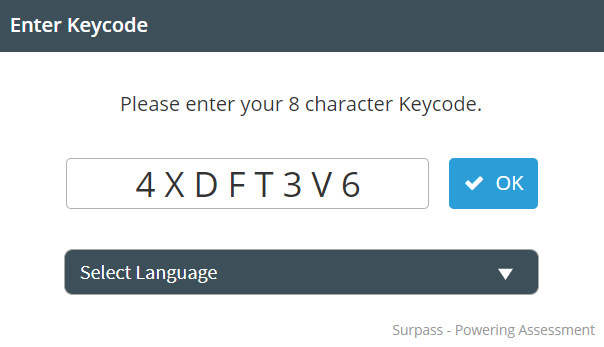
Enter your unique alphanumeric keycode in the entry field. Your keycode must contain eight characters and be in upper case. Select OK to confirm your keycode.
Configuring your preferences in web delivery
If you have accessibility requirements, you can change the colour preferences of your test. This might be useful for candidates with visual impairments. Preferences can be changed at any point during a test. For more information, read About the Surpass test driver interface.
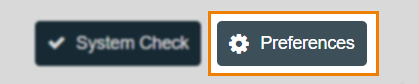
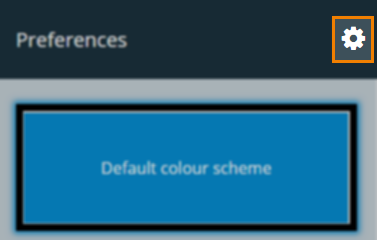
Select Preferences in the Enter Keycode dialog to open the Preferences panel.
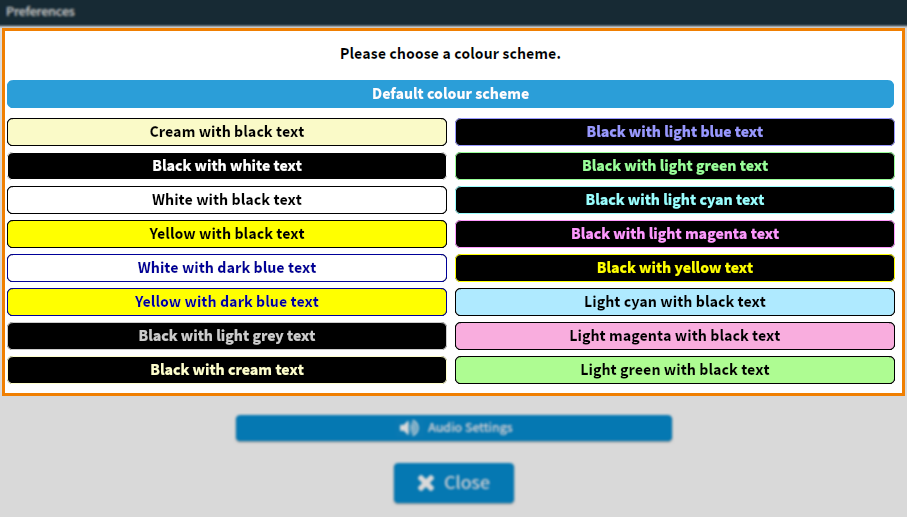
Choose your colour scheme in the Preferences panel. Use the slider to change the contrast of your screen.
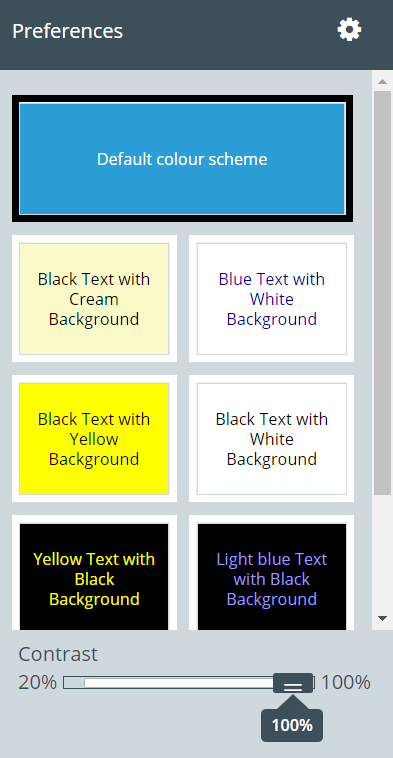
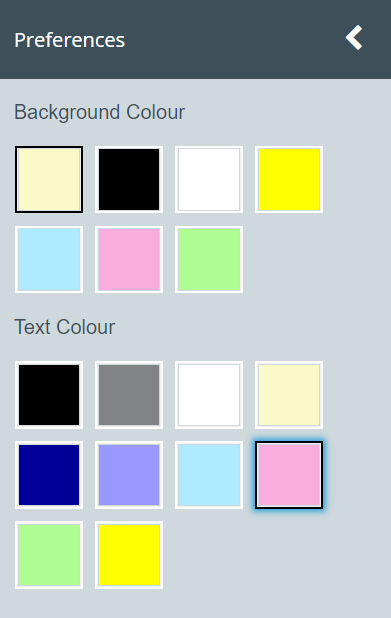
Select More Options to view additional colour settings.
You can further customise your colour settings in Background Colour and Text Colour.
Select OK to save your preferences.
Configuring your preferences in SecureClient
If your test is set up for SecureClient, you can configure the colour preferences and audio settings for your test.
Select Preferences in the Enter Keycode dialog.
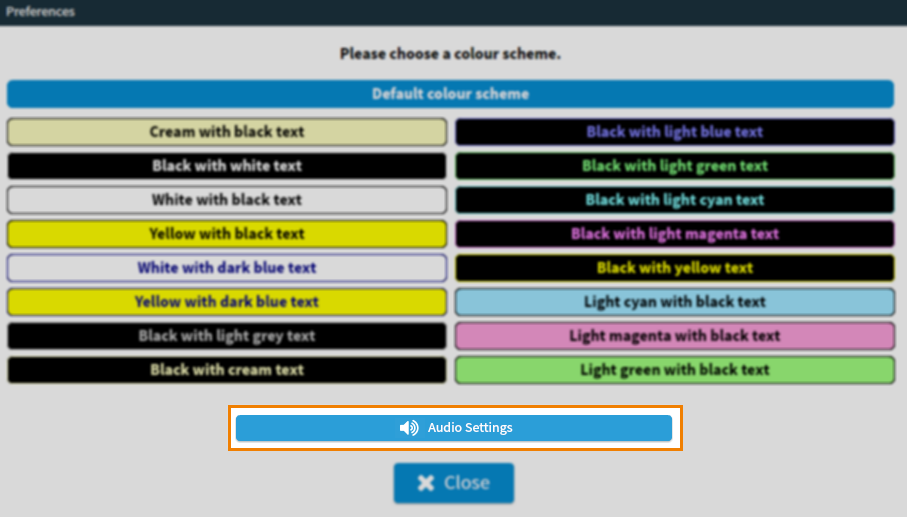
Choose your colour scheme in the Preferences dialog.
Select Audio Settings to open your device’s audio settings. For more information on checking your system before a test, read Checking your system.
Taking a practice test (SecureClient for iPad/Mac)
In SecureClient for iPad/Mac you can take a practice test containing a sample question set to help you familiarise yourself with how to navigate and answer questions in SecureClient before you sit an exam.
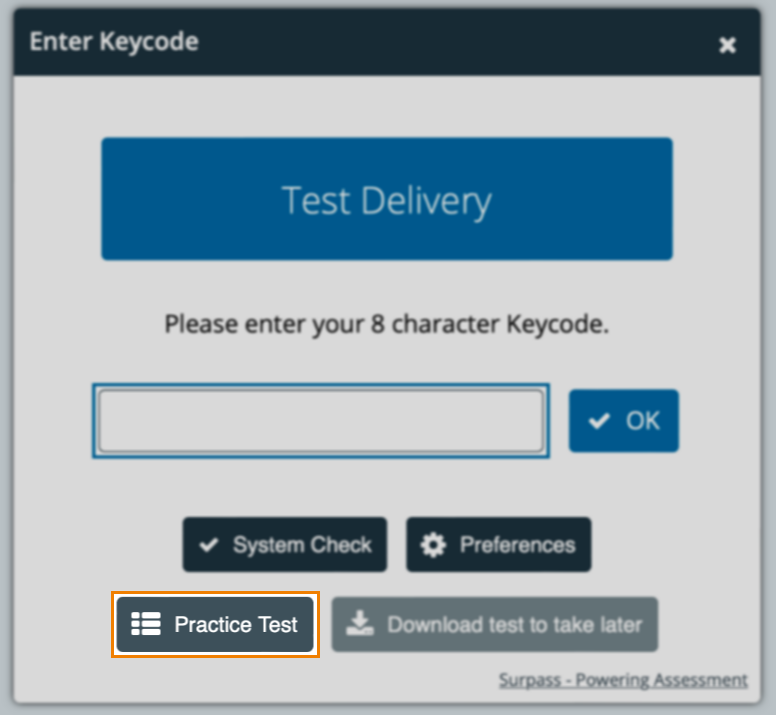
Select the Practice Test button in the Enter Keycode dialog.
Entering your keycode in the Take a Test screen
If your test is set up for web delivery, add /takeatest to your Surpass URL to navigate to the Take a Test screen. You are not required to choose a test delivery option in this screen before entering your keycode.
Enter your unique alphanumeric keycode in the entry field. Your keycode must contain eight characters and be in upper case. Select OK to confirm your keycode.
2. Confirm your details
Confirm your details in the Confirm Details dialog.
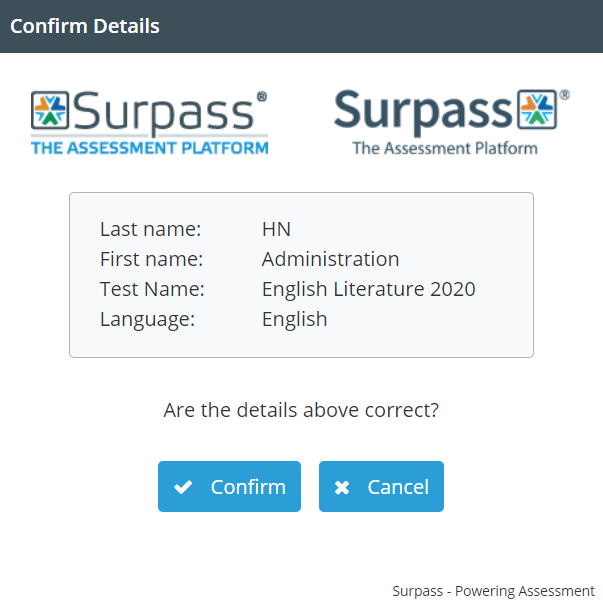
| Field | Description |
|---|---|
| Last name | Displays your last name. |
| First name | Displays your first name. |
| Test name | Displays the name of the test. |
| Language | Displays the test’s navigation language. |
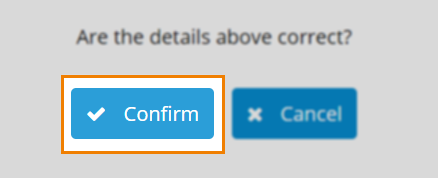
Select Confirm to confirm your details.
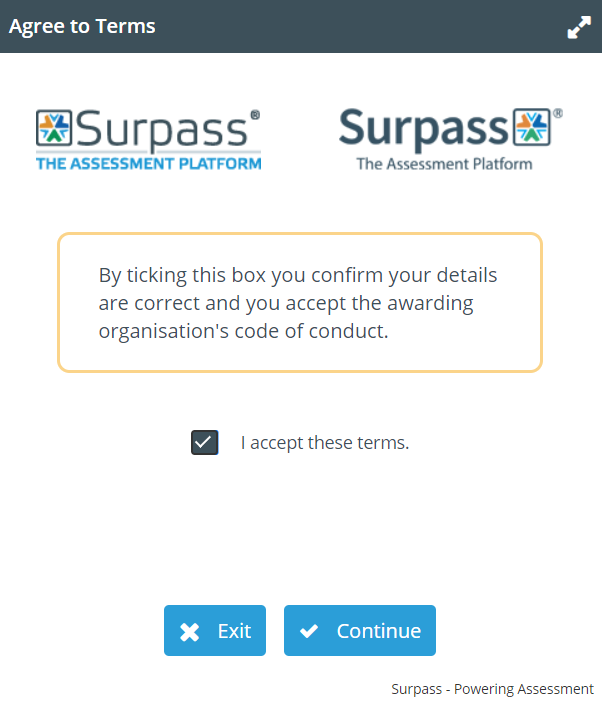
3. Agree to terms and conditions
Before you can start your test, you must agree to the non-disclosure agreement (NDA). Select I accept these terms and choose Continue to start your test.
If your test requires invigilation, you must wait for further instructions from an invigilator before you can proceed. For more information, read Starting invigilated tests.
Further reading
To learn more about navigating the Surpass test driver, read the following artices: