Packaging test forms
A packaged test form is a ZIP file containing all the files that make up a test, which can be uploaded to a website in order to host the test on the website. Additionally, SCORM (Flash only) packages can be used in a Virtual Learning Environment (VLE).
You can use packaged test forms to view the test as the candidate would, for quality review purposes, or to view candidate responses. A packaged test can be hosted on websites so that candidates can access a practice test ahead of an exam session, allowing them to familiarise themselves with the Surpass test driver.
This article explains how to package and host a test form.
In this article
1. Go to the Test Forms screen
Navigate to the Test Creation tab and then select Test Forms.

2. Select Package Test Form
Select the test form you want to package in the Test Forms grid, then select Package Test Form.

3. Choose a package format
Choose the package format you want to export in the menu.
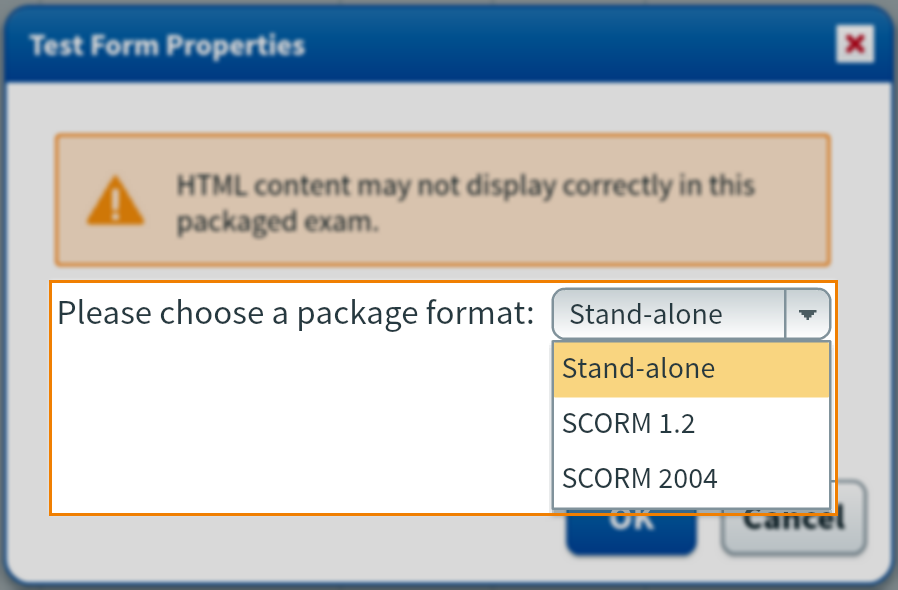
| Format | Description |
|---|---|
| Stand-alone | Produces a packaged test that functions independently without the need to be plugged into any other software. You can run the test by running the contained HTML file. |
| SCORM 1.2 (Flash only) | Produces a package compliant with the SCORM 1.2 format that can be plugged into a VLE (such as Moodle) that supports this version of SCORM. |
| SCORM 2004 (Flash only) | Produces a package compliant with the SCORM 2004 format, that can be plugged into a VLE (such as Moodle) that supports this version of SCORM. |
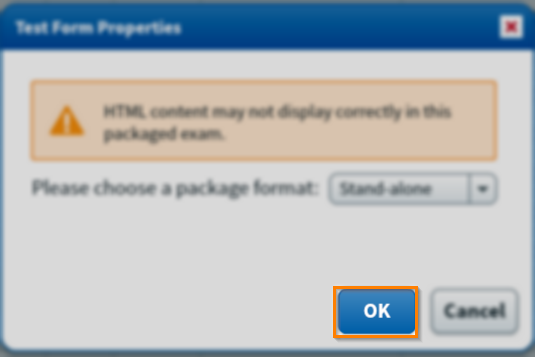
Select OK to create the package.
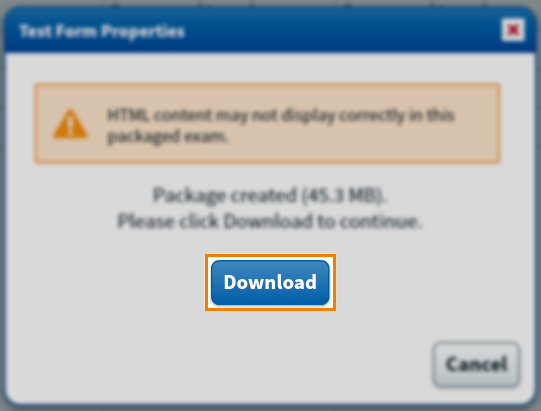
4. Download and extract the package
When the package has been created, select Download to save the ZIP file to your device.
Extract all files from the downloaded ZIP file. Right-click on the ZIP file and select Extract All.
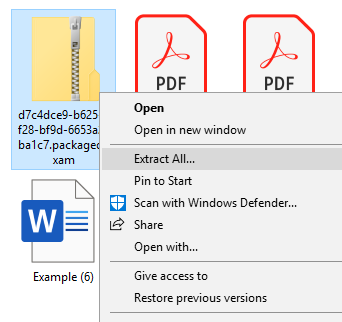
Specify where you want to save the files and select Extract.
5. Access your File Transfer Protocol (FTP)
Access your FTP server. FTP servers allow files to be transferred to other computers via the internet.
Enter your server details into your chosen FTP and select connect. Once successfully connected, the files and folders that make up your website are visible.
Downloading Filezilla
6. Identify the root folder
Identify your root folder, this is the top-most directory of the website. Your packaged test can be in the root folder or any subdirectory of the root folder. The root folder aligns with your website’s URL.
Contact your website system administrator for further assistance in locating the root folder.
- help.surpass.com – this is the root directory, derived from the root folder.
- help.surpass.com/one – one is a subdirectory derived from a subfolder within the root folder, named ‘one’.
- help.surpass.com/one/two – two is a further subdirectory derived from a subfolder within the subfolder ‘one’, named ‘two’.
7. Upload extracted files via FTP
In the FTP client, create a new folder within the root folder. Name the folder suitably as this forms part of your test’s URL. For this example, our folder is named ‘package-test-sample’.
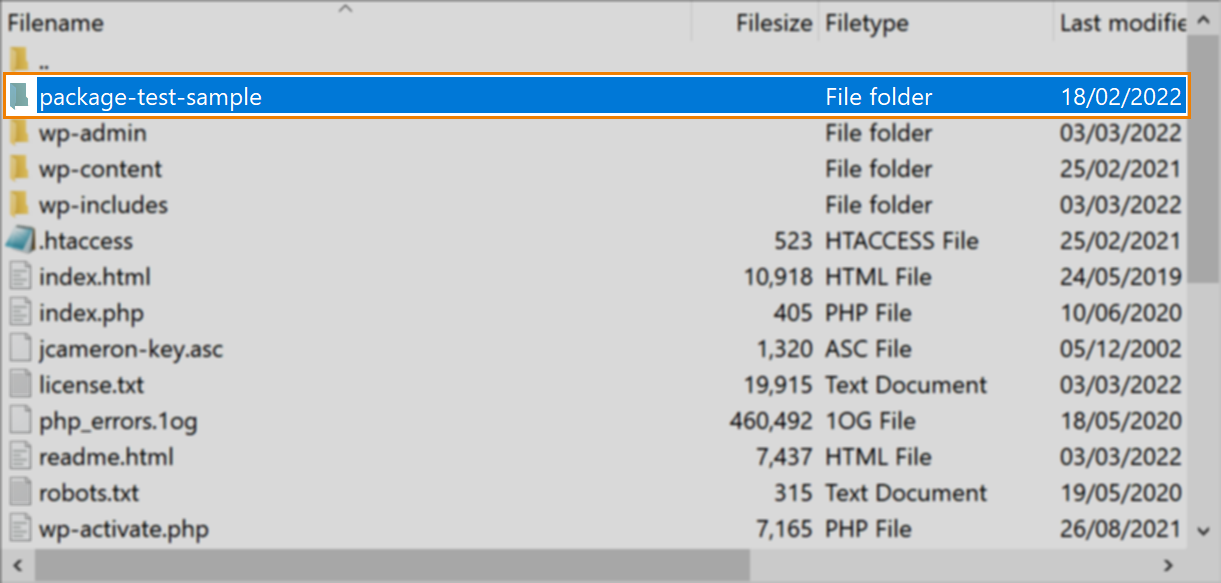
Open your extracted packaged test form (for more information, read ‘Download and extract the package’). This shows various files and folders. Move these files into your new folder. This process may vary dependent on the FTP being used.
8. Launch the packaged test
Your packaged test is now live. The launch_html_delivery file is the final part of the URL for your packaged test.
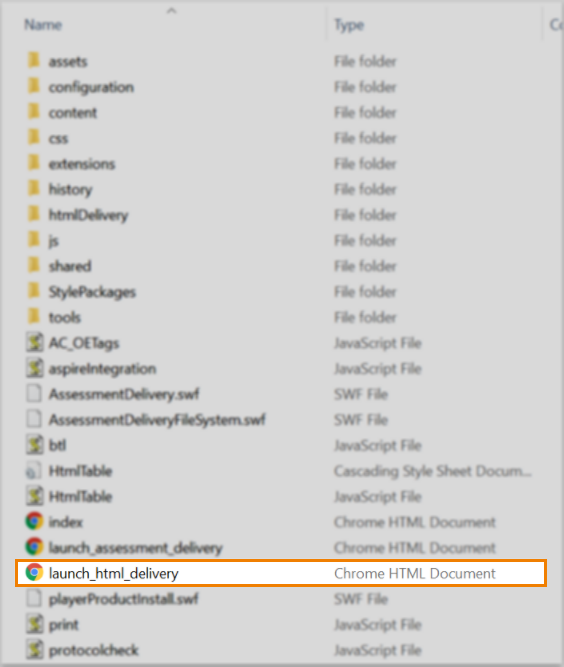
The URL to view your packaged test is: [your main website URL]/[subdirectory folder name]/launch_html_delivery.html
There is no limit to the amount of times the test can be taken.
Limitations of packaged test forms
There are some limitations to the features supported in packaged test forms:
- No item-level information (such as user responses) is stored in the data model or communicated back to the Surpass server.
- Packaged tests cannot be resumed if exited while in progress.
About SCORM tests (Flash only)
SCORM tests produce packages compliant with the 1.2 or 2004 formats. These can be plugged into a VLE (such as Moodle) which supports the appropriate version of SCORM.
The data model of SCORM tests packaged from Test Creation supports a limited subset of calls.
| NAME | Data model: SCORM 1.2 | Data model: SCORM 2004 | Notes |
|---|---|---|---|
| Student Name | cmi.learner_name | cmi.core.student_name | Picked up at the start of the test for display purposes in the user interface. |
| Minimum Score | cmi.score.min | cmi.core.score.min | Always set to 0 when starting the course. |
| Maximum Score | cmi.score.max | cmi.core.score.max | Set to the maximum score at the start of the test. |
| User Score | cmi.score.raw | cmi.core.score.raw | Set to the user’s score at the end of the test. |
| Status | cmi.success_status | cmi.core.lesson_status | Sets whether the user has passed or failed the test at the end of the test (supports ‘passed’ & ‘failed’ only). |