About the Mark (Legacy) screen
In Surpass, the Mark screen is where users can view and mark candidates’ completed test scripts. This includes escalating scripts for further attention and submitting marked scripts to the Results screen.
This article explains what the Mark (Legacy) screen is, how to navigate it, and how to use its features.
In this article
Navigating to the Mark (Legacy) screen
To view the Mark screen, go to Test Administration > Mark.

Select Legacy on the Standard / Legacy toggle to view the Mark (Legacy) screen.

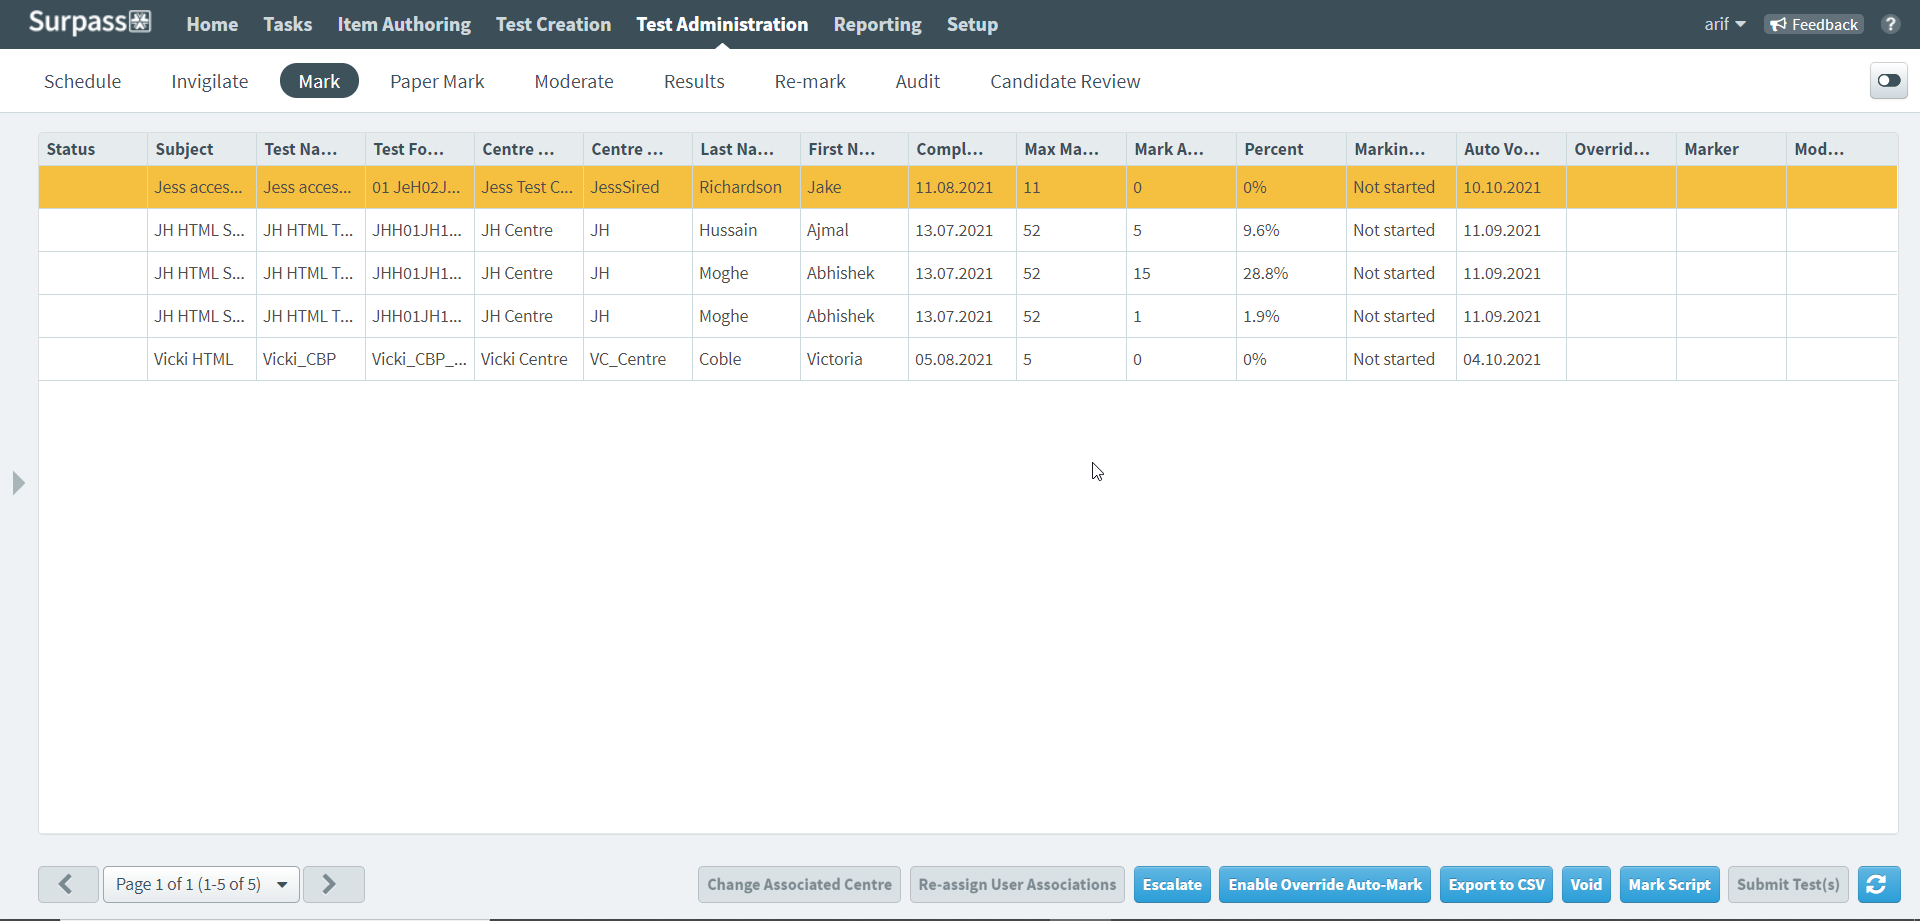
About the Mark grid

The Mark grid lists all scripts that you have access to. This access is determined by your subject-level permissions. For more information, read About roles and permissions. Refer to the following table for information on each column.
| Column | Description |
|---|---|
| Status | Indicates whether the candidate’s script has been escalated. For more information, read Escalating a script from the Mark (Legacy) screen. |
| Subject | Displays the name of the test’s parent subject. |
| Test Name | Displays the name of the test. |
| Test Form | Displays the test form’s unique reference number. |
| Centre Name | Displays the name of the test’s parent centre. |
| Centre Code | Displays the parent centre’s unique reference number. |
| Last Name | Displays the candidate’s last name. |
| First Name | Displays the candidate’s first name. |
| Completed Date | Displays the date on which the candidate submitted the script. |
| Max Mark Available | Displays the maximum mark available for the script. |
| Mark Awarded | Displays the total mark awarded to the candidate. |
| Percent | Displays the total mark awarded to the candidate as a percentage. |
| Marking Progress |
Displays the marking progress for the script as a percentage.
NOTE: Scripts that have not been marked display as Not started.
|
| Auto Void Date | Displays the date on which the script is automatically voided if not marked. |
| Override Auto Mark | Indicates whether Enable Override Auto Mark has been enabled for the script. |
| Marker | Displays the user who marked the script. |
| Moderator | Displays the user who moderated the script. |
Finding scripts
By default, the Mark grid displays all scripts you have access to, ordered alphabetically by test name. You can filter and sort to reorganise the Mark grid.
Filtering scripts
Select the expander () on a column header to open a contextual filter menu. Columns with filters applied are indicated by the filter icon: . You can combine filters across multiple columns.
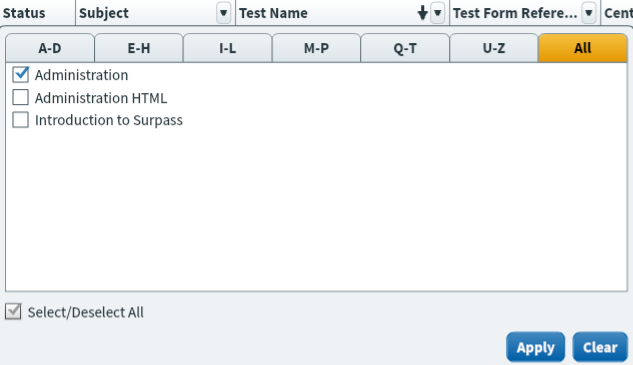
For Subject, use the alphabetical tabs to find specific centres/subjects and select or clear them to include or exclude them in the filter, respectively. Use Select/Deselect All to add or remove all centres/subjects. Select Apply to save the filter. Select Clear to reset the filter.
For Test Form Reference, Centre Name, Centre Code, Last Name, First Name, Marker, and Moderator, use the text field to filter column contents based on a specified string. Select Clear to reset the filter.
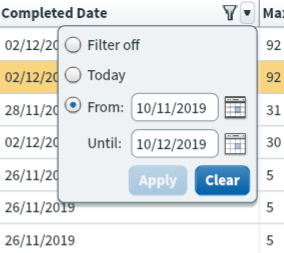
For Completed Date, you can either select Today to only display test sessions that match the current date or use the date pickers to choose a date range in From and Until. Select Apply to save the filter. Select Clear or Filter off to reset the filter.
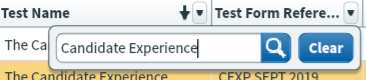
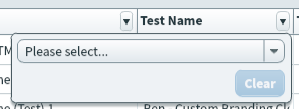
For Test Name, select a test in the menu to display only the scripts associated with that test. Select Clear to reset the filter.
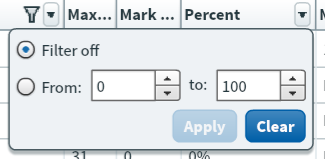
For Percent, choose a percentage range in the From and to fields. Values must be between 0 and 100. The From value must be below the to value. Select Apply to save the filter. Select Clear to reset the filter.
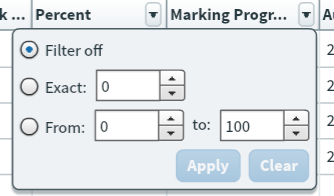
For Marking Progress, either specify a percentage value in the Exact field or choose a percentage range in the From and to fields. Values must be between 0 and 100. Select Apply to save the filter. Select Clear to reset the filter.
Select Only show escalated tests to only display scripts that have been escalated.

Select Hide 100% marked tests to only display scripts that have a marking progress of 100%.

Select Reset Filters to reset all filters on the Mark grid.

Sorting scripts
Select a column header to sort the cell data alphabetically or numerically.
The arrow icon on the column header represents whether the information in the column is sorted in ascending () or descending () order. You can toggle between ascending or descending order by selecting the column header.
Actions on the Mark screen
There are many actions you can take on the Mark screen. Refer to the following table for more information on each option.
| Setting | Description |
|---|---|
| Change Associated Centre |
Changes the associated centre of a computer-based project. Only centres that have are associated with the computer based project’s parent subject are available.
NOTE: Change Associated Centre does not apply to computer-based tests.
|
| Re-assign Users Associations | Changes the marker and moderator that were assigned to the test during scheduling. If marker/moderator associations were set up to be required in Test Creation, you cannot select No Marker or No Moderator. If Enable User Associations has not been enabled in Test Creation, you cannot set up a marker or moderator for the test. |
| Escalate | Flags the script for further attention or investigation. |
| Enable Override Auto-Mark | Allows markers award marks to unattempted and computer-marked items. |
| Export to CSV | Exports the data in the grid to a CSV file. For more information, read Exporting scripts from the Mark (Legacy) screen. |
| Void | Cancels the selected script. Candidates receive no credit for voided scripts. Voiding is irreversible. For more information, read Voiding a test in the Invigilate (Legacy) screen. |
| Mark Script | Opens the candidate’s script. Markers can assign marks and interact with candidate responses. For more information about marking scripts, read Marking a script in the Mark (Legacy) screen. |
| Submit Test(s) |
Submits the marked script to the Results screen.
NOTE: If Requires Moderation to release results has been enabled in Test Form Details, scripts appear in Moderate before Results.
|
| Refresh | Updates the data on the Mark screen. |
Further reading
To learn more about the Mark (Legacy) screen, read the following articles: