About the Subjects screen
In Surpass, a subject is where you create and manage items for use in tests. Subjects can hold folders and sub-folders of items, allowing for flexible organisation of your test content. You can also upload media to your subject’s media library for use in its items. A subject is associated with at least one centre. Any tests created in the subject can be scheduled at the associated centre(s).
You can create and manage subjects in the Subjects screen of Setup. In this screen, you can assign team members to a subject, create subject groups, and export the information contained in a subject.
This article explains how to navigate the Subjects screen in Setup and use its features. This includes how to create subject groups and assign team members to a subject.
In this article
Navigating to the Subjects screen
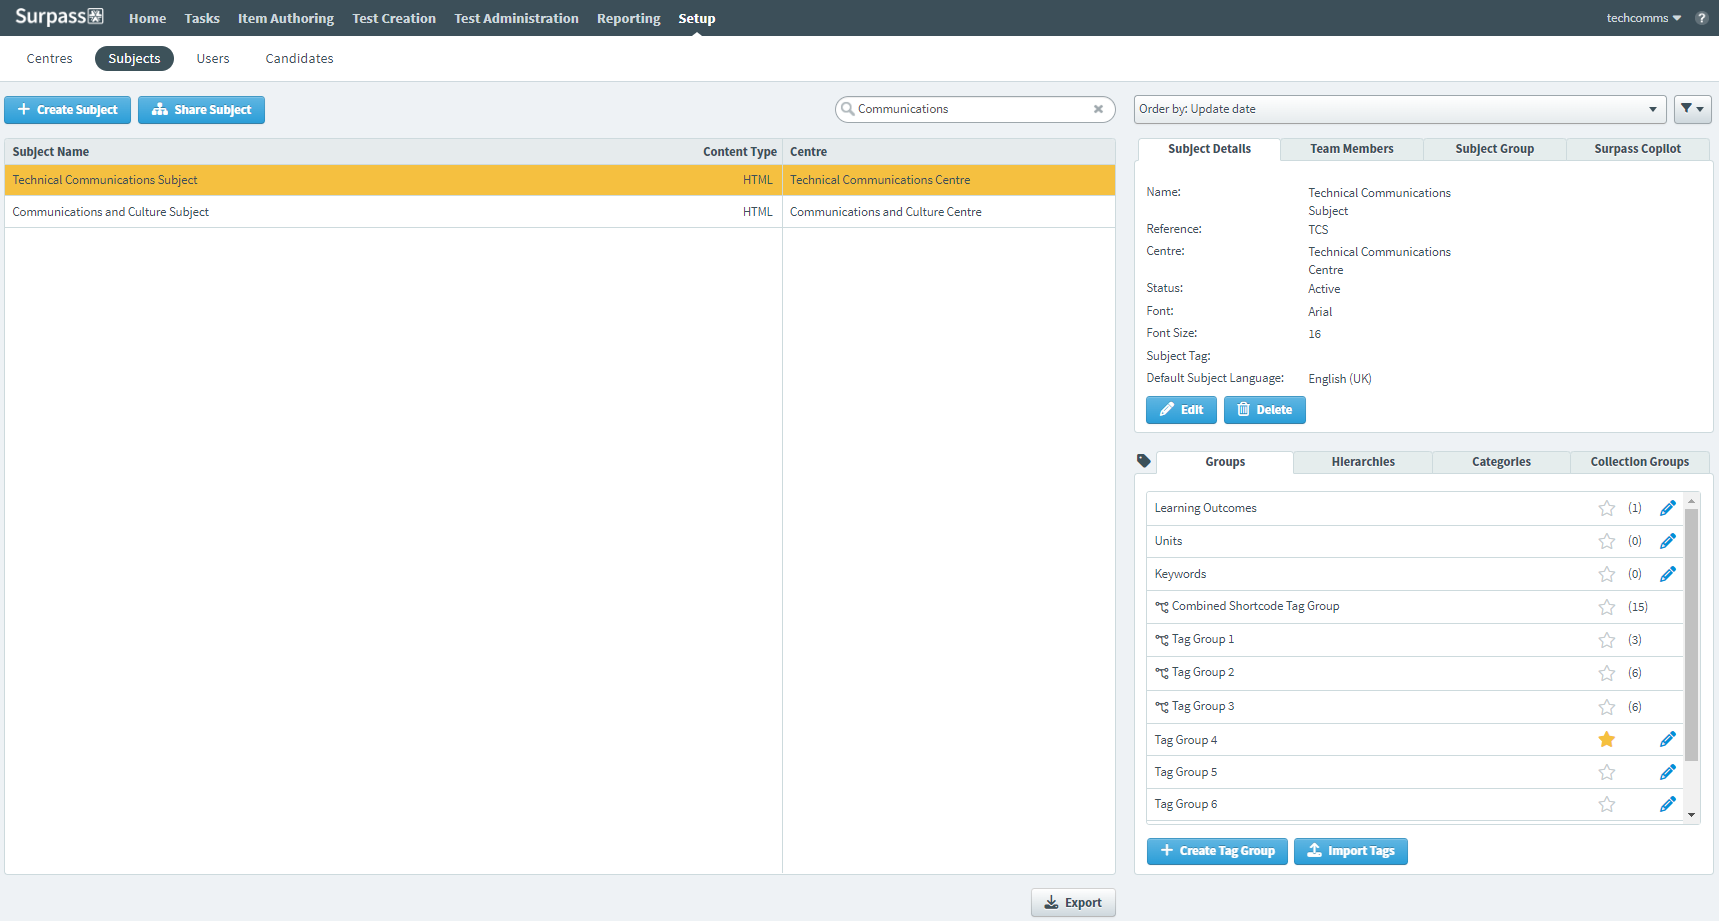
To view the Subjects screen, go to Setup > Subjects.

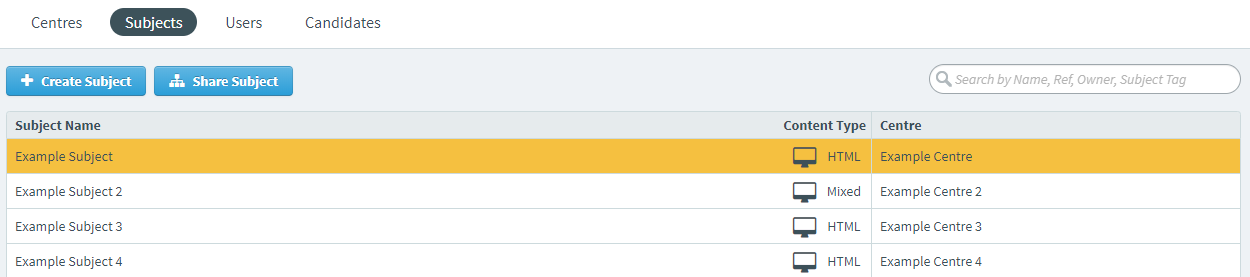
About the Subjects list
The Subjects list displays all subjects in your instance that you have access to, along with their associated centres and content types.
Select a subject in the list to see more information in the Subject Details, Team Members, Subject Group, and Surpass Copilot panels.
About the Subject Details panel
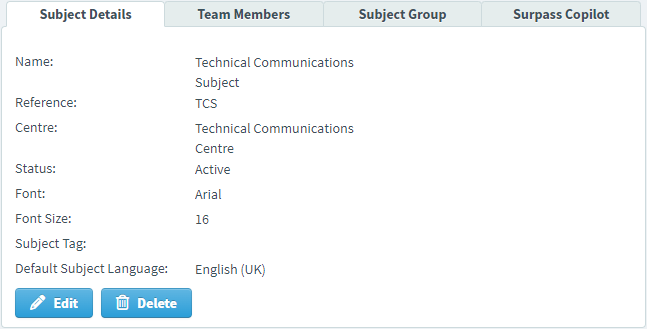
The Subject Details panel lists basic information about the selected subject. Refer to the following grid for more information.
| Detail | Description |
|---|---|
| Name | Displays the name of the subject. |
| Reference | Displays the subject’s unique reference code. |
| Centre | Displays the subject’s parent centre. |
| Status |
Displays the subject’s status.
NOTE: Subjects containing items set to Live cannot be archived.
|
| Font | Displays the subject’s font. |
| Font Size | Displays the subject’s font size. |
| Content Type |
Displays the subject’s content type. |
| Subject Tag | Displays any subject tags assigned to the subject. For more information, read Setting up subject tags. |
To edit the selected subject, select Edit . For more information, read Editing a subject.
To delete the selected subject, select Delete . For more information, read Deleting a subject.
About the Team Members panel
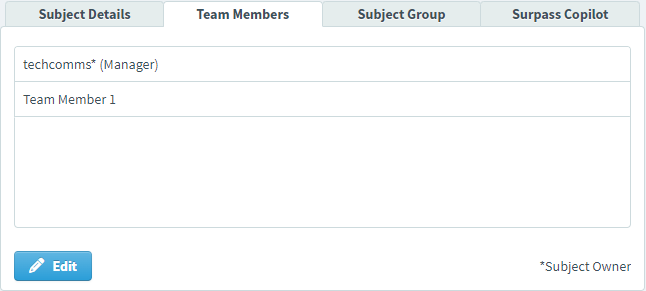
In the Team Members panel, you can manage who has subject-level permissions for a given subject. These users are known as “team members”.
The Team Members panel lists all users that have been granted subject-level permissions for the subject.
For more information about subject team members, read Managing subject team members.
About the Subject Group panel
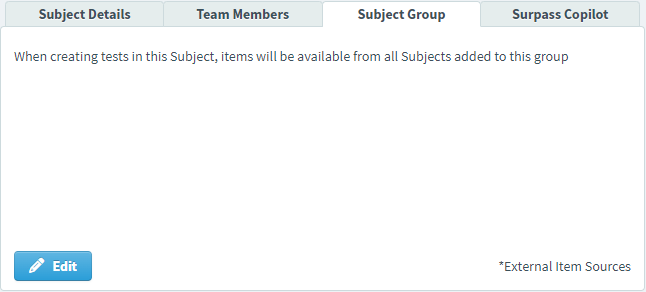
The Subject Group panel displays the subjects shared with the selected subject. Setting up a subject group lets you include items from multiple subjects when creating a test.
To learn more about setting up and editing subject groups, read Setting up a subject group.
About the Surpass Copilot panel

The Surpass Copilot panel is where you can assign default additional context/instruction for item authors generating answer option distractors using Surpass Copilot. For more information, read ‘Generating answer options using Surpass Copilot’ in Creating a Multiple Choice question.
To learn more about assigning default additional context/instruction, read Assigning default Surpass Copilot additional context/instruction.
About the Groups, Hierarchies, Categories, and Collection Groups panels
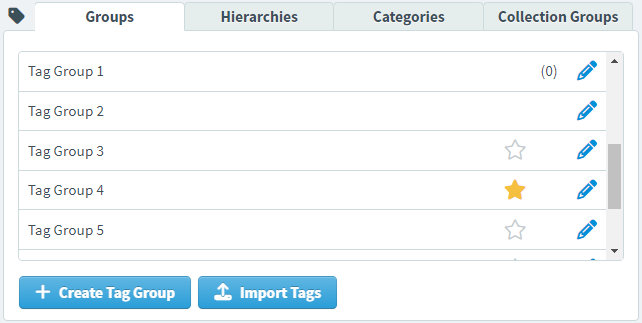
The Tags panel displays the tag groups, tag hierarchies, tag categories, and tag collection groups associated with your subject. You can create tag groups, tag hierarchies, tag categories, and tag collection groups in the Subjects screen of Setup. For more information, read Setting up tag groups, Setting up tag hierarchies, Setting up tag categories, and Setting up tag collection groups.
Select Import Tags to manually import tags into tag groups using the downloadable Sample XLS document provided. For more information, read Importing tags with a spreadsheet.
Finding a subject
By default, the Subjects list is ordered by the most recently created subjects. To find a specific subject, you can search, order, and filter the subject list.
Searching for subjects
Type in the search bar to filter the Subjects list in real time. Surpass looks up your search string in subjects’ Name, Reference, Owner, and Subject Tag fields.

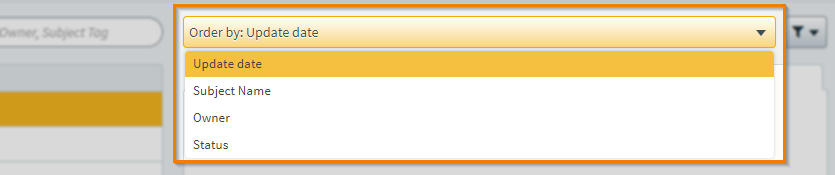
Re-ordering subjects
Use the Order by menu to sort the subject list by the subjects’ names in date order (Update date), alphabetical order (Subject Name), the subject owner (Owner), or their statuses (Status).
Filtering subjects
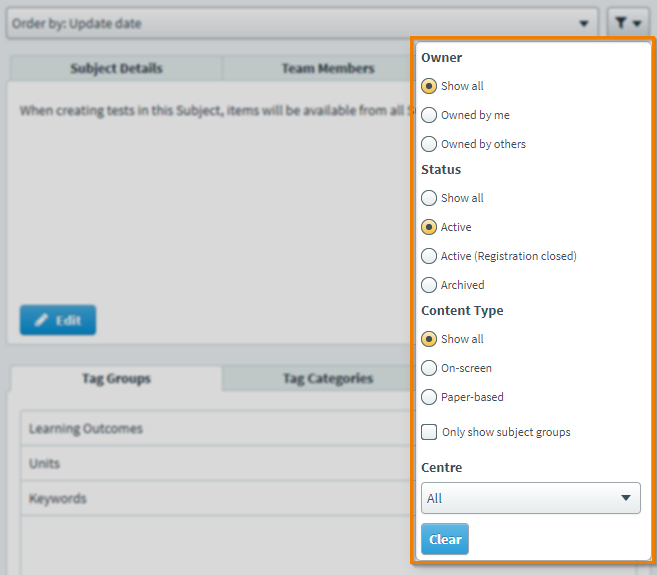
Use the Filter menu to display certain subjects. The following table explains the available options.
| Filter | Description |
|---|---|
| Owner | Displays subjects owned by certain users. |
| Status | Displays subjects according to their status. |
| Content Type | Displays subjects according to their content type. |
| Only show subject groups | Displays only subject groups. |
| Centre | Displays all subjects’ associated centres or only a specific centre. |
Select Clear to reset the filters.
Creating a subject
To create a new subject, select Create Subject and fill out the dialog. For more information on creating subjects, read Creating a subject in Setup.

Exporting a subject
You can export items in a subject to a QTI 2.1 file.
Exporting items
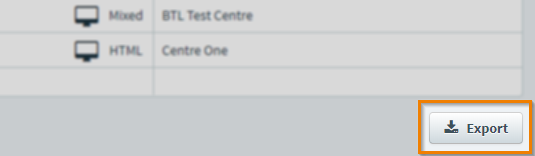
Select Export to open the Export dialog.
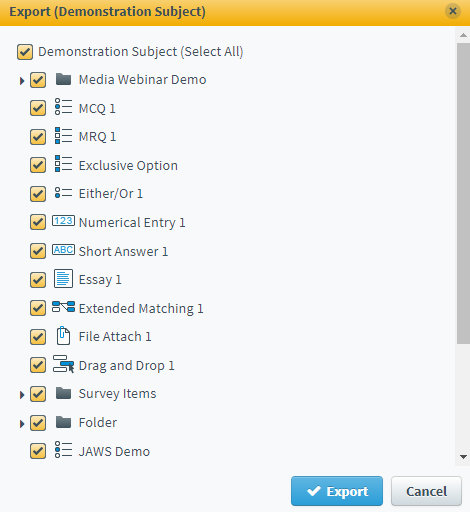
Select the items you want to export in the Export dialog.
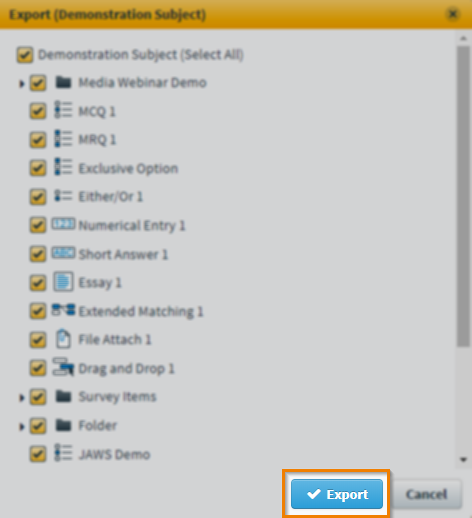
Select Export to export the items. The export includes the items’ associated tags and media.
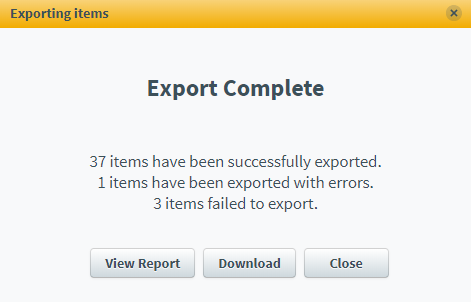
In the Exporting items dialog, select View Report to view a report about the export. Select Download to download the QTI file (as a ZIP file).
Export compatibility
Expand the following section to view a table detailing which items are supported for QTI export.
To learn more about working in the Subjects screen, read the following articles:Further reading