Editing a centre
In Surpass, a “centre” is a virtual space in which tests are created by users and delivered to candidates. All items, users, candidates, subjects, tests, and test forms are associated with a particular parent centre. A Surpass centre may be linked to a physical location like a school or workplace or it can be a purely digital environment.
This article explains how to edit a centre in the Centres screen of Setup.
In this article
1. Go to the Centres screen
To view the Centres screen, go to Setup > Centres.

2. Choose a centre in the Centres list
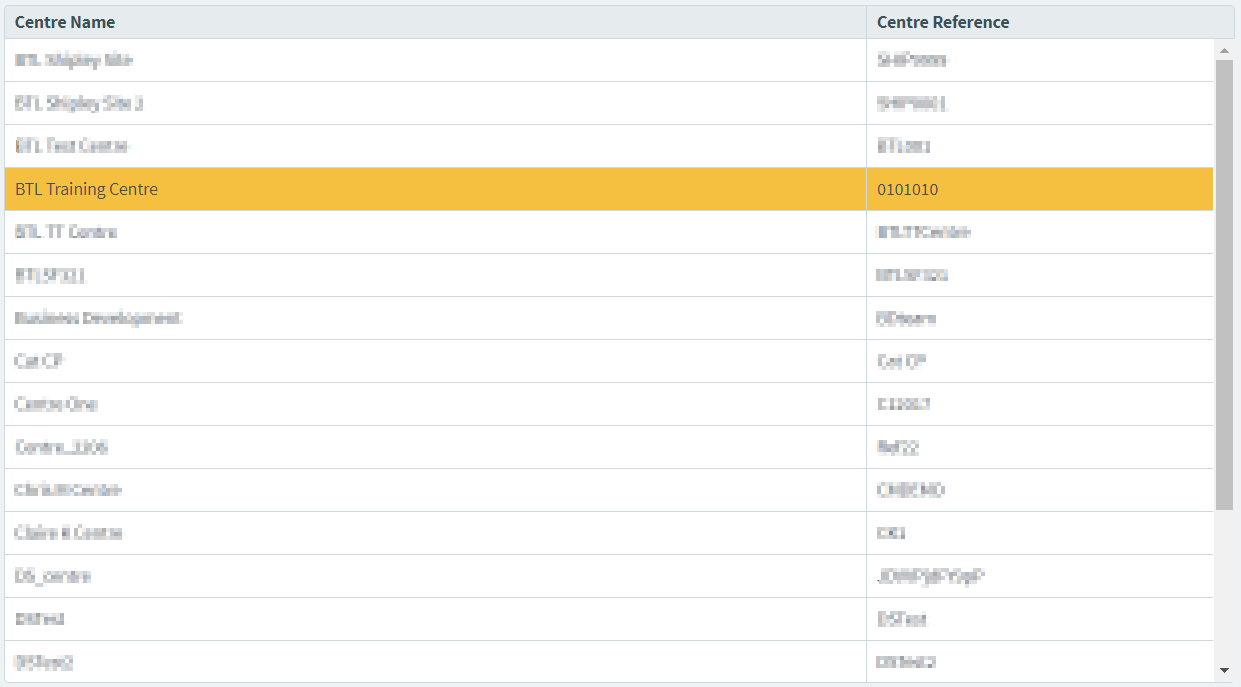
The Centres list displays all centres in your instance that you have access to, along with their reference codes.
Select a centre in the list to reveal more information in the Centre Details panel.
3. Select Edit in the Centre Details panel
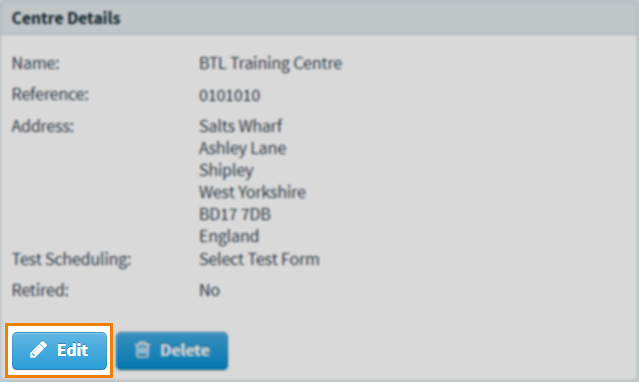
The Centre Details panel displays basic information about the chosen centre.
Select Edit to open the Edit Centre Details dialog.
4. Edit the centre’s settings
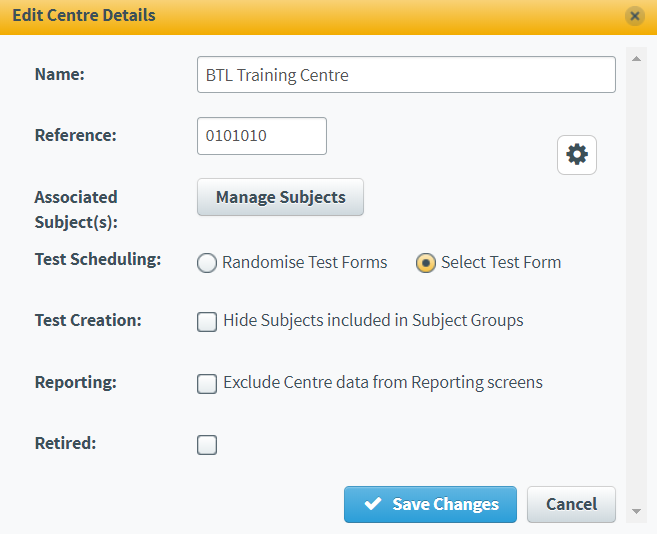
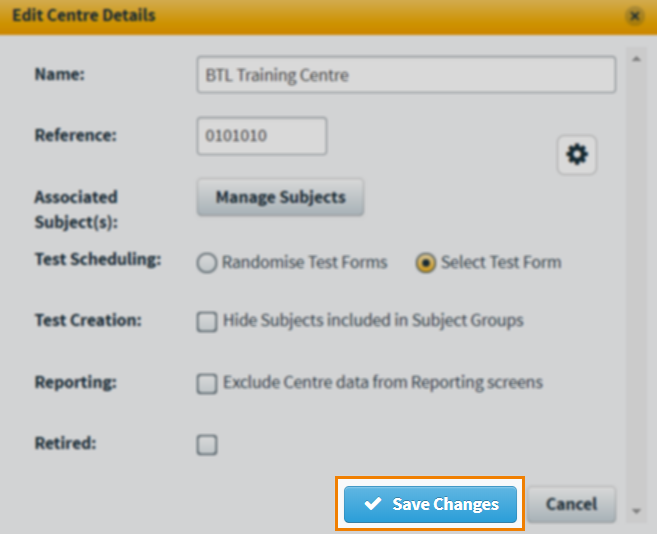
The Edit Centre Details dialog displays all editable settings available for your centre. Refer to the following table for information about each setting.
| Setting | Description |
|---|---|
| Name* | Enter a new name for your centre. |
| Reference* | Enter a new alphanumeric reference code for your centre. This must be unique. |
| Address | Enter a corresponding address for the centre. Select Address to reveal the entry field. |
| Associated Subject(s) |
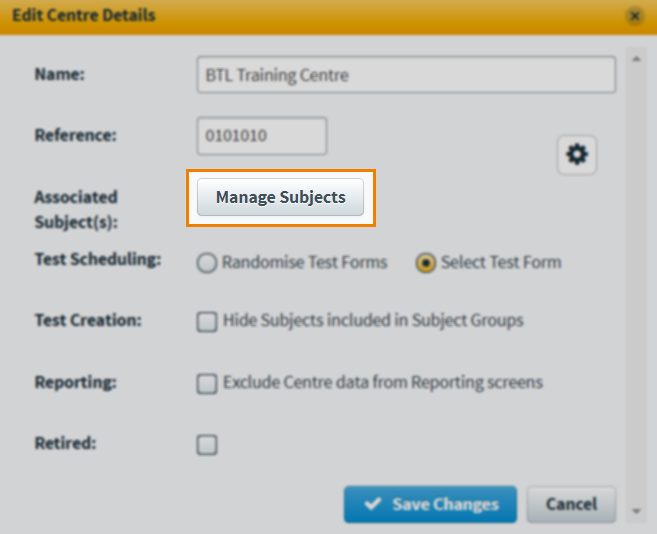
Controls the centre’s subject associations. Select Manage Subjects to add subjects to or remove subjects from the centre. For more information, read ‘Managing subjects’ below.
TIP: You can also control centre/subject associations at the subject level on the Subjects screen. For more information, read Creating a subject in Setup and Editing a subject.
|
| Test Scheduling |
Determines the default scheduling behaviour for tests with multiple test forms. Select Randomise Test Forms to enforce the random allocation of test forms to candidates. Select Select Test Form to allow centre users to choose a test form at the point of scheduling.
NOTE: If a user with the Reveal Test Forms permission is linked to multiple centres and Select Test Form is enabled at one of these centres, the user can select a test form at all centres regardless of their individual Test Scheduling settings. For more information, read About roles and permissions.
|
| Test Creation |
Determines whether subjects in subject groups are available for selection in Test Creation. Select Hide Subjects included in Subject Groups to prevent tests being created in subject group subjects. Clear Hide Subjects included in Subject Groups to allow all tests to be created in all subjects, regardless of group status. |
| Reporting |
Determines whether data from this centre is included in the Reporting screens. Select Exclude Centre data from Reporting screens to prevent this centre’s test data from appearing in Reporting. This is useful for centres running practice, pilot, or quality review tests. Clear Exclude Centre data from Reporting screens to allow this centre’s test data to appear in Reporting.
TIP: You can enable Exclude Centre data from Reporting screens on a temporary basis if you want to run some tests without affecting existing data. For more information, read Editing a centre.
|
| Retired |
Retires the centre, preventing any further tests from being scheduling. Already scheduled tests can still be sat by candidates. A centre must be retired before it can be deleted. For more information, read Retiring a centre. |
Managing subjects
You can manage the centre’s associated subjects and centre-level users’ access to these subjects from the Centres screen. To learn more, expand the following section.
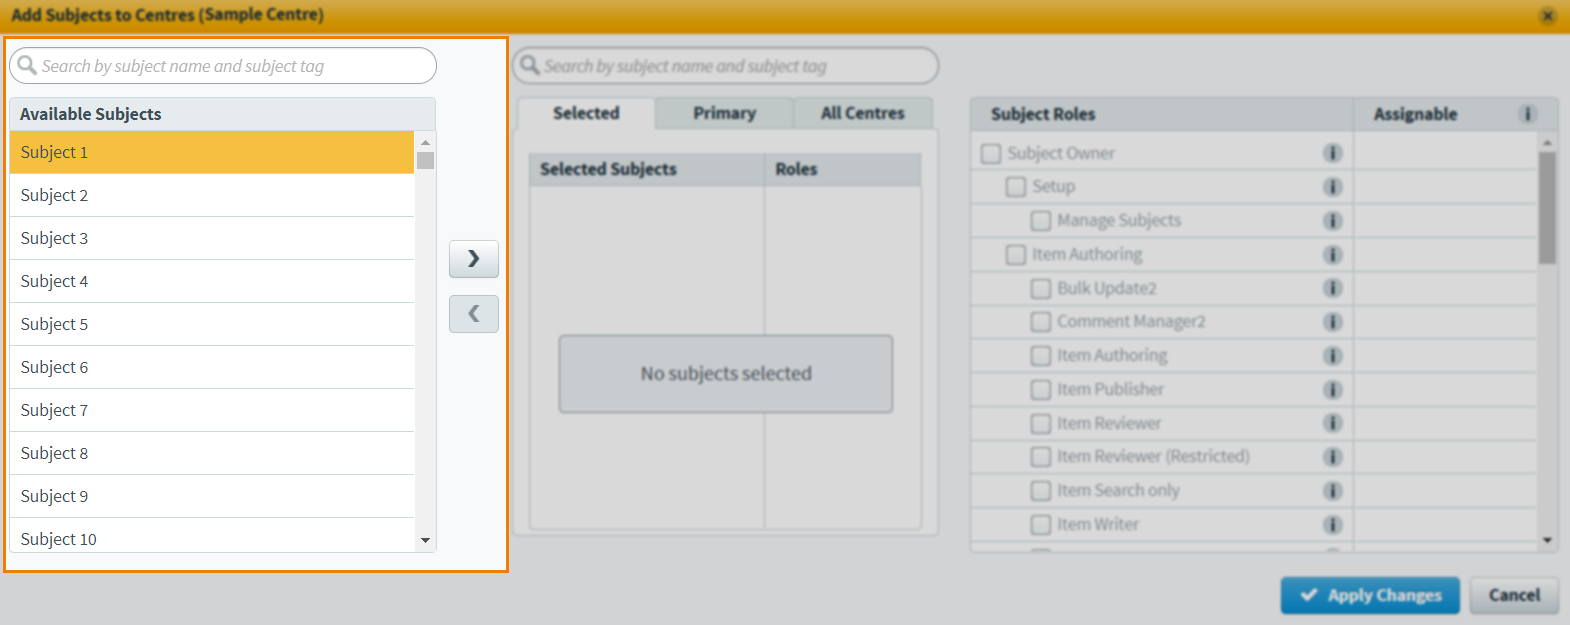
Select Manage Subjects in the Edit Centre Details dialog.
Choose the subjects you want to add to the centre in the Available Subjects list. Hold Control or Shift to select multiple subjects. Select Add to add the subject to your centre.
The chosen subject appears in the Selected panel. You can manage the level of access centre-level users have to the subject in the Subject Roles panel. Select the roles you want to allow.
You can remove any subject in the Selected Subjects list by selecting Remove .
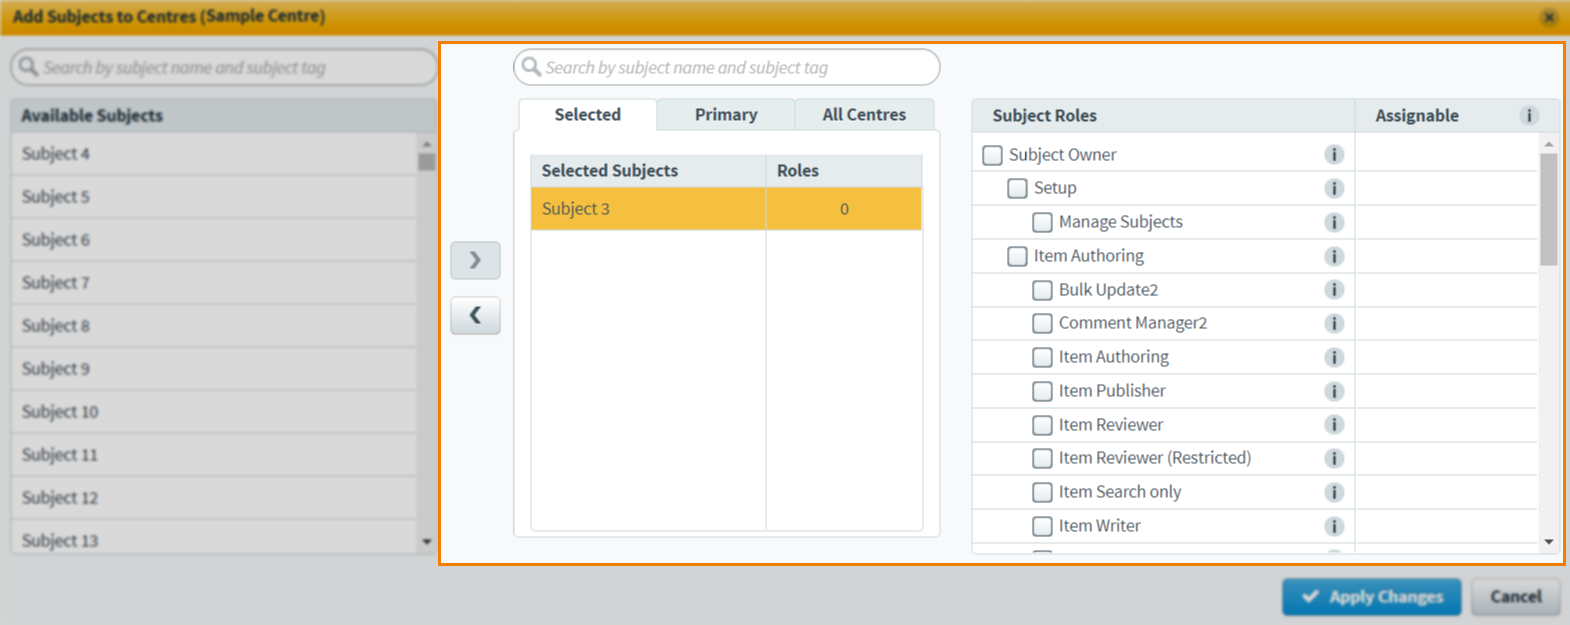
Select Apply Changes to save your changes.
5. Save your changes
To save your centre’s edited settings, select Save Changes in the Edit Centre Details dialog.
Further reading
To learn more about working in the Centres screen, read the following articles: