About the Candidates screen
Candidates (also known as “students” or “learners”) are people that take tests using Surpass. Unlike users, candidates do not log into Surpass. Candidates only access their tests in the test driver—either in a web browser or SecureClient.
Candidates are created and managed in the Candidates screen in the Setup section of Surpass.
This article explains how to navigate the Candidates screen in Setup and use its features.
In this article
Navigating to the Candidates screen
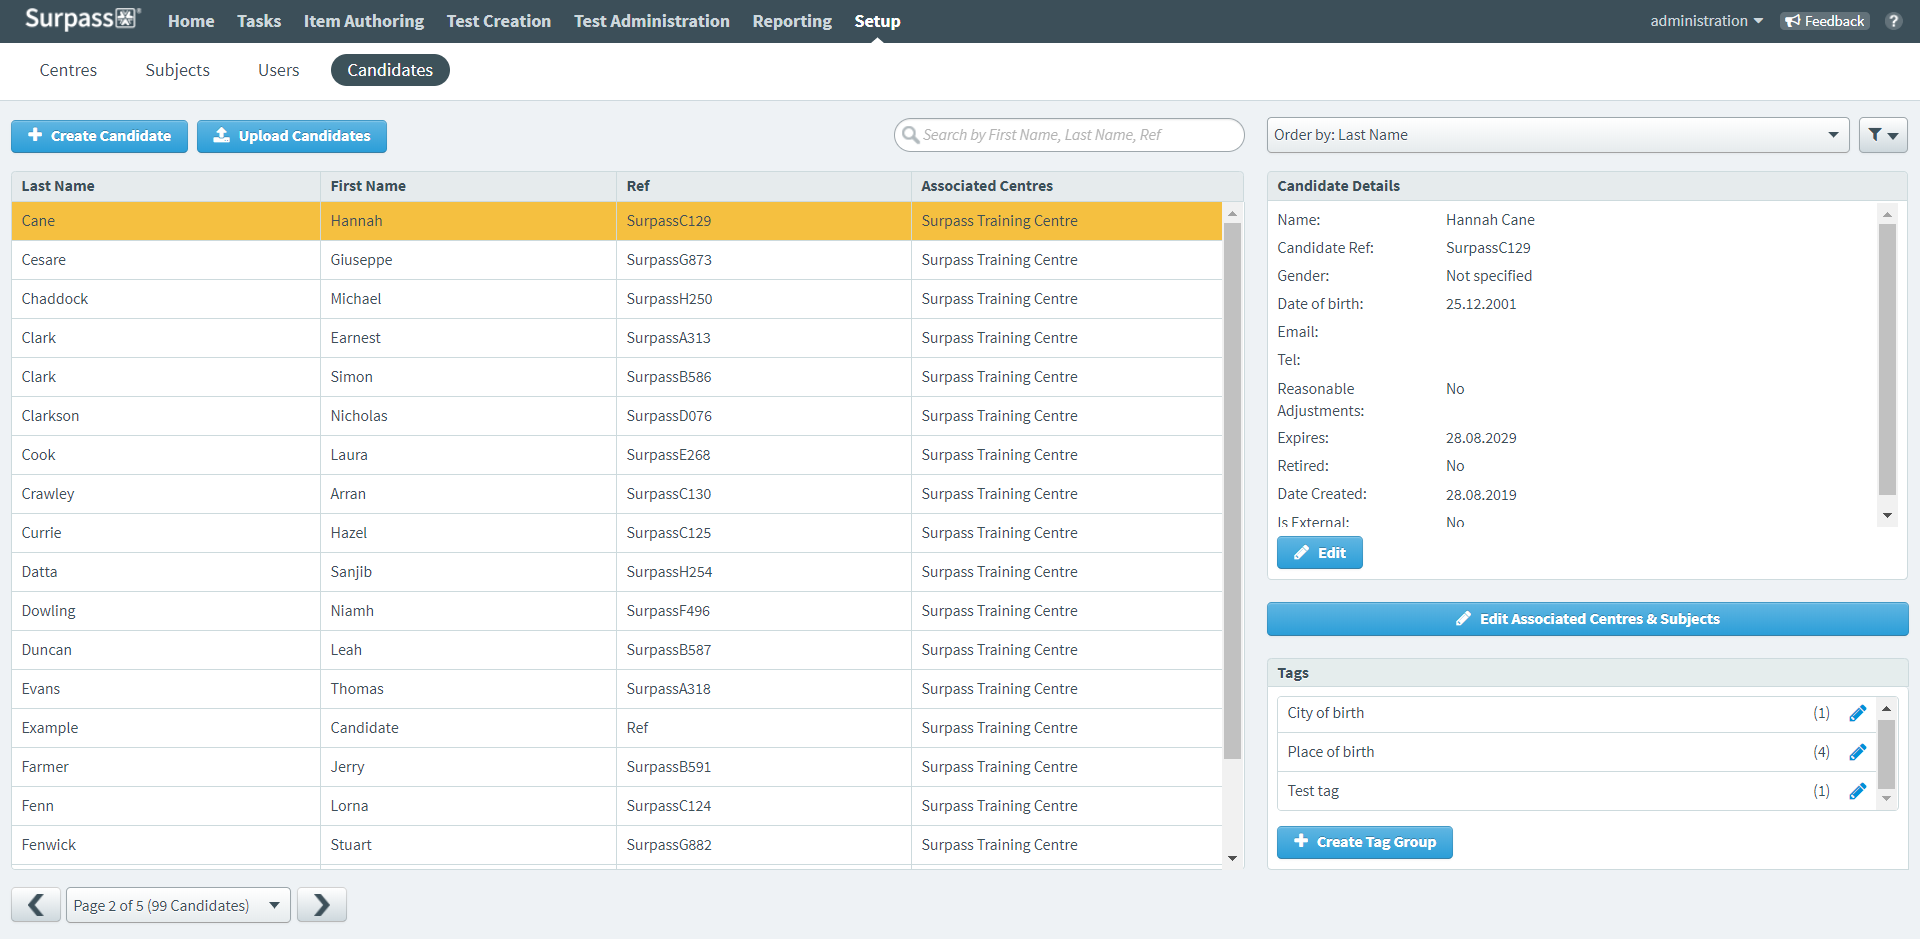
To view the Candidates screen, go to Setup > Candidates.

About the Candidates list
The Candidates list displays all candidates registered at centres you have access to. Visible details include each candidate’s first name, last name, reference, and associated centre(s).
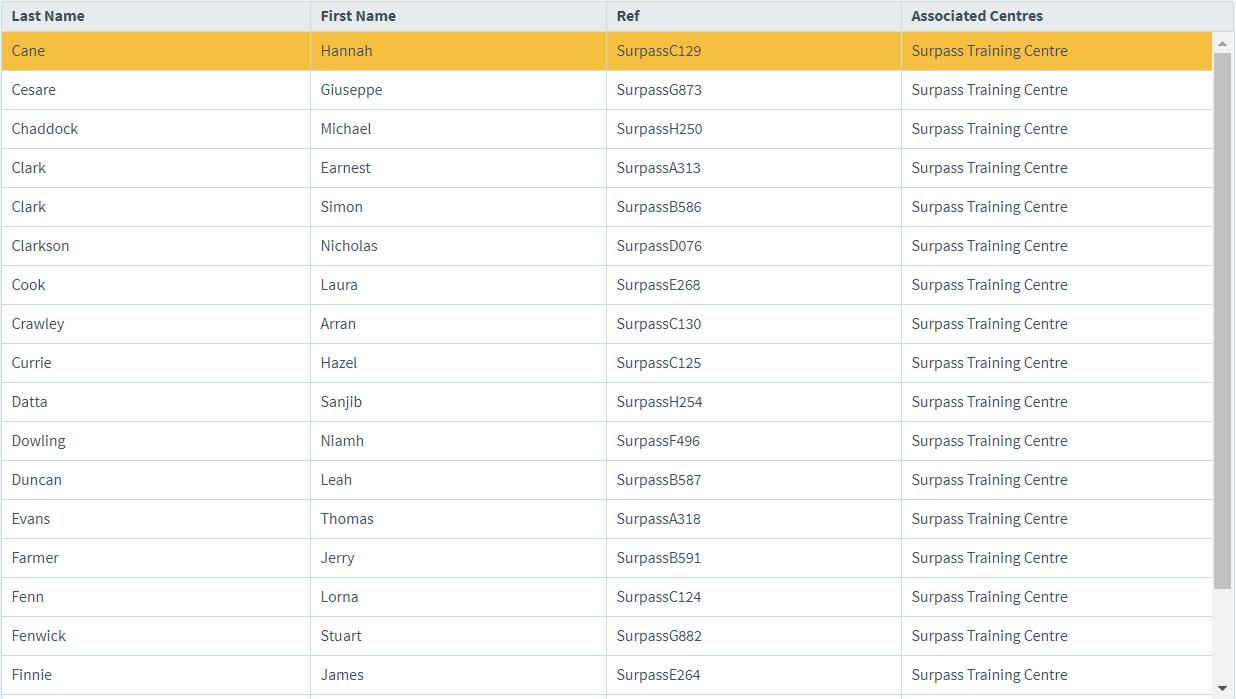
Select a candidate in the list to see more information in the Candidate Details panel.
About the Candidate Details panel
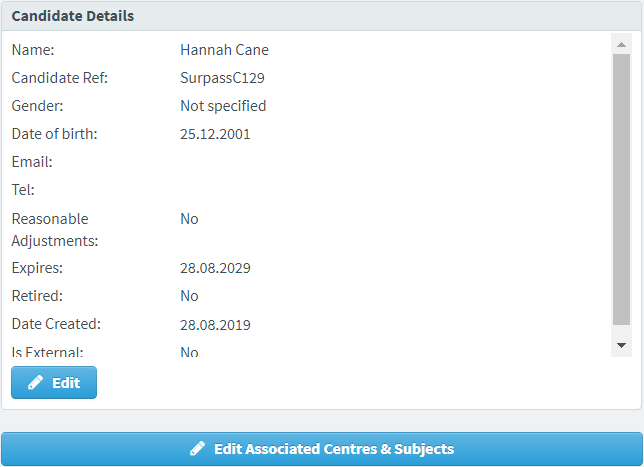
The Candidate Details panel lists additional information about the selected candidate. Refer to the following table for more information.
| Information | Description |
|---|---|
| Name | Displays the candidate’s full name (first name and last name). |
| Candidate Ref | Displays the candidate’s unique reference code. |
| Gender | Displays the candidate’s gender, if provided. |
| Date of birth | Displays the candidate’s date of birth. |
|
Displays the candidate’s email address, if provided.
NOTE: Surpass never contacts candidates via email.
|
|
| Tel | Displays the candidate’s telephone number, if provided. |
| Reasonable Adjustments | Indicates whether the candidate has been granted additional time during tests. |
| Expires | Displays the candidate’s expiry date. |
| Retired | Indicates whether the candidate has been retired. |
| Date Created | Displays the date on which the candidate was created. |
| Is External | Indicates whether the candidate also exists on an external database. External candidates (created using the Candidate API) cannot be edited in Surpass to prevent synchronisation issues between databases. |
To edit the selected candidate, select Edit . For more information, read Editing a candidate.
To change the candidate’s parent centres and subjects, select Edit Associated Centres & Subjects . For more information, read ‘Adding candidate tags’ in Creating a candidate.
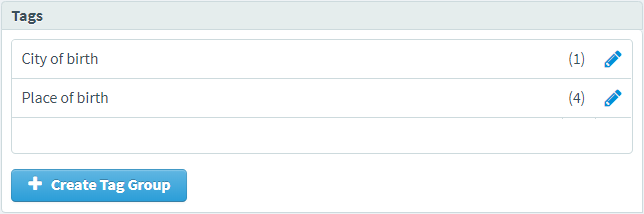
About the Tags panel
The Tags panel displays each tag group currently set up in your Surpass instance, with the number of associated tag values indicated in brackets.
Candidate tags allow you to record and store important additional information against your candidates. Candidate tag data can be retrieved in the raw data extract in Reporting.
To learn more about candidate tags, read Setting up candidate tags.
Finding a candidate
By default, the Candidates list is ordered alphabetically by last name. To find a specific candidate, you can search, order, and filter the Candidates list.
Searching for candidates
Type in the search bar to filter the Candidates list in real time. Surpass looks up your search string in candidates’ First Name, Last Name, and Ref fields.

Re-ordering candidates
Use the Order by menu to re-order the Candidates list by candidate’s last names in alphabetical order (Last Name), first names in alphabetical order (First Name), or closest expiry date (Expires).

Filtering candidates
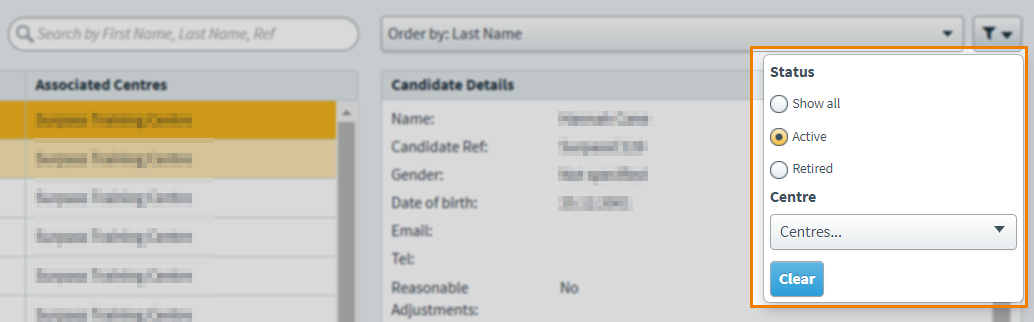
Use the Filter menu to display only those candidates that match the filter criteria. The following table explains the available options.
| Filter | Description |
|---|---|
| Status |
Displays only candidates at a certain status. Choose from the following:
|
| Centre | Displays only candidates registered at a certain centre. Select a centre in the Centre menu to see its candidates. |
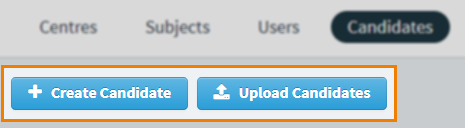
Creating candidates
There are two ways to create candidates in the Candidates screen.
To create a single candidate in the Surpass UI, select Create Candidate . For more information, read Creating a candidate.
To import up to 1,500 candidates using a spreadsheet, select Upload Candidates . For more information, read Importing candidates with a spreadsheet.
Further reading
To learn more about working in the Candidates screen, read the following articles: