About the Analytical Data screen
The Analytical Data screen in Reporting displays basic statistical information about the subjects in your Surpass instance. You can view information for subjects across all centres or you can choose to view data for a specific centre or subject.
You can view more detailed reports on the performance of items, tests, and candidates by following the links on the Analytical Data screen.
This article explains how to navigate the Analytical Data screen and use its features, including filtering, exporting reports as a CSV, and viewing Test Forms and Item Bank reports.
In this article
Navigating to the Analytical Data screen
To view the Analytical Data screen, go to Reporting > Analytical Data.

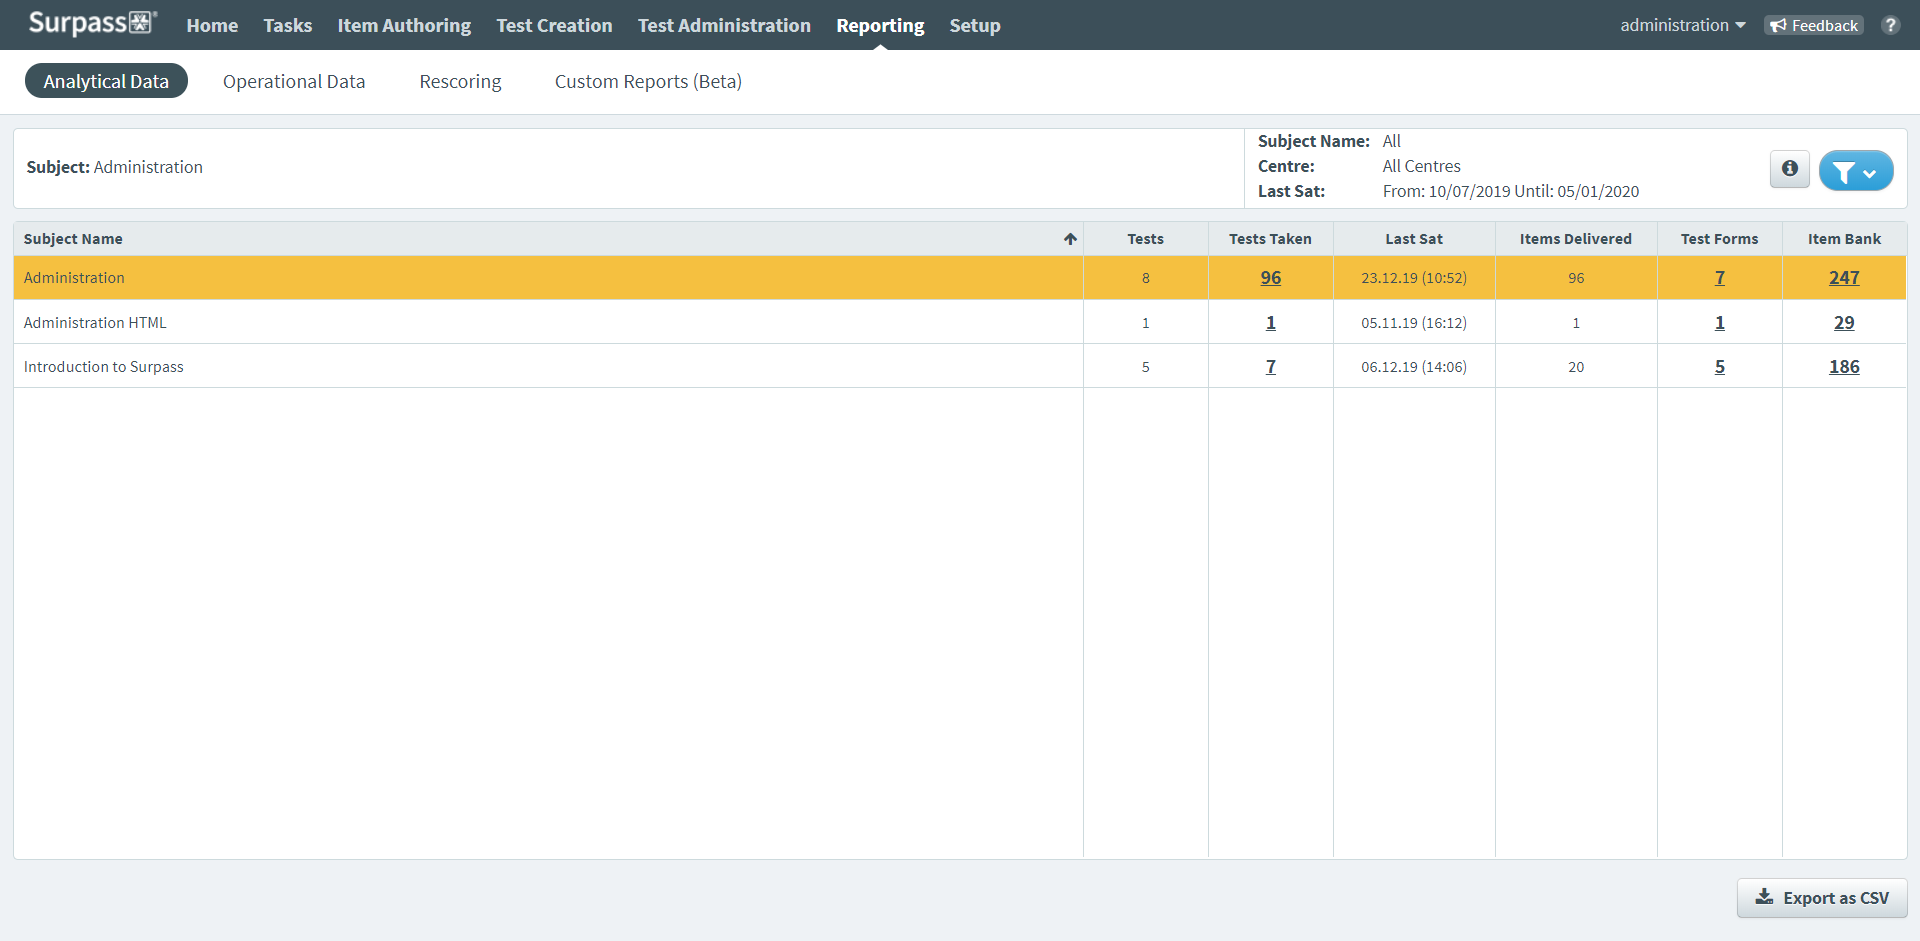
About the Analytical Data table

The Analytical Data table lists all subjects you have access to. Each row is dedicated to a single subject. Refer to the following table for information on each column.
| Column | Description |
|---|---|
| Subject Name | Displays the name of the subject. |
| Tests | Indicates how many tests are in the subject. |
| Tests Taken |
Indicates how many tests have been taken by candidates in the subject. Select the number to view the Operational Data screen. For more information, read About the Operational Data screen. |
| Last Sat | Displays the date and time on which the test was last taken. |
| Items Delivered |
Indicates how many items in the subject have been delivered to candidates. |
| Test Forms |
Indicates the number of test forms in the subject. Select the number to view the Test Forms report. For more information, read Viewing Test Forms reports. |
| Item Bank |
Indicate how many items are in the subject. Select the number to view the Item Bank report. For more information, read Viewing Item Bank reports. |
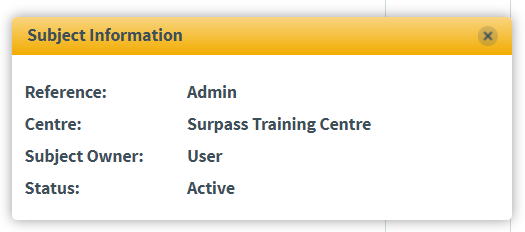
To view more information about a subject, choose the subject and select Subject Information .

The Subject Information dialog displays the selected subject’s reference, parent centre, subject owner, and status.
Filtering the Analytical Data table

By default, the Analytical Data table displays all data from all available centres for the last 30 days. To change the data range, select Filter .

To learn more about the available filters, refer to the following table.
| Option | Description |
|---|---|
| Centre | Determines which centre’s subjects are displayed in the Analytical Data table. Select All Centres to view all subjects across all centres. |
| Last Sat | Determines the date range for Analytical Data information. Choose whether the table displays data for tests sat in the Last 7 Days, Last 30 Days (default), Last 180 Days, or a Custom Date Range. |
| Only show subject groups | Only shows subjects in subject groups. For more information about subject groups, read Setting up a subject group. |
| Show archived subjects | Only shows archived subjects. For more information, read Editing a subject. |
| Show all subjects | Shows all subjects, including archived subjects. Only subjects with at least one scheduled test are displayed if this setting is not enabled. |
| Search by Subject Name |
Finds subjects based on their names. |
To reset the filters to their default values, select Clear.
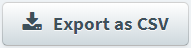
Exporting Analytical Data as a CSV
To export the data on the Analytical Data screen to a spreadsheet, select Export as CSV .
Viewing more detailed reports
You can view more in-depth reports from the Analytical Data screen.
Tests Taken reports (Operational Data)
To view statistics on test volumes on a month-by-month basis, select the number in the Tests Taken column. For more information, read About the Operational Data screen.

Test Forms reports
To view a detailed statistical analysis of the test forms in a subject, select the number in the Test Forms column. For more information, read Viewing Test Forms reports.

Item Bank reports
To view information about a subject’s items, select the number in the Item Bank column. For more information, read Viewing Item Bank reports.

Further reading
To learn more about Reporting, read the following articles: