Adding candidate feedback to items
Candidate feedback is designed for use in low-stakes and formative assessments and only appears to candidates if Show Feedback Button During Test is enabled in Test Creation > Test Forms > Edit Test Form > Test Form Details > Test Feedback. For more information on test form settings, read About test form settings.
Summary feedback shows candidates a summary of their performance on the test after completion if Review Answers and Show View Feedback Button are enabled in Test Creation > Test Forms > Edit Test Form > Test Form Details > Test Feedback, or in the Test Wizard; Summary Feedback, Review Answers and Item Feedback.
This article explains how to create candidate feedback and add it to your item.
In this article
1. Go to your item’s Edit screen
Select an item in your subject to open it and go to the Edit screen.

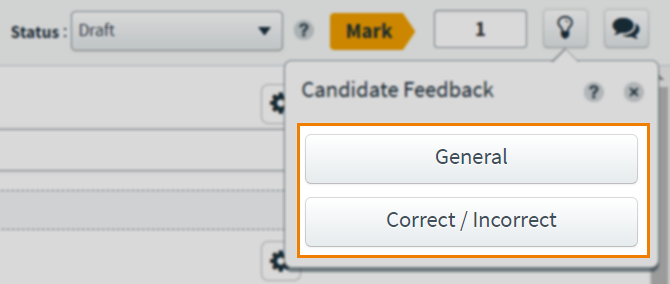
2. Open the Candidate Feedback menu
Select Add candidate feedback to open the Candidate Feedback menu.

3. Choose your feedback mode
Candidate feedback in Surpass has two modes. General feedback displays the same message to all candidates. Correct/incorrect feedback shows different messages to candidates depending on their choice of answer.
Select either General or Correct / Incorrect in the Candidate Feedback menu to set your feedback mode.
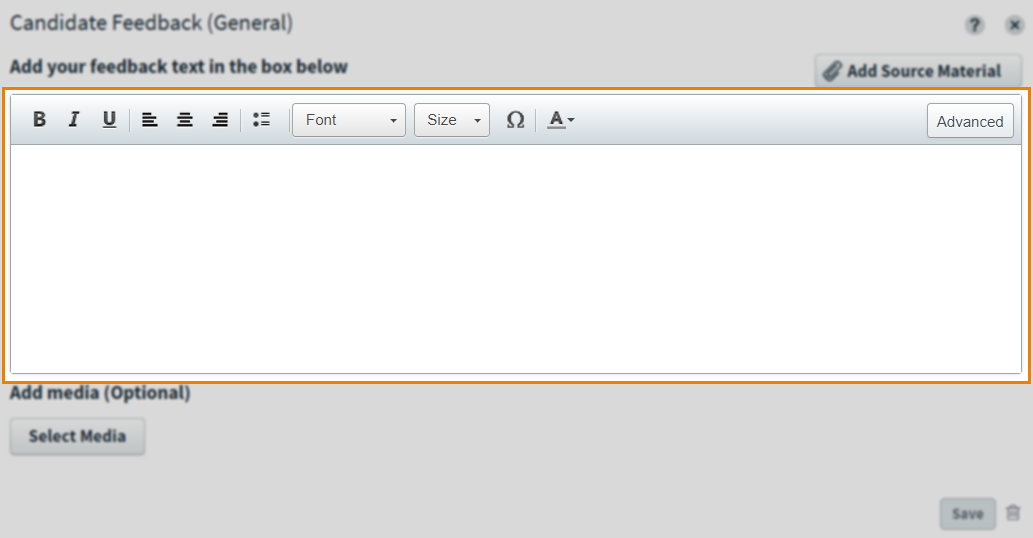
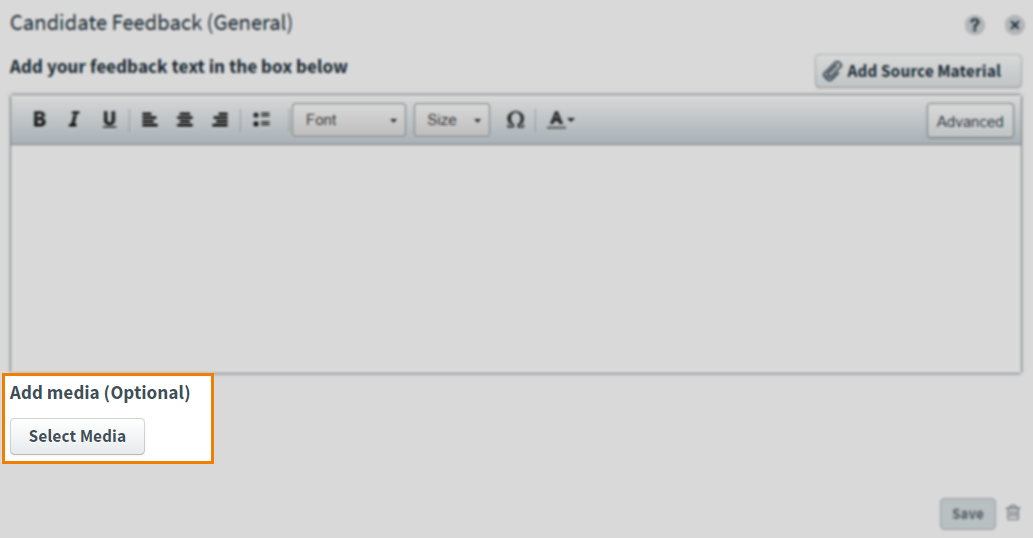
4. Add your feedback content
Add your feedback text in the entry field. You can use the formatting toolbar for candidate feedback text content. For more information, read Using the formatting toolbar.
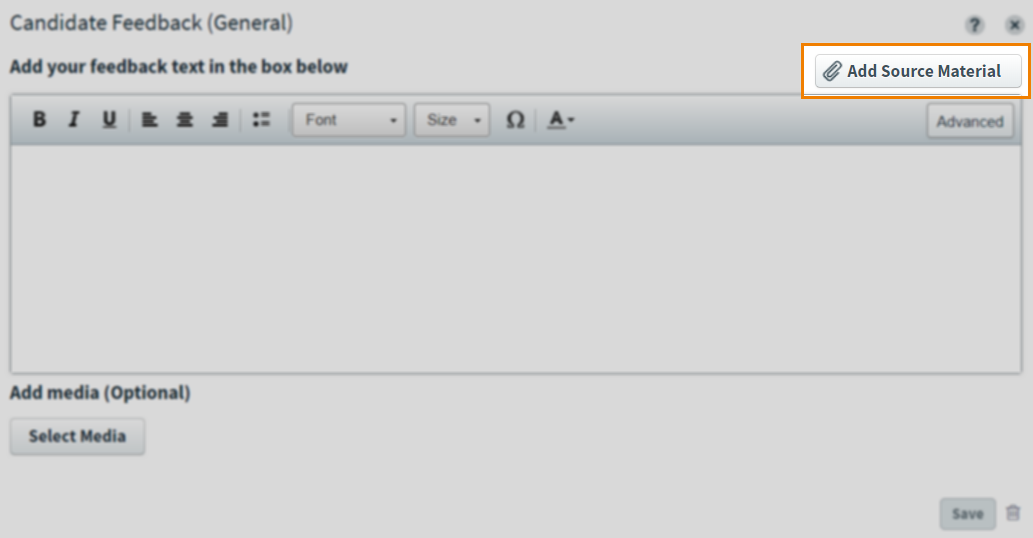
You can add source material to candidate feedback. Select Add Source Material to add source material. To remove source material, select Remove . For more information on source material, read About source material.
You can add media to candidate feedback. Use Select Media to open the media library and choose your media. Select Add media to item in the media library to add the chosen media to the candidate feedback.
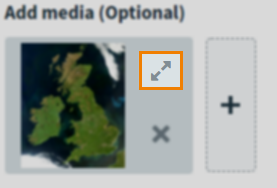
To enlarge an image added to candidate feedback, select Expand .
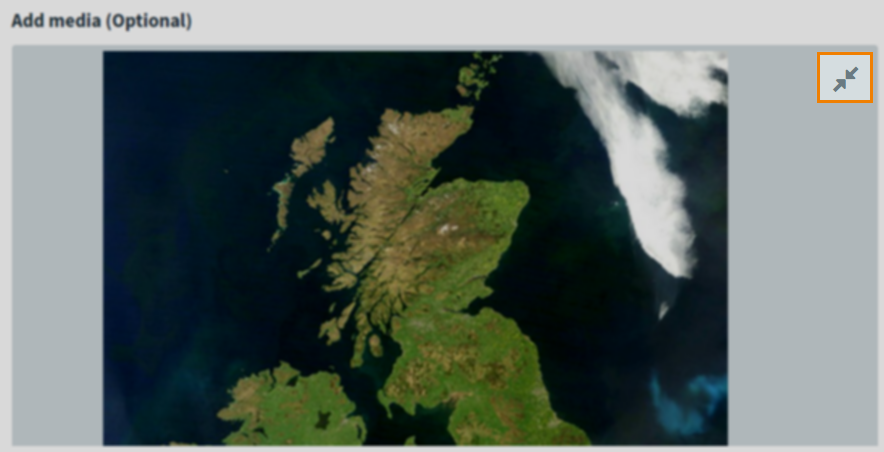
Select Collapse to revert the image back to a thumbnail.
To remove media added to candidate feedback, select Remove media from this item . For more information about media, read Using media.

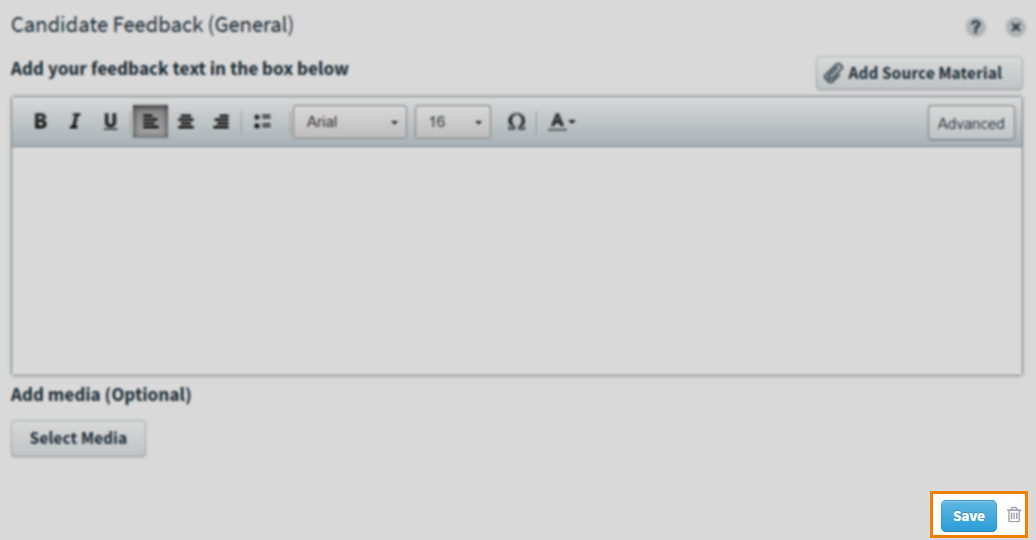
5. Save your feedback
When you have finished creating your feedback, select Save to save the feedback to your item. To remove your feedback from the item, select Delete .
6. Preview your feedback
To see your feedback from a candidate’s perspective, select Preview .

In the Preview screen, select Show candidate feedback to see your feedback.

Further reading
Now you know how to add feedback to items, read the following articles for further information on Surpass functionality: